
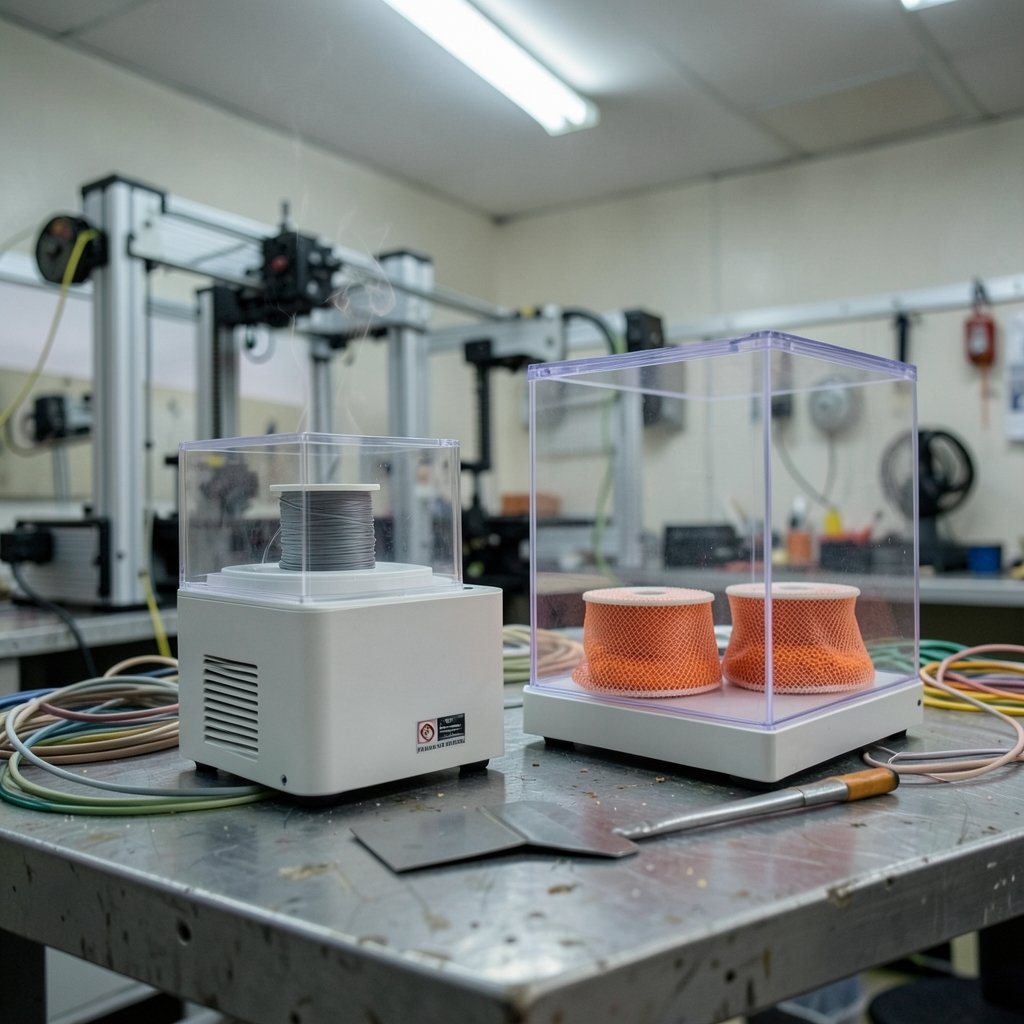
Is your 3D print popping, stringing, and looking fuzzy at the edges? If so, the problem probably isn’t your slicer settings. It’s water. Filament soaks up moisture from the air like a sponge, and once that moisture is inside the plastic, no amount of tuning will fix it. The real question is how to get it out, and that’s where the filament dryer vs dry box debate gets interesting.
These two products look similar and often sit side by side on store shelves, but they do very different jobs. One removes moisture. The other keeps moisture away. Confusing them is one of the most common mistakes makers make, and it costs them print quality, wasted filament, and plenty of frustration.
What a Dry Box Actually Does
A dry box is a sealed container with desiccant inside. That’s it. No heater, no fan, no electronics unless you add a hygrometer yourself. You drop in silica gel or molecular sieve packets, seal the lid, and the desiccant pulls humidity out of the air around your spools.
The job of a dry box is prevention. It keeps filament that is already dry from absorbing moisture during storage. This matters more than beginners realize. A spool of PLA left on an open shelf in a humid room can pick up enough water in a few weeks to print noticeably worse.
What a dry box cannot do is dry wet filament. This is the part people get wrong. Desiccant is good at grabbing moisture from the air, but it doesn’t have the energy to pull water out of the plastic itself. If your filament is already saturated, sealing it in a box with fresh desiccant just traps the moisture inside with it.
Practical tip: if you build or buy a dry box, add a cheap hygrometer. You want to see the internal humidity sit below roughly 20 percent, and lower is better for nylon and other thirsty materials. If the reading creeps up, your desiccant is saturated and needs recharging.
Where Dry Boxes Shine
Dry boxes are cheap, silent, and reliable. A plastic cereal container with a gasket, a printed spool holder, and a bag of silica gel costs very little and works for years. They’re also excellent for feed-through setups, where filament goes straight from the box to the printer so it never touches room air during a long print. For anyone running a best budget 3d printer setup, a homemade dry box is often the smartest first upgrade.
What a Filament Dryer Actually Does
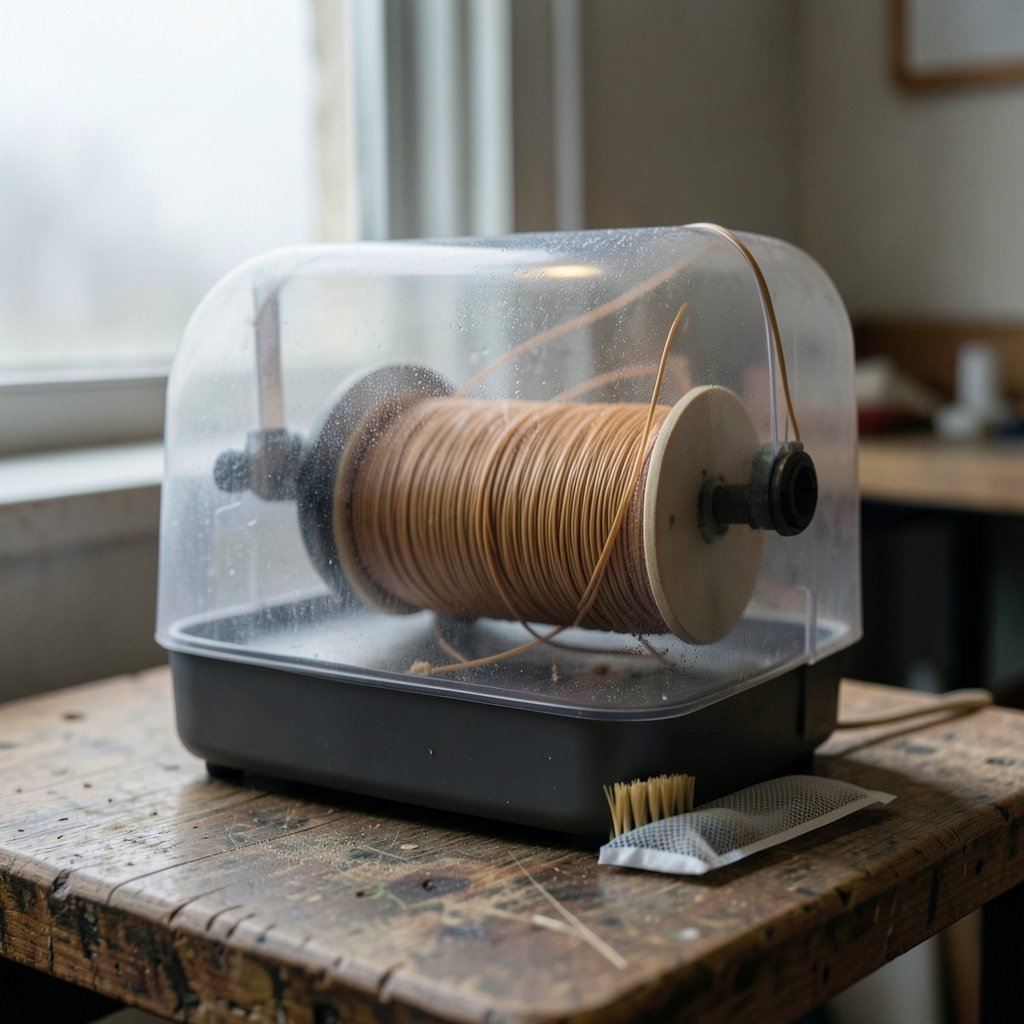
A filament dryer is an active device. It combines gentle heat, usually somewhere between 40 and 70 degrees Celsius depending on the model and material, with airflow to drive moisture out of the filament and vent it away. Many units double as storage boxes once the drying cycle ends.
The job of a filament dryer is correction. It fixes filament that has already absorbed moisture. Heat raises the mobility of water molecules inside the polymer, and airflow carries the vapor off. Run a wet spool through a dryer for a few hours and the popping and stringing usually disappear.
Temperature matters enormously here, and this is where people break things. Every material has a softening point, and you must stay below it. PLA softens at a relatively low temperature, roughly 55 to 60 degrees Celsius, so drying it too hot can fuse the loops on the spool into a solid brick. Nylon and polycarbonate tolerate much higher drying temperatures. Always check the filament manufacturer’s recommended drying temperature before you press start.
The Real-World Difference
Here’s a scenario that plays out constantly. Someone prints fine for months, then summer arrives, and suddenly every print has tiny bubbles and weak layer adhesion. They buy a dry box, seal the spool inside, and nothing improves. The filament was already wet. A dry box preserved the problem instead of solving it.
The fix is a sequence, not a choice. Dry the filament actively first, then store it in a dry box with desiccant to keep it dry. Community advice repeats this over and over because it works. Dry, then store. Never the other way around.
Filament Dryer vs Dry Box: Side-by-Side Comparison
| Feature | Filament Dryer | Dry Box |
|---|---|---|
| Removes moisture from filament | Yes, actively | No |
| Prevents moisture absorption | Yes, if sealed | Yes |
| Needs power | Yes | No |
| Typical cost | Higher | Very low |
| Noise | Fan hum | Silent |
| Best for | Fixing wet spools | Storing dry spools |
| Works during printing | Some models feed through | Yes, with a port |
| Maintenance | Minimal | Recharge desiccant |
The table makes the split obvious. These aren’t competitors. They’re two stages of the same workflow, and the best 3d printer for beginners deserves both eventually.
Which Materials Actually Need Drying?
Not all filament is equally thirsty. PLA absorbs moisture slowly and is fairly forgiving, though it still prints better dry. PETG is more sensitive and strings badly when wet. TPU soaks up water readily and prints with visible bubbles. Nylon (PA) and PVA are the worst offenders, absorbing moisture fast enough that a single humid day can ruin a spool.
If you print mostly PLA in a dry climate, a dry box alone may carry you for a long time. If you print nylon, TPU, or anything engineering-grade, a dryer is close to mandatory. The same logic applies to kids’ setups, where simple materials and easy storage win: a best 3d printer for kids paired with a sealed box of PLA covers most needs without complexity.
Common Mistakes People Make
The most frequent error is buying a dry box expecting it to dry filament. It won’t, and the disappointment leads people to conclude that drying doesn’t matter. It does.
The second mistake is drying too hot. Cranking a dryer to maximum to “speed things up” softens PLA and welds the spool together. Patience beats heat every time.
The third mistake is skipping the hygrometer. Without a humidity reading, you’re guessing. A dry box with saturated desiccant is just a humid box with extra steps. Recharge silica gel by heating it, and replace molecular sieve when it stops pulling humidity down.
The fourth mistake is leaving dried filament out on the printer overnight. You did the work, then undid it. Move the spool straight from dryer to dry box.
Practical Tips That Actually Work
Start by identifying whether your filament is wet. Stringing, popping sounds, cloudy extrusion, and brittle filament that snaps when bent are all signs. If you suspect moisture, dry first.
Use the right temperature for the material, and give it enough time. Thin filament dries faster than thick, and a soaked nylon spool may need many hours. Don’t rush it.
Store everything in sealed boxes with desiccant and a hygrometer. Label spools with the date they were last dried so you’re not guessing months later.
For multi-material printing, consider a dryer with feed-through ports so filament prints directly from a dry environment. This is especially valuable for hygroscopic materials on long prints. Anyone comparing machines for this kind of work will find the best 3d printer for beginners roundups useful for matching hardware to material needs. (3D printing)
Cost, Space, and the Honest Trade-Off
A dry box costs almost nothing and takes minimal space. A filament dryer costs more, needs an outlet, and occupies bench space. Neither is expensive relative to the cost of ruined spools and failed prints, but budgets are real. (Mold)
The balanced answer for most makers is a two-part kit: one modest dryer for fixing wet spools, plus one or two sealed boxes for storage. That combination handles every material and every season. If money is tight, build the dry box first, then save for a dryer. If you print nylon or TPU regularly, buy the dryer first because you’ll need it constantly.
There’s also a maintenance angle worth mentioning. Desiccant wears out, and dryers need their filters and fans kept clean. Neither system is set-and-forget, but both are low-effort once you build the habit. The same discipline that keeps a washing machine with dryer best brand running well applies here: small routine checks prevent big failures.
Why This Matters More Than Ever
Filament quality varies, and storage conditions vary even more. A spool that prints perfectly in a dry workshop can fail in a humid basement. Understanding the difference between active drying and passive storage is the single most useful piece of knowledge a maker can carry into a new season. It also connects to broader questions about how hardware and infrastructure decisions shape outcomes, a theme that shows up in surprising places, from AI philanthropy debates to how households choose appliances.
The takeaway is simple. Dry boxes store. Dryers fix. Use both, in that order, and your prints will look the way they’re supposed to.
Conclusion
The filament dryer vs dry box question has a clean answer once you separate the two jobs. A dry box prevents moisture from getting into filament you’ve already dried. A filament dryer removes moisture that’s already inside. Neither replaces the other, and buying one expecting it to do both jobs is the mistake that trips up most makers.
The workflow that works is straightforward: dry wet filament actively at the correct temperature for its material, then store it sealed with fresh desiccant and a hygrometer. Label your spools, recharge your desiccant, and never leave a dried spool sitting open on the printer overnight. Do that, and wet filament stops being a mystery and becomes a problem you solve in an afternoon. Whether you’re running a starter machine or a best beginner 3d printer setup, the same rules apply, and they cost far less than replacing ruined spools.
Frequently Asked Questions
Can a dry box dry wet filament?
No. A dry box uses desiccant to keep already-dry filament from absorbing moisture, but it lacks the heat and airflow needed to pull water out of the plastic. If your filament is wet, you need an active dryer first. A dry box with saturated desiccant can actually trap moisture against the spool.
How long does it take to dry filament?
It depends on the material, the spool, and how wet it is. Thin filament dries faster than thick, and lightly damp PLA may need only a few hours while soaked nylon can take much longer. Follow the manufacturer’s recommended temperature and time, and check results by test printing rather than guessing.
What temperature should I use to dry PLA?
PLA softens at a relatively low temperature, roughly 55 to 60 degrees Celsius, so stay below that to avoid fusing the spool. Most dryers run PLA cycles in the 40 to 50 degree range. Always check your specific filament’s guidance, since formulations vary and overheating is the most common way people ruin a spool.
Do I really need a hygrometer in my dry box?
Yes, it’s one of the cheapest and most useful additions. Without a humidity reading, you can’t tell whether your desiccant is still working. You want internal humidity to stay low, and if the number creeps up, it’s time to recharge or replace the desiccant. Guessing leads to wet filament and confusing print failures.
Is a filament dryer worth it for PLA only?
It can be, especially in humid climates or during summer. PLA is fairly forgiving, but wet PLA still pops, strings, and prints with weak layer adhesion. If you only print PLA and live somewhere dry, a good dry box may be enough. If you see moisture symptoms, a dryer pays for itself quickly.
Can I print directly from a filament dryer?
Many models include feed-through ports that let you print straight from the dryer, which is excellent for hygroscopic materials on long prints. Not all dryers support this, so check before buying. Printing from a dry box with a feed port works too, as long as the filament inside is already dry.



