
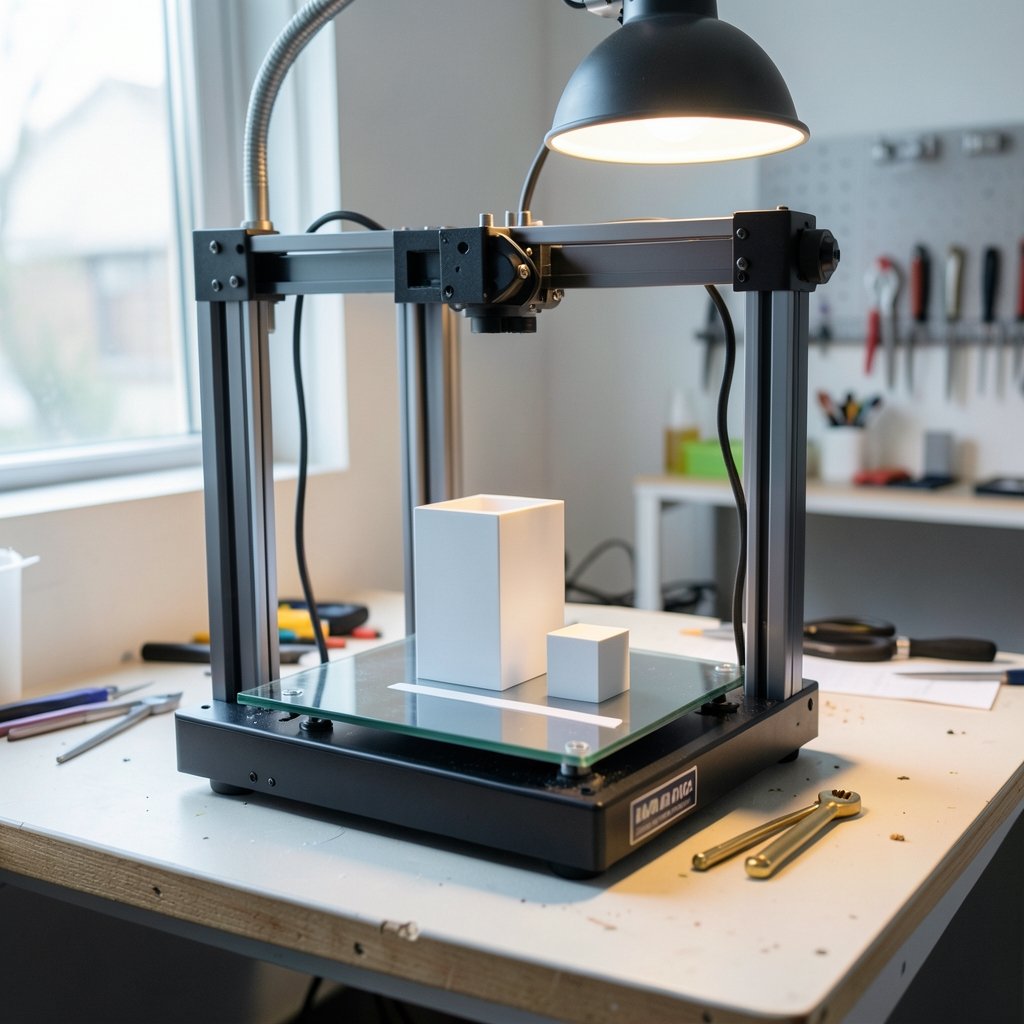
Ever noticed how your 3D prints look perfect on long, straight walls but turn into a mess of bulging corners and wavy seams? That is almost never a mechanical problem. It is a pressure problem, and pressure advance calibration is the fix.
Pressure advance is one of those settings that separates a decent print from a genuinely sharp one. It controls how the extruder responds when the nozzle speeds up, slows down, or changes direction. Get it right and corners crisp up, seams tighten, and surface finish improves across the board. Get it wrong and you either get rounded, bulging edges or thin, gappy walls that look under-extruded.
This guide walks through what pressure advance actually does, how to calibrate it on Klipper and Marlin, which test methods work best, and the mistakes that trip up even experienced users. No fluff, just the process.
What Pressure Advance Actually Does
Inside the hotend, molten plastic behaves a bit like a spring. When the extruder pushes filament, pressure builds up gradually. When the toolhead slows down or stops, that stored pressure keeps pushing plastic out of the nozzle for a moment longer than it should.
The result is uneven extrusion. During acceleration, the nozzle is starved because pressure has not built up yet. During deceleration, it over-extrudes because pressure is still bleeding off. On a long straight line at constant speed, you never notice. At corners, seams, and short segments, it shows up immediately.
Pressure advance compensates by telling the firmware to push slightly more filament during acceleration and slightly less during deceleration. Marlin calls this feature Linear Advance and controls it with a K-factor. Klipper calls it pressure advance and sets it with a single value. RepRapFirmware has a comparable feature under the same name.
The core idea is identical across all three: predict the pressure lag and pre-empt it.
Why It Matters More Than Most People Realize
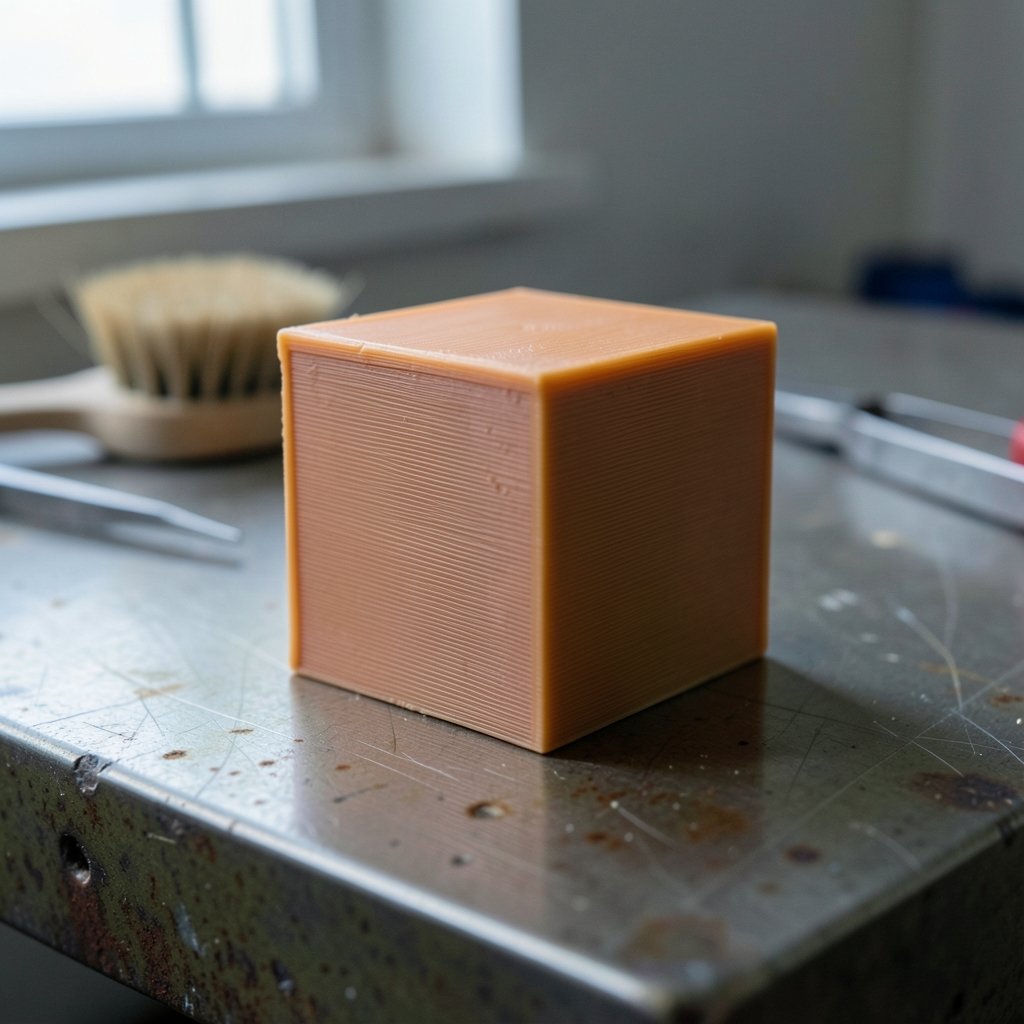
Many users spend hours tweaking retraction, temperature, and flow before ever touching pressure advance. That is backwards. Pressure advance affects nearly every aspect of extrusion quality:
- Sharp corners. Under-tuned PA gives bulging corners; over-tuned PA gives rounded, gappy ones.
- Clean seams. The seam is where a layer starts and stops, which is exactly where pressure lag bites hardest.
- Consistent top surfaces. Short infill lines and small features benefit enormously.
- Better dimensional accuracy. Consistent line width means parts that actually fit.
If you are still choosing hardware, it helps to know that the best 3d printer for beginners models often ship with firmware that supports this feature out of the box, which makes learning the process much easier. Even a best budget 3d printer can run pressure advance if the firmware is modern enough.
Firmware Naming: Same Idea, Different Labels
Before calibrating, confirm what your firmware calls the feature. This table clears up the confusion.
| Firmware | Feature name | Command | Typical unit range |
|---|---|---|---|
| Klipper | Pressure advance | SET_PRESSURE_ADVANCE | 0.02–0.06 direct drive; 0.3–1.0+ Bowden |
| Marlin | Linear Advance | M900 | K-factor, roughly 0.0–2.0 |
| RepRapFirmware | Pressure advance | M572 | Similar scale to Klipper |
Those ranges are community ballparks, not official specs. Direct-drive extruders with short filament paths need far less compensation than long Bowden tubes, where the filament itself absorbs and releases energy like a spring.
Before You Calibrate: The Prerequisites
Skipping prep work is the single biggest reason calibrations fail. Pressure advance sits on top of several other settings, and if those are wrong, the PA value you find will be wrong too.
Step 1: Verify E-steps or rotation distance
If the extruder is not moving exactly the requested amount of filament, nothing downstream can be trusted. Calibrate e-steps (Marlin) or rotation distance (Klipper) first.
Step 2: Dial in flow
Print a flow test or measure single-wall thickness with calipers. A flow error of 5% will skew your PA results. Get flow within about 1% before moving on.
Step 3: Tune temperature and cooling
Pressure advance is material-dependent and temperature-dependent. A value tuned at 210°C for PLA will not transfer cleanly to PETG at 240°C. Pick your temperature first and keep it fixed during testing.
Step 4: Calibrate input shaping first (Klipper users)
This one catches people out constantly. Input shaping changes how the toolhead accelerates, and acceleration is exactly what pressure advance compensates for. Tune resonance compensation first, then pressure advance. Doing it in the reverse order means redoing your PA work.
Step 5: Confirm retraction is sane
Wildly excessive retraction can mask or exaggerate PA symptoms. Set a reasonable retraction distance and leave it alone during calibration.
The Tower Method: Klipper’s Standard Approach
The most widely used method is a test tower where the pressure advance value changes at each height band. The slicer inserts a command at every layer change, incrementing the PA value as the print rises.
Here is the practical workflow:
- Slice a hollow tower roughly 40mm tall with a single perimeter and no infill.
- Add layer-change gcode that increases PA by a small step each layer, covering a range around your expected value.
- Print it and examine the corners under good light.
- Find the height band where corners are sharpest with no bulging and no gaps.
- Calculate the PA value for that band and set it in your config.
The tell-tale signs are easy to read once you know them. Low PA values show bulging, rounded corners where excess plastic piles up. High PA values show gaps, thin walls, and corners that look carved away. The sweet spot sits between them, usually a band two or three layers tall.
The Pattern Method: Faster and More Precise
Many tuners now prefer the line or pattern test over the tower. Instead of a tall print, the firmware or a macro prints a series of short lines or small shapes side by side, each at a different PA value.
The advantage is speed and clarity. You compare lines directly against each other in a single view rather than judging layers at different heights. The best line is the one with the most uniform width from start to finish, with clean starts and ends.
This method works especially well because it isolates the acceleration and deceleration events. You are not distracted by layer adhesion or cooling differences.
Marlin’s Linear Advance Pattern
Marlin users have an equivalent tool: the Linear Advance pattern generator. It produces a gcode file that prints lines at a range of K-factor values, letting you pick the best one visually.
The process mirrors the Klipper approach:
- Generate the pattern with your expected K-factor range.
- Print it at the same temperature and speed you use for real parts.
- Inspect the lines for the most consistent extrusion.
- Set the K-factor with M900 and save it to EEPROM.
One caveat worth checking: Linear Advance support has shifted between Marlin versions over the years. Confirm that your specific firmware build includes it before planning a calibration session, because some builds ship without it enabled.
Reading the Results Correctly
Judging test prints is where most people go wrong. A few practical tips make it far more reliable.
Use consistent lighting. Raking light across the surface reveals bulges and gaps that diffuse overhead light hides. A single desk lamp at a low angle works well.
Look at the corners, not the flats. The flats will look fine at almost any PA value. The corners and the seam are where the information lives.
Print at realistic speeds. If you calibrate at 40mm/s but print at 150mm/s, the value will not transfer. Calibrate at or near your actual print speed, or at least at a speed where acceleration matters.
Check both directions. Some tests reveal asymmetry between X and Y, which can point to belt tension or mechanical issues rather than PA.
Do not chase perfection on the first try. Get close, then run a second, narrower test around your best value. Two quick iterations beat one exhaustive one.
Common Mistakes That Wreck Calibration
Even careful users hit these. Here are the ones that show up most often.
- Calibrating before input shaping. Acceleration behavior changes everything. Fix resonance first.
- Changing filament mid-test. Different materials need different values. Finish one material completely.
- Ignoring temperature drift. A part-cooling fan blowing on the hotend can shift effective melt temperature mid-print.
- Using someone else’s value. A PA value from a forum post is meaningless on your machine. Hardware, nozzle, and filament all change the number.
- Forgetting to save. Setting PA with a console command without persisting it to the config means it vanishes on restart.
- Over-advancing to fix stringing. PA is not a stringing fix. Excessive PA creates gaps and weak walls.
How Often Should You Recalibrate?
Pressure advance is not a set-and-forget value, but it is also not something you need to revisit weekly. Recalibrate when any of these change:
- Filament type or brand (PLA to PETG, or a new supplier)
- Nozzle diameter
- Extruder hardware or a major hotend change
- Significant print temperature change
- Firmware update that alters motion behavior
For a fixed setup printing the same material, one good calibration can last months. Many users keep a small table of PA values per filament and swap them as needed, which is far more efficient than reprinting test towers every time. (3D printing)
If you are setting up a machine for a younger maker, note that the best 3d printer for kids often uses simplified firmware where PA tuning is either preset or unnecessary, which is one less thing to manage. For anyone stepping up from a first machine, checking the best beginner 3d printer options is worthwhile because modern firmware support makes calibration far less painful than it used to be. (Prusa Research)
Pressure Advance and Print Speed: The Hidden Link
Here is something worth understanding deeply: pressure advance and speed are entangled. Higher print speeds mean higher acceleration demands, which means more pressure lag to compensate for. A PA value tuned at slow speeds can under-perform at high speeds.
The practical fix is to calibrate at the speed you actually print. If you routinely print at 120mm/s with 3000mm/s² acceleration, tune there. If you switch to a slow, detailed profile, the same PA value will usually still work acceptably, but the reverse is not true.
Some advanced setups use per-material and per-profile PA values in the slicer, swapping them automatically. That is the professional approach, and it is worth adopting once you have a few reliable values dialed in.
A Quick Sanity Check Before You Commit
Once you have a candidate value, print a small real-world part rather than another test. A calibration cube with sharp corners or a small bracket with holes and edges will reveal problems fast. Check for:
- Corners that are sharp but not bulging
- Seams that are tight without gaps
- Walls of consistent thickness when measured with calipers
- No under-extrusion on short top-surface infill lines
If all four look good, you are done. If corners bulge, nudge PA up. If corners look carved or walls thin out, nudge it down. Small increments, one change at a time.
Conclusion
Pressure advance calibration is one of the highest-return tweaks available to any FDM user. It costs a single test print and a few minutes of inspection, and it pays off in sharper corners, cleaner seams, and more consistent walls on every part you make afterward.
The process is straightforward once the order is right: verify extrusion, dial in flow, fix temperature, tune input shaping, then calibrate pressure advance at realistic speeds. Read the corners, not the flats. Iterate twice rather than once. Save the value and keep a record per material.
Get those steps in the right order and the results speak for themselves. The corners stop bulging, the seams stop gaping, and the printer finally behaves like the precision machine it was sold as.
Frequently Asked Questions
What is the difference between pressure advance and Linear Advance?
They are the same concept under different names. Klipper and RepRapFirmware call it pressure advance; Marlin calls it Linear Advance and controls it with a K-factor via M900. The underlying goal, compensating for molten plastic’s pressure lag during acceleration and deceleration, is identical across all three.
What is a normal pressure advance value?
For direct-drive extruders, values typically land between 0.02 and 0.06 in Klipper units. Bowden setups often need 0.3 to 1.0 or higher because the longer filament path absorbs and releases more energy. These are rough community ranges, not official specs, and every machine differs.
Should I calibrate pressure advance before or after input shaping?
Always after input shaping on Klipper. Input shaping changes how the toolhead accelerates, and acceleration is precisely what pressure advance compensates for. Calibrating PA first means redoing the work once resonance compensation is enabled.
Can pressure advance fix stringing?
No. Pressure advance addresses extrusion consistency during speed changes, not oozing between travel moves. Stringing is better solved with temperature, retraction, and travel speed adjustments. Cranking PA up to fight stringing usually creates gaps and weak walls instead.
How often do I need to recalibrate?
Recalibrate whenever you change filament type or brand, nozzle diameter, extruder hardware, or print temperature significantly. For a stable setup printing the same material, one good calibration can last months. Keeping a per-filament value table saves considerable time.
Does pressure advance work with all filaments?
It works with any filament, but the correct value varies by material because different polymers have different melt viscosities. PLA, PETG, ABS, and TPU each need their own calibration. Flexible filaments in particular behave quite differently and often need careful, incremental tuning.



