
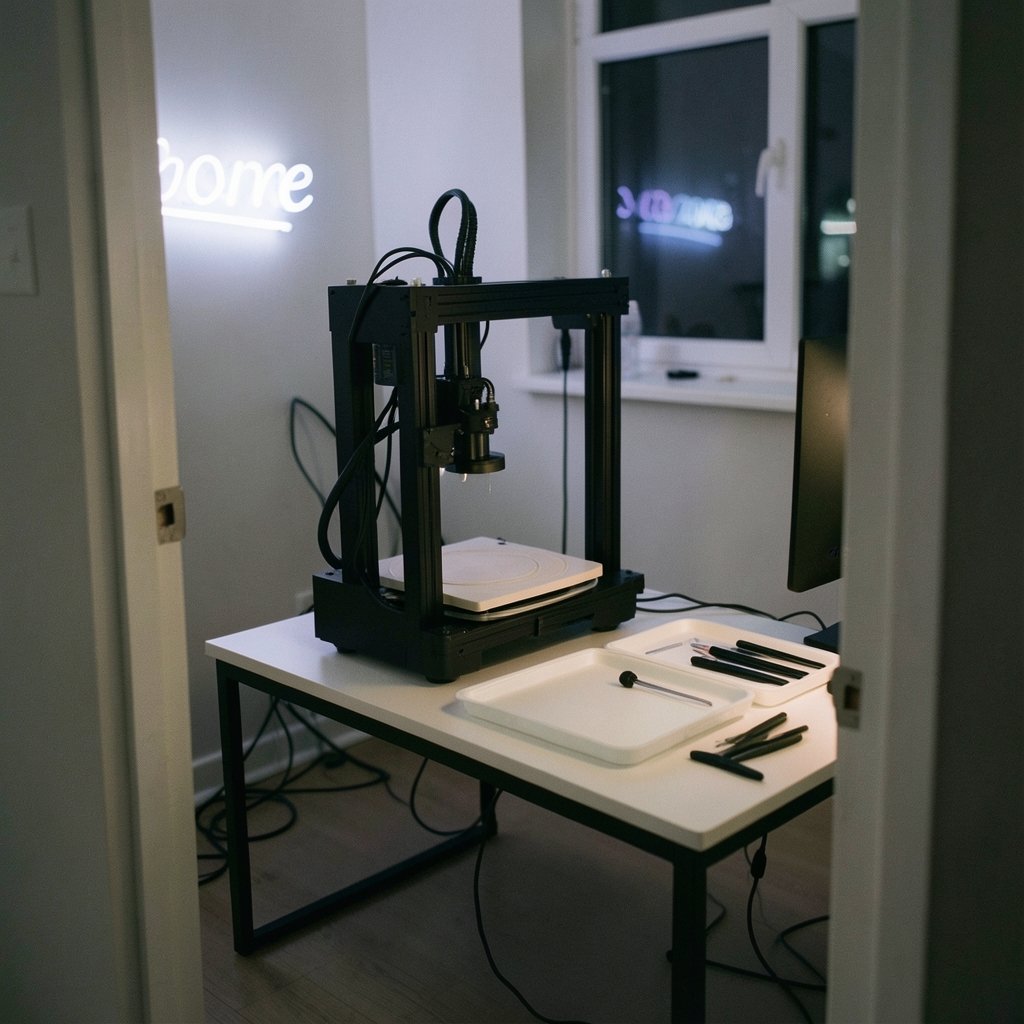
Why does the same 3D printer produce a perfect first layer in the center of the bed and a squashed, rippled mess in the back-left corner? In most cases, the hardware is fine. The printer simply knows nothing about the shape of its own build plate. A bed leveling mesh is the fix, and once you understand what it actually does, a huge chunk of first-layer frustration disappears.
What a Bed Leveling Mesh Actually Is
A bed leveling mesh is a grid of height measurements taken across the print bed and stored in the printer’s firmware. Each point in the grid records how far the nozzle sits from the bed at that spot. During printing, the firmware reads the nearest measurements and raises or lowers the nozzle in tiny increments as it moves, so the gap between nozzle and bed stays consistent everywhere. (3D printing)
The key idea: a mesh does not make the bed flat. It maps the bed’s imperfections and compensates for them in software. A warped plate, a dip in the middle, a high corner from a slightly bent carriage — all of it gets captured as numbers rather than fought with a screwdriver.
This matters because almost no bed is truly flat. Aluminum plates bow under heat. Glass can be slightly concave. Magnetic sheets vary in thickness. A mesh turns those physical realities into data the printer can work with, which is why mesh leveling has become standard on everything from budget machines to high-end enclosed printers.
How the Printer Builds the Mesh
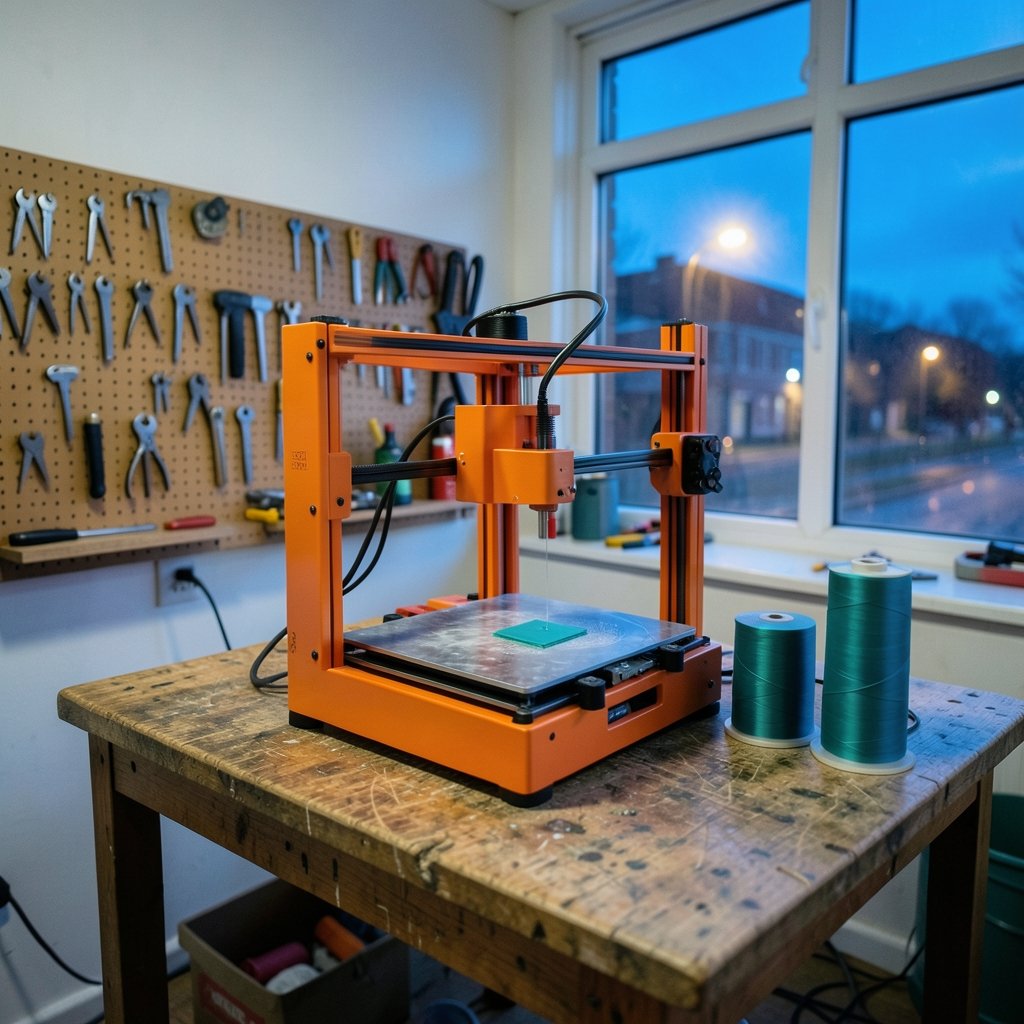
The process follows a predictable sequence on most machines:
- Homing. The printer finds its X, Y, and Z reference points, usually with an endstop or a probe touching the bed.
- Probing. The nozzle or a dedicated probe visits a grid of points — commonly 3×3 up to 9×9 — and records the Z height at each one.
- Storage. The firmware saves those values, either in EEPROM or in a mesh profile you can reload later.
- Compensation. During printing, firmware interpolates between the nearest probed points and adjusts Z on the fly.
On Marlin-based firmware, the G29 command runs auto bed leveling and builds the mesh, while M420 S1 turns mesh compensation on or off. Many users add M420 S1 to their start G-code after G28 so the saved mesh is active for every print. On Klipper, the equivalent is BED_MESH_CALIBRATE, and meshes are stored as named profiles you can switch between. Prusa firmware calls it Mesh Bed Leveling and typically uses a smaller grid by default.
Exact command names, default grid sizes, and menu paths differ between firmware versions and printer models, so check the current documentation for your specific machine rather than trusting a tutorial from three years ago.
Probe Types and What They Mean for Mesh Quality
Not all leveling hardware measures the same way, and the difference shows up in mesh accuracy.
| Probe type | How it works | Typical strength | Typical weakness |
|---|---|---|---|
| Inductive probe | Detects metal via magnetic field | Fast, no moving parts | Only works on metal beds; heat-sensitive |
| Capacitive probe | Detects distance via capacitance | Works on glass and metal | Drifts with temperature and humidity |
| BLTouch-style probe | Physical pin touches the surface | Works on any surface | Pin can bend or jam; needs careful setup |
| Strain gauge | Nozzle itself contacts the bed | No extra hardware | Slower; nozzle must be clean |
| Manual mesh | User jogs to each point with paper | Free, works on anything | Slow, human error, inconsistent feel |
Manual mesh leveling deserves more respect than it gets. On older or very cheap printers with no probe, walking a 3×3 or 5×5 grid with a sheet of paper and entering the offsets produces genuinely usable results. It is tedious, but it beats printing on an unmapped bed.
One practical tip that saves hours: heat the bed before probing. A cold aluminum plate can bow noticeably once it reaches 60°C, so a mesh captured cold may be wrong exactly when it matters. Many firmwares let you add a bed-soak pause in the start G-code — a few minutes of waiting after the bed reaches temperature — which is one of the most underrated fixes for inconsistent first layers.
Grid Density: More Points Is Not Automatically Better
A 3×3 mesh samples nine points. A 9×9 mesh samples eighty-one. The finer grid captures small-scale warp that a coarse grid smooths over, but it also takes longer and, on some machines, probes so close to the edge that the results get noisy.
Here is the trade-off in plain terms:
| Grid | Probe time (typical) | Best for |
|---|---|---|
| 3×3 | Under a minute | Flat, rigid beds; quick daily checks |
| 5×5 | 1–3 minutes | Most hobby printers; a solid default |
| 7×7 to 9×9 | 3–8 minutes | Large beds, known warp, high-precision work |
A 5×5 grid is the sweet spot for most people. If the bed is genuinely warped across a large area, a finer grid helps — but only if the probe is repeatable. Probing the same point twice and getting different numbers means the problem is the probe or the motion system, not the grid resolution. Fix repeatability first; density second.
Bilinear Versus Unified Bed Leveling
Marlin offers two main mesh systems, and the names confuse people.
Bilinear leveling fits a simple surface through the probed points and interpolates between them. It is fast, memory-light, and handles gentle warp well. For most beds, it is entirely sufficient.
Unified Bed Leveling (UBL) is the heavier tool. It supports finer meshes, lets you edit individual mesh points by hand, and can store multiple meshes. UBL shines when a bed has a localized defect — a single low spot in the middle, for example — that you want to correct without re-probing everything. It also lets you build a mesh once and reload it for many prints.
The practical rule: start with bilinear. Move to UBL only if you have a specific problem that bilinear cannot solve, or if you enjoy having fine-grained control. UBL adds configuration complexity that many users never need.
The Mistakes That Wreck an Otherwise Good Mesh
A mesh only helps if the data going into it is sound. These are the errors that show up again and again:
Probing a dirty or oily bed. A fingerprint or a blob of glue stick changes the probe trigger point. Wipe the plate before probing as well as before printing.
Assuming a mesh replaces mechanical leveling. It does not. If one corner of the bed is 3mm higher than another, fix the hardware first. Meshes compensate for millimeters of warp, not for a bed that is visibly tilted. Tram the bed with the adjustment screws, then let the mesh handle the small stuff.
Forgetting to enable the mesh. Building a mesh and never loading it is startlingly common. If your start G-code runs G28 (home) after loading the mesh, some firmware clears the mesh state — which is why M420 S1 belongs after homing, not before.
Ignoring Z-offset. The mesh handles relative height differences across the bed. The Z-offset sets the overall nozzle-to-bed gap. These are separate settings, and a perfect mesh with a bad Z-offset still produces a failed first layer. Tune the offset with a first-layer test print after the mesh is active.
Chasing mesh perfection instead of print results. A mesh with a couple of odd-looking numbers can still produce beautiful prints. Judge the mesh by the first layer, not by how pretty the numbers look in the terminal.
When a Mesh Is the Wrong Tool
Mesh leveling is powerful, but it is not a cure-all. It will not fix a loose eccentric nut, a wobbly gantry, or a bed that shifts during printing. It also struggles with extremely uneven beds — if the variance across the plate is large, the nozzle will be dragged through high spots or float above low ones no matter what the firmware does.
There is also a hardware angle worth knowing. Printers with poor motion rigidity produce inconsistent probe readings, and no amount of mesh density fixes that. This is one reason community advice often points new buyers toward machines with solid frames and reliable probes; the same logic applies when people compare options like the best beginner 3D printer or weigh up the best budget 3D printer — a machine that holds its geometry makes leveling almost boring, which is exactly what you want.
A Practical Workflow That Works
For a printer with an auto-leveling probe, this sequence covers most situations:
- Heat the bed (and nozzle, if your firmware probes hot) to printing temperature and let it soak for a few minutes.
- Clean the build surface thoroughly.
- Tram the bed mechanically so all corners are within a small tolerance.
- Run the leveling command to build a fresh mesh.
- Save the mesh to EEPROM or as a profile.
- Confirm the mesh is active in your start G-code.
- Print a single-layer test patch and adjust Z-offset live.
- Re-probe only when you change plates, move the printer, or see first-layer drift.
Re-probing before every single print is usually unnecessary and wastes time. A saved mesh stays valid until the hardware changes. Many experienced users re-probe weekly or after maintenance, not hourly.
For households where a child uses the printer, this workflow becomes even more valuable, because a saved mesh means fewer manual adjustments between sessions. The same reasoning that guides people choosing the best 3D printer for kids — reliability over tinkering — applies directly to leveling strategy.
How Mesh Leveling Fits Into the Wider Printer Setup
Bed leveling is one subsystem among several, and it interacts with everything else. Slicer settings, filament quality, and nozzle condition all influence the first layer as much as the mesh does. Someone comparing machines for a first purchase will notice that reviewers rarely judge a printer on mesh features alone; they judge it on whether the first layer just works. That is the outcome a good mesh delivers, and it is why the topic deserves attention rather than a shrug. (National Institute of Standards and Technology)
It also helps to think in terms of layers of compensation. The mesh corrects the bed’s shape. The Z-offset corrects the global gap. The slicer’s first-layer settings correct flow and speed. Each layer solves a different problem, and mixing them up leads to hours of confused tuning.
Conclusion
A bed leveling mesh is one of the most useful pieces of software in modern 3D printing, and it is also one of the most misunderstood. It does not flatten a bed or replace mechanical tramming. It maps the surface, stores the data, and quietly adjusts the nozzle height so the first layer lands the same way in every corner.
The recipe for success is unglamorous: clean the plate, heat and soak the bed, tram the hardware, build a mesh at a sensible density, save it, and make sure it is actually loaded during printing. Do that, and the mesh becomes invisible — which is precisely the point. When the first layer just works, nobody thinks about the grid of numbers behind it. That is a good mesh doing its job.
Frequently Asked Questions
How often should I run bed leveling?
Re-probe when something changes: a new build plate, a moved printer, maintenance on the hotend or gantry, or a first layer that suddenly drifts. For a stable machine, a saved mesh can last weeks. Re-probing before every print is usually wasted time.
Does a bed leveling mesh fix a warped bed?
It compensates for warp rather than fixing it. Small dips and high spots are handled well. Large-scale warping, or a bed that is visibly tilted, needs mechanical adjustment first, because the mesh can only correct so much before print quality suffers.
What is the difference between bed leveling and Z-offset?
Bed leveling maps height differences across the plate. Z-offset sets the overall gap between nozzle and bed. You need both: a perfect mesh with a wrong Z-offset still gives a failed first layer, and a perfect Z-offset with no mesh gives uneven results across the plate.
Is a 3×3 or 5×5 mesh better?
A 5×5 grid is a good default for most hobby printers. It captures moderate warp without a long probing cycle. Go finer (7×7 or 9×9) only if the bed has known warp across a large area and the probe gives repeatable readings.
Why does my mesh not seem to do anything?
The most common cause is that the mesh is not being loaded during printing. Check that your start G-code enables it after homing, since some firmware clears mesh state when the printer homes. A dirty bed or an unstable probe can also produce a mesh that is technically active but wrong.
Can I level a bed without a probe?
Yes. Manual mesh leveling lets you jog the nozzle to each grid point, set the gap with a sheet of paper, and store the offsets. It is slower and depends on a consistent feel, but it works well on printers without auto-leveling hardware.



