You hit record, glance at the preview, and there it is: dark bands crawling across your face like a slow-motion barcode. The room looks perfectly lit to your eyes. So why does your webcam see a strobe party?
This is one of the most common and most misunderstood problems in home video. The culprit is almost never a broken webcam. It is a timing mismatch between two devices that never agreed to talk to each other: the LED light pulsing on and off many times per second, and the camera sampling the scene at its own fixed rhythm. Once you understand that mismatch, the fixes become obvious, cheap, and in most cases permanent.
The Real Cause: A Timing Mismatch, Not a Bad Camera
LED lamps do not glow steadily. They are driven by power supplies that switch current on and off rapidly. On a 50 Hz electrical grid, the light output typically modulates at 100 Hz (twice the mains frequency); on a 60 Hz grid, it modulates at 120 Hz. Some drivers switch at much higher rates, in the kilohertz range, especially on dimmable bulbs.
Your webcam, meanwhile, captures frames at a fixed rate, usually 30 or 60 frames per second. Each frame is exposed for a slice of time. When the light’s pulse rhythm and the camera’s sampling rhythm fall out of step, the camera catches the lamp at different brightness levels from frame to frame. Your eye averages all of this out and sees steady light. The camera does not. It reports exactly what it caught, and what it caught was a light that was dimmer in some moments than others.
The result shows up in two ways. Sometimes you get brightness pulsing, where the whole image breathes lighter and darker. More often you get rolling horizontal bands, dark stripes that drift up or down the picture. That drifting effect comes from rolling shutter sensors, which expose the top of the image slightly before the bottom. Each row of pixels sees the lamp at a different point in its pulse cycle, so the flicker gets painted across the frame as a gradient of stripes.
None of this is a defect. It is physics doing exactly what it should.
Why Cheap LEDs and Dimmers Make It Worse
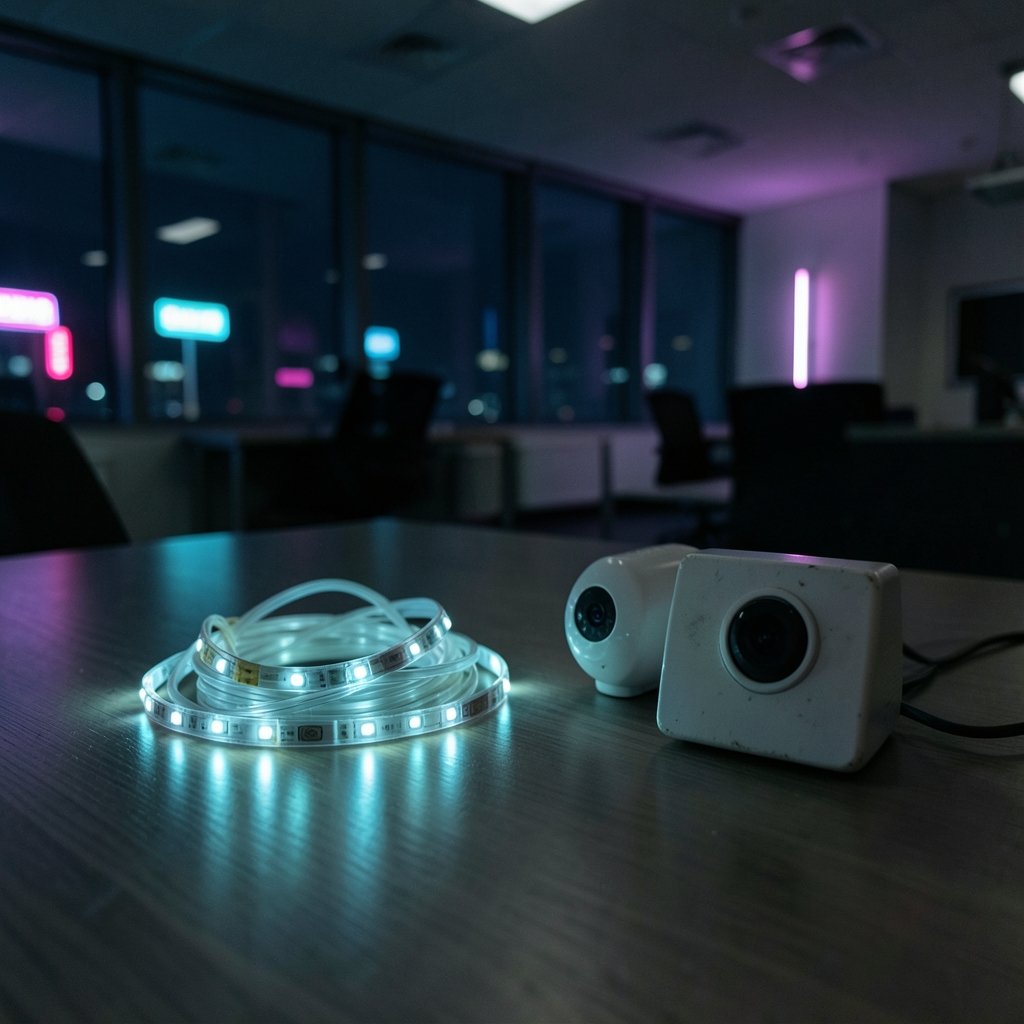
Not all LED lighting flickers equally, and the difference is often invisible until you point a camera at it.
Driver quality is the biggest variable. A well-built constant-current driver smooths out the ripple from the AC supply. A bargain-bin driver may let deep modulation through. Phase-cut dimmers, the kind on a standard wall slider, chop the AC waveform and can produce severe flicker at low dim settings. If your webcam only misbehaves when the dimmer is turned down, you have found your answer in one step.
PWM dimming is the second trap. Many smart bulbs and LED strips dim by switching the LED fully on and off very fast, a technique called pulse-width modulation. At low brightness settings the off periods get longer. Your eye still perceives smooth dimming, but a camera with a short exposure can catch individual pulses, producing banding even in a room that looks calm.
Fluorescent tubes share the same problem. Older magnetic-ballast fluorescents modulate at twice the mains frequency, just like LEDs, so the same anti-flicker settings usually help with both. If you have been blaming your webcam for years and your desk lamp is a fluorescent ring light, that is worth knowing.
The practical lesson: if you are shopping for lighting for a streaming or recording setup, treat flicker behavior as a real spec, not a marketing afterthought. The same principle applies when you are evaluating any budget hardware that claims to do more than its price suggests, which is why roundups like this guide to the best budget earbuds under 50 tend to focus on measurable behavior rather than label claims.
The Exposure Fix That Solves Most Cases
Here is the single most effective fix, and it costs nothing.
Set your exposure time to a whole-number fraction of the flicker period. On a 50 Hz grid, that means 1/100 s or 1/50 s. On a 60 Hz grid, 1/120 s or 1/60 s. When the exposure window lines up exactly with one or more complete flicker cycles, every frame collects the same total amount of light, and the banding disappears.
Most webcams do not expose a raw shutter speed, but many do offer an anti-flicker or 50/60 Hz setting buried in their control panel. That toggle does the math for you. Open your camera software, look for power line frequency or anti-flicker, and switch it to match your region. If you are in North America, pick 60 Hz. In Europe, most of Asia, Africa, and Australia, pick 50 Hz. Getting this wrong is common: people leave it on the default and wonder why nothing changed. (Flicker fusion threshold)
If your webcam software has no such toggle, check the app you are recording in. OBS, for example, lets you lock exposure and set it manually. Third-party utilities that expose the underlying camera controls can also let you set shutter speed on many models.
A Quick Diagnostic Table
| What You See | Likely Cause | First Fix to Try |
|---|---|---|
| Dark bands drifting up or down | Rolling shutter plus mains-frequency flicker | Set anti-flicker to your region’s grid frequency |
| Whole image pulsing bright and dark | Frame rate out of step with light modulation | Lock exposure; match frame rate to grid multiple |
| Bands only when dimmer is low | Phase-cut dimming ripple | Raise dimmer; swap to a better driver |
| Bands only on a smart bulb at low brightness | PWM dimming | Raise brightness; move the bulb farther away |
| Faint high-frequency shimmer | Driver switching noise | Try a different lamp; test with a plain bulb |
Camera Settings Worth Changing
Beyond the anti-flicker toggle, a handful of settings move the needle.
Lock your exposure. Auto-exposure constantly hunts for the right brightness, and that hunting interacts badly with a flickering source. A locked exposure produces a stable, band-free image even if the overall brightness is slightly off. You can correct that with lighting instead.
Match frame rate to a multiple of the grid. At 50 Hz, 25 or 50 fps divides evenly into the flicker cycle. At 60 Hz, 30 or 60 fps does the same. Mismatched frame rates are a frequent cause of whole-frame pulsing.
Avoid the shortest exposures. Very fast shutter speeds catch narrower slices of each pulse, which makes banding more pronounced. If you need more light, add light rather than pushing shutter speed down.
Test one variable at a time. Turn off every lamp except one, check the preview, then swap bulbs. Five minutes of this tells you more than an hour of forum reading. The same disciplined approach pays off when you are comparing hardware: a methodical checklist beats spec-sheet hype, whether you are troubleshooting a camera or reading a breakdown of the best budget laptops under 1000.
When the Problem Is Not the Light
Occasionally the flicker has nothing to do with your LEDs.
USB power problems can cause brightness instability, especially on unpowered hubs or long cable runs. Try a direct port on the machine.
Overloaded USB bandwidth shows up as dropped frames and stuttering, which can look like flicker in the preview. Disconnect other cameras and capture devices and retest.
Auto white balance and auto gain can oscillate in ways that mimic flicker. Lock them and see if the effect stops.
Screen refresh interference is rarer but real: filming a monitor or having a monitor close to the camera can introduce beat patterns. Move the camera a few inches and check.
A failing camera is the least likely explanation, but it happens. Test the same webcam on a second computer before you buy a replacement.
If you are troubleshooting a laptop’s built-in camera, note that some models apply aggressive post-processing that amplifies banding. External webcams often behave better simply because they expose more manual controls. That trade-off comes up constantly in hardware comparisons, including this look at the best 4k tvs under 1000 where panel behavior and processing choices matter just as much as raw specs.
Fixing It in Software and in the Room
Sometimes you cannot change the camera, so change the environment.
Swap the bulb. A different LED lamp with a better driver may solve the problem outright. This is the fastest test available: one bulb, two minutes.
Move the light. Flicker bands are strongest when a single point source dominates. Two lamps at different angles, or a large diffused source, reduce the contrast of the banding even when it is technically still present.
Avoid dimming. Run LEDs at full brightness and control light level with distance, diffusion, or lampshades instead of a dimmer.
Use DC-powered lighting. Battery-powered LED panels and USB-powered lights run on direct current, which means no mains-frequency modulation at all. For streaming setups, this is the cleanest fix available.
Consider incandescent or halogen for key light. Old-fashioned bulbs have thermal inertia: the filament cannot cool fast enough to flicker meaningfully at mains frequency. They are inefficient and hot, but they are flicker-free in practice.
Post-production can rescue footage. Some editors include a deflicker filter that smooths frame-to-frame brightness variation. It works best on whole-frame pulsing and poorly on rolling bands, so treat it as a backup, not a plan.
One more practical note: if you are recording with a phone or a compact camera rather than a webcam, the same rules apply, and the same anti-flicker menu exists. The problem is universal to CMOS imaging, which is why professional cameras ship with a dedicated flicker-reduction mode.
Common Mistakes That Waste Time
People lose hours to the same handful of errors.
Assuming the webcam is broken. It almost never is. Buy a new one and the bands come right back.
Leaving anti-flicker on the wrong region. The default is often 60 Hz regardless of where you live. Check it explicitly.
Blaming the monitor. The bands are in the captured image, not on your screen. Record a clip and play it back on another device to confirm.
Chasing firmware updates first. Updates rarely fix flicker. Settings do.
Ignoring the dimmer. If the problem appears only at certain brightness levels, the dimmer is the story.
Testing with the wrong lamp. A phone flashlight or a DC bench light will not reproduce the issue. Test with the actual lamp in the actual room.
Conclusion
Webcam flicker under LED lighting is a timing problem, and timing problems have timing solutions. The light pulses at twice your mains frequency; the camera samples at its own pace; when the two do not line up, you get bands. Set your anti-flicker control to the correct grid frequency, lock your exposure, match your frame rate to a clean multiple, and swap any dimmer or bargain bulb that refuses to cooperate. In the vast majority of setups, that sequence ends the problem in under ten minutes. When it does not, the cause is usually power delivery or a second light source you forgot was on. Either way, the fix is cheaper than a new camera, and you now know exactly where to look.
Frequently Asked Questions
Why does my webcam flicker only with some LED bulbs?
Bulbs differ enormously in driver quality. A well-smoothed constant-current driver produces almost no modulation; a cheap one lets deep ripple through. Dimming circuits and PWM-based smart bulbs add more. The camera is reporting a real difference between lamps, not malfunctioning.
Does anti-flicker setting really fix banding?
It fixes the most common cause. The setting aligns exposure with the local grid frequency, so each frame collects a complete flicker cycle. It will not help if the flicker comes from PWM dimming at kilohertz rates or from a failing USB connection, which is why testing one variable at a time matters.
Should I set 50 Hz or 60 Hz?
Match your local electrical grid. North America, parts of South America, and much of Japan use 60 Hz. Europe, most of Asia, Africa, and Australia use 50 Hz. If you are unsure, try both and watch the preview: the correct setting removes the bands almost instantly.
Can flickering damage my webcam?
No. The camera is recording accurately; the light is genuinely modulating. There is no wear or harm involved. The only cost is unusable footage, which is a workflow problem rather than a hardware one.
Why do bands drift up or down the image?
That drift comes from rolling shutter sensors, which expose rows sequentially rather than all at once. Each row catches the lamp at a slightly different point in its pulse, and small frequency differences between camera and light make the pattern crawl. Global-shutter sensors reduce this but do not eliminate it entirely.
Is it better to fix flicker with lighting or with camera settings?
Camera settings first, because they are free and instant. If a settings change does not clear it, switch to DC-powered lighting or replace the offending bulb. Most people find the combination of correct anti-flicker setting plus one bulb swap solves it permanently.