
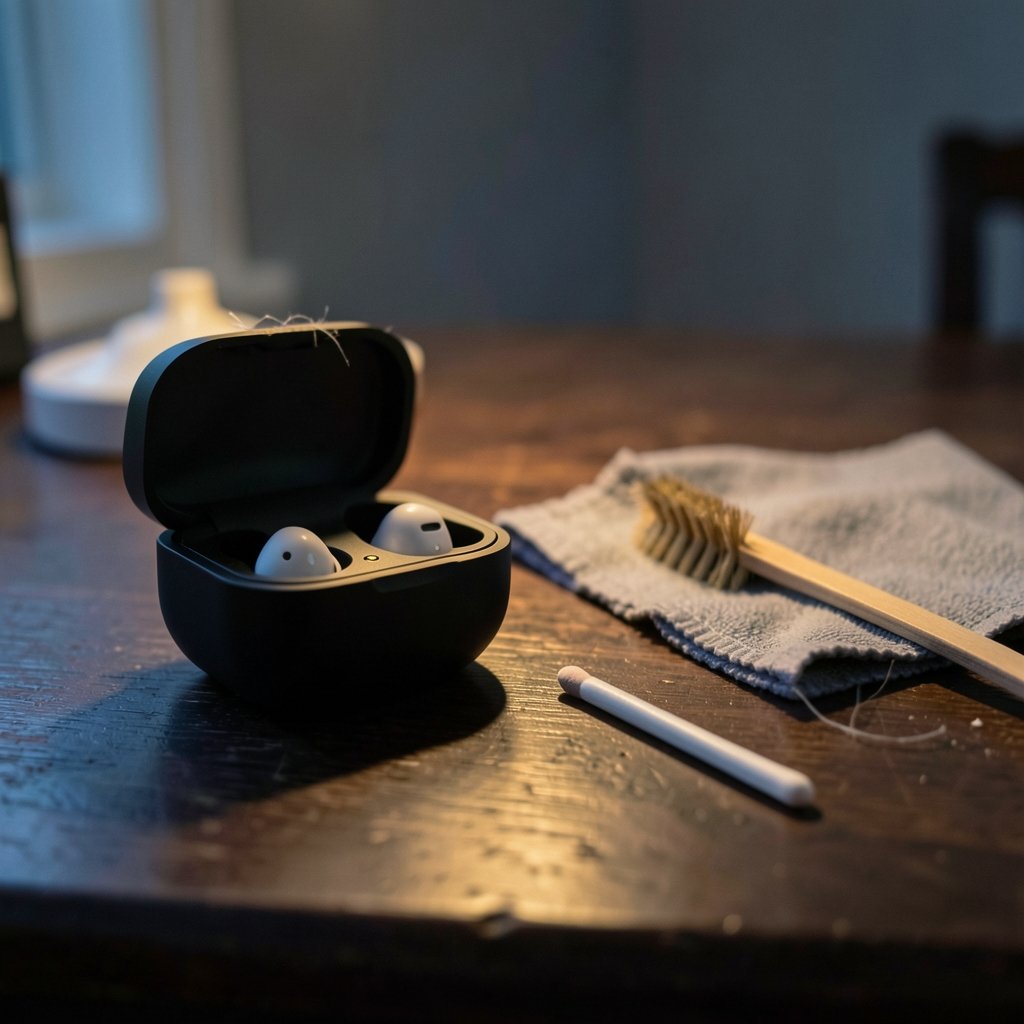
Why do your wireless earbuds suddenly refuse to charge, even when the case is full and the cable works fine? Nine times out of ten, the answer is hiding in plain sight: a thin, invisible film of oil, sweat, and pocket lint coating the tiny metal charging contacts. It is one of the most common and most fixable problems in personal audio, yet most people never think to look there. This guide walks through what actually works, what quietly ruins contacts, and how to build a cleaning habit that keeps your earbuds charging reliably for years.
What the Charging Contacts Actually Do
Every true wireless earbud has at least two small metal pads on its body, and the case has matching spring-loaded pins. When the bud drops into its slot, those surfaces touch and complete a low-voltage circuit that tops up the battery. The whole system depends on clean, direct metal-to-metal contact. (Best wireless earbuds for working out)
The problem is that this contact point sits exactly where your body leaves the most residue. Earwax migrates down the housing. Sweat dries into a salty crust. Skin oils transfer every time you handle the buds. Add lint from a pocket or bag, and you get a insulating layer that is often thinner than a human hair but stubborn enough to block current.
The result is a familiar set of symptoms:
- One earbud charges while the other stays dead
- The case shows a red or amber light that never turns green
- The bud charges only when you press it down with a finger
- Battery percentage jumps around or drops the moment you unplug the case
- A bud works fine after 20 minutes in the case, then dies in 10
If any of that sounds familiar, the hardware is probably fine. The contact surface is not.
Why Contacts Fail in the First Place
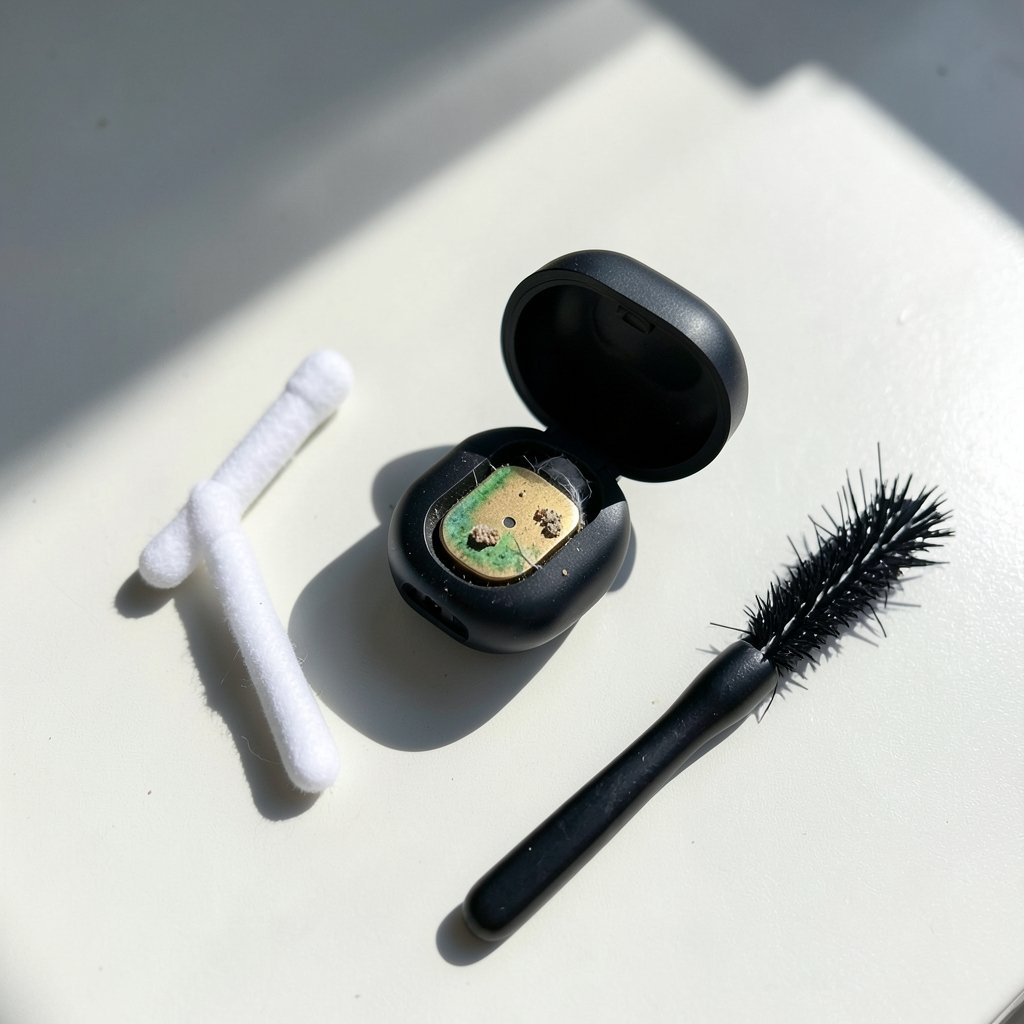
Understanding the failure mode makes cleaning far more effective, because you stop scrubbing randomly and start targeting the actual culprit.
Oil and sweat films. Human skin produces sebum, and sweat leaves behind salts and minerals when it evaporates. Both are poor conductors. A microscopic layer is enough to raise resistance at the contact point, and the charging circuit reads that resistance as “no device present.”
Earwax and debris. Earwax is sticky and hydrophobic. It catches dust and lint, then hardens. Once it bridges the gap between the pad and the pin, contact becomes intermittent at best.
Lint and pocket fuzz. Case lids are not airtight. Fabric fibers work their way in and settle exactly where the pins retract.
Corrosion. When moisture sits on contacts for long periods, the metal begins to oxidize. A greenish tint on the pads is the classic sign of copper corrosion. Light surface corrosion usually cleans off. Pitting that has eaten into the plating may be permanent, which is why prevention matters more than aggressive cleaning.
Mechanical wear. Spring pins lose tension over time. If a bud only charges when you press it down, the pin may be tired rather than dirty. Cleaning will not fix that, but it will rule out the easy explanation first.
The Tools That Work, and the Ones That Cause Damage
The right cleaning kit costs almost nothing and lives in a drawer. The wrong tools can strip the gold or nickel plating off a contact in a single enthusiastic session.
| Tool | Verdict | Why |
|---|---|---|
| Cotton swab | Excellent | Reaches into slots, holds just enough liquid |
| Soft microfiber cloth | Excellent | Safe for pads and case interior |
| 70% isopropyl alcohol | Good, used sparingly | Evaporates fast, leaves no residue |
| Wooden toothpick | Good | Gentle enough to lift wax without scratching |
| Clean soft-bristle brush | Good | Dislodges lint from recessed pins |
| Pencil eraser | Use with care | Works on flat pads, can leave residue |
| Sandpaper or emery board | Avoid | Strips plating, invites corrosion |
| Metal pin, needle, or knife | Avoid | Scratches plating and can short pins |
| Household spray cleaner | Avoid | Leaves films and can damage seals |
| Tap water rinse | Avoid | Moisture trapped in the case is worse than dirt |
A note on solvents: isopropyl alcohol is the standard choice for metal contacts because it dissolves oils and flashes off quickly. Some manufacturers specify only a dry cloth, and a few warn against solvents near the contact area entirely. Check the guidance for your specific model before reaching for a bottle. When in doubt, start dry and escalate only if dry cleaning fails.
Step-by-Step: Cleaning the Earbuds
Work over a clean, well-lit surface with a towel underneath. Small parts love to bounce.
- Power down and remove the buds from the case. Turn them off if your model has a manual off switch, and unplug the charging cable from the case.
- Inspect the pads with a light. Look for dark smudges, wax, or green tint. Photograph the contacts with your phone camera zoomed in if your eyesight needs help.
- Dry-brush first. Use a dry cotton swab or soft brush to lift loose lint and wax. Do this before any liquid, so you are not pushing debris into the recess.
- Dampen, do not soak. Put a drop of 70% isopropyl alcohol on a fresh swab and blot it on a paper towel so it is barely damp.
- Swab the pads in one direction. Gentle pressure, a few passes. Do not flood the area or let liquid run into seams, microphone ports, or speaker grilles.
- Use a toothpick for hardened wax. Work at the edges of the pad, not the center, and never dig at the metal itself.
- Let it dry completely. Give it two to three minutes. Alcohol evaporates quickly, but trapped moisture takes longer.
- Repeat on the case pins. Same technique, and this is where most people find the real problem.
Step-by-Step: Cleaning the Case Pins
The case is the half of the equation everyone forgets, and it is frequently the dirtier half. Pins sit at the bottom of narrow wells where debris collects and never leaves.
- Unplug the case and, if possible, let the case battery run down before working inside it. It reduces any risk from accidental contact.
- Shine a light into each slot. You will often see a gray or brown ring around the base of each pin.
- Blot up loose debris with a dry swab, then use a soft brush to sweep the well.
- Dampen a swab with isopropyl alcohol and wipe each pin and the surrounding plastic. Do not drip.
- Check pin spring action. Each pin should push down and spring back. A stuck pin is a mechanical fault, not a cleaning problem.
- Clean the lid and hinge area where lint accumulates and falls into the wells.
- Let everything dry fully before replacing the buds or plugging in.
- Test with a known-good cable and charger. If a bud still will not charge, try the other slot to isolate whether the fault is the bud or the case.
For anyone juggling multiple devices, it helps to standardize the routine. The same habits that keep earbud contacts clean apply to the accessories you use daily, and a tidy charging setup makes the whole process easier to maintain.
Common Mistakes That Make Things Worse
Scrubbing hard. Plating is measured in microns. Firm pressure with an abrasive removes it, and bare base metal corrodes faster than the original surface ever did.
Using too much liquid. A swab that drips is a swab that damages. Liquid in the case’s charging port or inside a microphone opening can cause failures that cleaning cannot reverse.
Cleaning the buds but not the case. Half a job produces half a result. If the pins are coated, clean buds will still fail to charge.
Skipping the dry pass. Going straight to alcohol turns dust into a paste that dries in the corners.
Ignoring the cable and adapter. A worn cable or a weak USB port mimics dirty contacts perfectly. Swap one variable at a time.
Cleaning too often with solvents. Once a week with alcohol is more than most people need. Over-cleaning wears plating as surely as abrasion does.
Assuming water resistance covers the case. Many buds are rated for sweat and rain. Their cases usually are not rated for immersion, and the rating says nothing about cleaning fluids near the contacts.
How Often Should You Clean?
A realistic schedule beats an ambitious one you never follow.
| Usage pattern | Contacts | Case pins |
|---|---|---|
| Daily workouts, heavy sweating | Weekly | Weekly |
| Daily commuting, light sweat | Every 2 weeks | Every 2 weeks |
| Occasional use | Monthly | Monthly |
| Visible wax or charging glitch | Immediately | Immediately |
The single best habit is a ten-second wipe of each bud with a dry microfiber cloth before it goes back in the case. That one step removes most of the oil and sweat before it has a chance to bake on.
When Cleaning Does Not Fix the Problem
If contacts are visibly clean and a bud still will not charge, work through the variables systematically:
- Try the other slot. If the bud charges there, the fault is in the first slot’s pin or wiring.
- Try a different cable and adapter. Cables fail silently far more often than people expect.
- Check for a firmware update. Some models manage charging behavior in software.
- Look for physical damage. A cracked housing or bent pin is a repair issue.
- Test battery health. Buds that charge but drain in minutes have a cell problem, not a contact problem.
Battery safety is worth a mention here. Lithium-ion cells that swell, hiss, or get hot should be taken out of service and disposed of through a proper recycling channel rather than pushed back into daily use. Contact cleaning is a maintenance task, not a repair for a failing cell. (Electrical Safety)
Building a Routine That Sticks
The people who never have charging problems are rarely doing anything clever. They are just consistent. A few practical habits carry most of the weight:
- Keep a small cleaning pouch with swabs, a microfiber cloth, and a toothpick wherever you charge your gear.
- Wipe buds dry after every workout, before they go in the case.
- Store the case closed and out of lint-heavy pockets.
- Never store buds with wet ear tips in a sealed case.
- Do a monthly light-and-swab inspection of both buds and pins.
- Replace worn ear tips, which shed wax and debris into the case.
If you are also tuning the rest of your audio setup, it pays to think about the whole chain. A clean pair of earbuds deserves a charger that delivers stable power, and the same care applies whether you are pairing with an iPhone or picking from the best earbuds for Android. For anyone who takes calls all day, keeping the microphone mesh and contacts clean protects both sound quality and charging, and the same principles apply to the best earbuds for phone calls and meetings. Gamers who swap between devices will find the maintenance routine just as useful for the best wireless gaming headsets in 2026, where docking contacts face the same grime. And if you are upgrading your charging station, choose from the best wireless chargers for iPhone and Android so your desk setup stays organized and your contacts stay clean.
Conclusion
Dirty charging contacts are the least glamorous explanation for a dead earbud, and almost always the right one. A barely damp swab, a dry brush, and two minutes of patience solve the majority of “won’t charge” complaints without a repair bill or a warranty claim. The key is to treat both halves of the system, the buds and the case pins, and to use gentle tools that preserve the plating rather than scrape it away.
Start dry, escalate to a little isopropyl alcohol only when needed, and let everything air out before you plug in. Do that once a month, add a quick wipe after sweaty sessions, and your earbuds will keep making solid contact long after the warranty expires. It is a small habit with an outsized payoff, and it costs less than a coffee.
Frequently Asked Questions
Can I use rubbing alcohol to clean earbud charging contacts?
Yes, 70% isopropyl alcohol is the usual choice because it dissolves oils and evaporates quickly without leaving residue. Apply it to a cotton swab, blot off the excess so the swab is barely damp, and wipe the metal pads gently. Avoid flooding the area, and keep liquid away from microphone ports, speaker grilles, and the case’s charging port. Check your manufacturer’s guidance first, since some brands specify a dry cloth only.
Why does one earbud charge but the other does not?
The most common cause is uneven contact contamination. The bud that sits against your skin more, or the one you handle more often, collects more oil and wax. Swap the bud to the other slot to test. If it charges there, the problem is the case pin in the original slot. If it fails in both slots, the bud’s own contact pad or battery is the likely culprit.
How often should I clean the charging contacts?
For daily workouts or heavy sweating, clean weekly. For normal commuting, every two weeks is plenty. Light users can get away with monthly. Clean immediately if you see visible wax or notice a charging glitch. A quick dry wipe before each bud goes back in the case does most of the preventive work.
Can dirty contacts permanently damage my earbuds?
Dirt itself rarely causes permanent damage, but the moisture that comes with it can. Long-term dampness on contacts leads to corrosion, and pitting that eats into the metal plating may not be reversible. Abrasive cleaning tools cause the same problem faster by stripping the plating and exposing base metal. Gentle, regular cleaning is the best protection.
What should I do if cleaning does not fix the charging problem?
Work through the variables one at a time. Try the other case slot, then a different cable, then a different power adapter. Check for firmware updates and inspect for bent pins or cracked housings. If a bud charges but drains within minutes, the battery cell is failing rather than the contact. A swollen or hot battery should be retired and recycled, not reused. (Battery charger)
Is it safe to clean the case pins with a metal tool?
No. Metal tools like needles, pins, and knife tips scratch the contact plating and can bridge the pins, causing a short. Use a wooden toothpick, a soft brush, or a cotton swab instead. If a pin is stuck or bent, that is a mechanical repair issue rather than something cleaning can solve.



