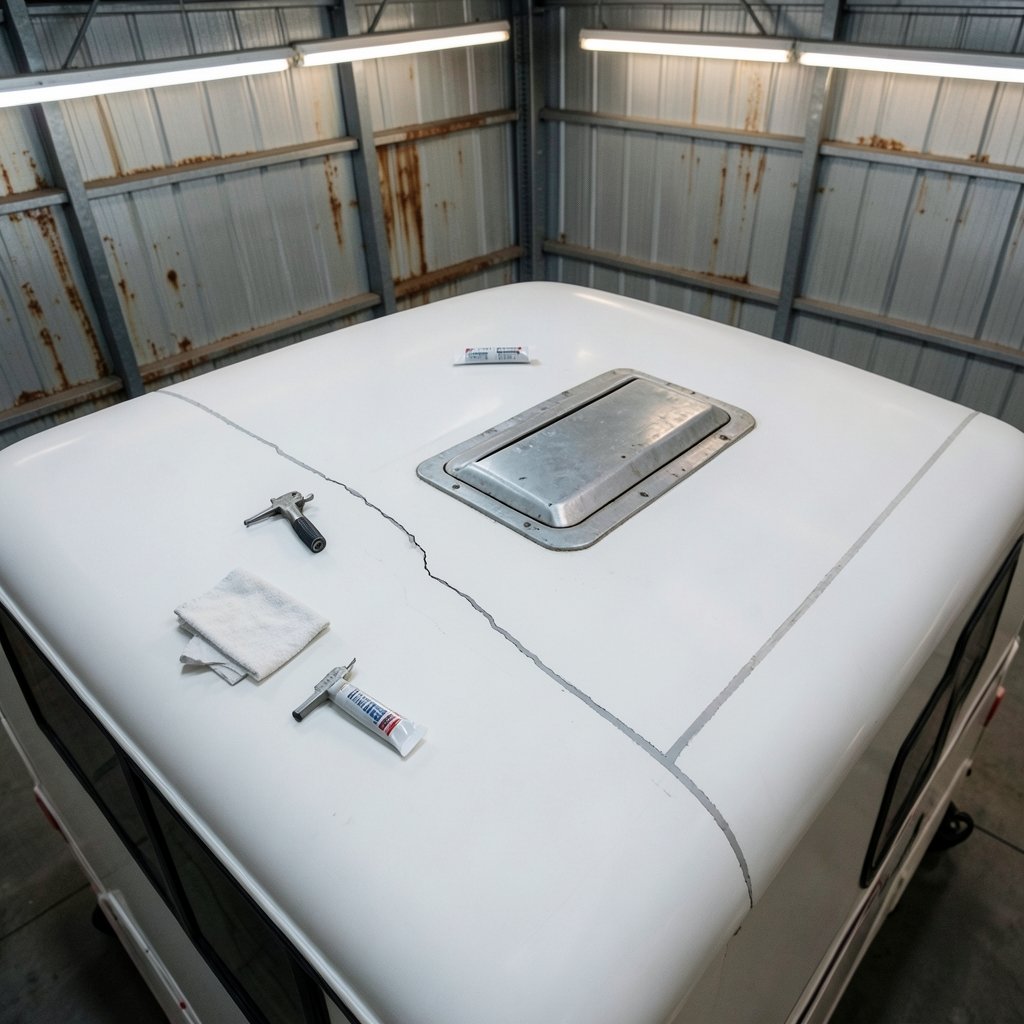
When was the last time you actually climbed up and looked at your RV’s roof? If the answer is “not recently,” you’re not alone. Most owners only think about the roof when a brown stain spreads across the ceiling. By then, the damage is done, and what started as a hairline crack in a bead of sealant has turned into a soggy, expensive repair. The good news is that roof sealant is one of the few RV maintenance jobs almost anyone can handle with a tube, a caulk gun, and a free afternoon. The catch is that using the wrong product can be worse than using none at all.
Why RV Roof Sealant Matters More Than You Think
An RV roof takes a beating. It bakes in the sun, flexes down the highway, collects puddles when parked, and freezes overnight in the mountains. All that movement and weather works on the seams and penetrations, the places where water finds a way in.
Sealant is the flexible barrier that keeps those spots watertight. It fills the joint around a vent, a skylight, or a lap seam where two panels meet, and it stays flexible enough to move with the roof instead of cracking. When it fails, water doesn’t politely drip straight down. It travels along framing and insulation, sometimes showing up feet away from the actual leak.
That’s why the smartest owners treat sealant as routine maintenance, not emergency repair. A ten-minute inspection twice a year beats a weekend of ceiling repair every time.
Know Your Roof Material First
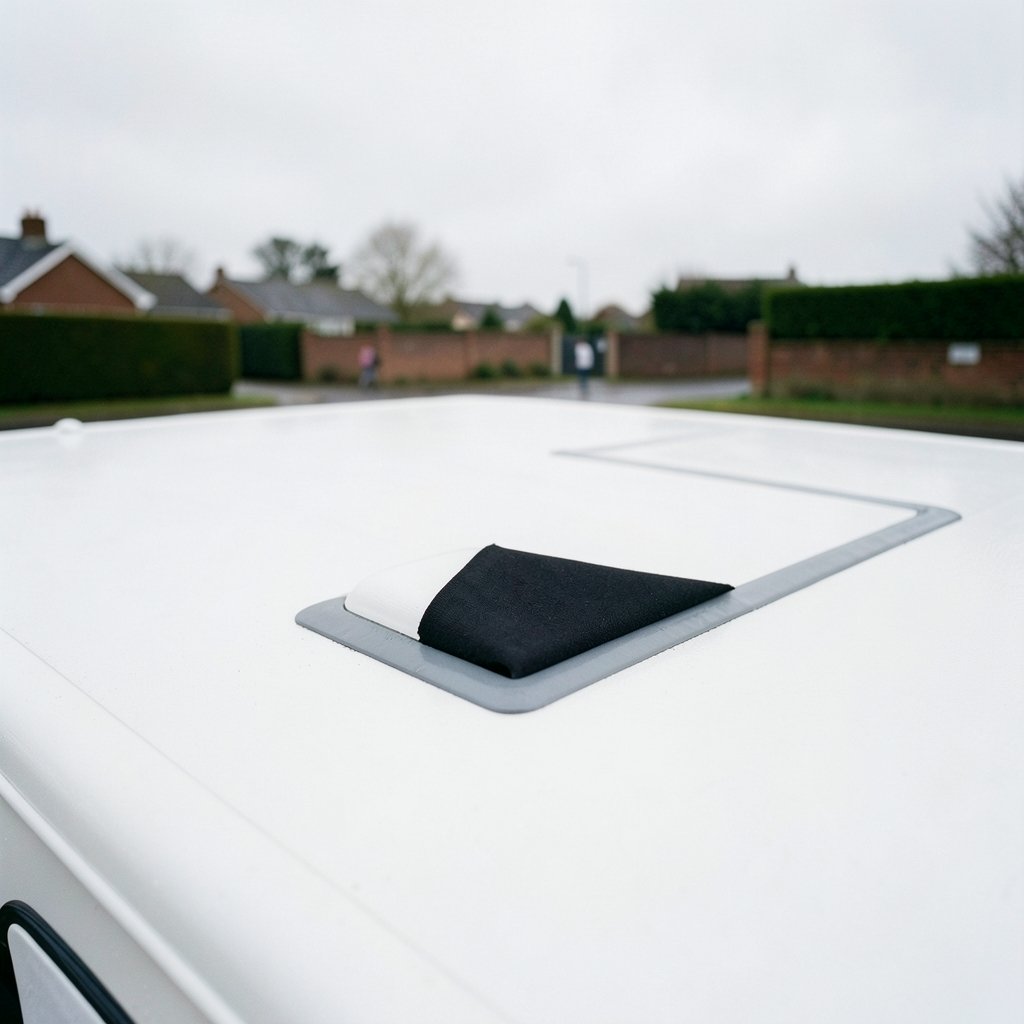
Here’s the mistake that trips up more people than any other: buying sealant before checking what the roof is made of. RV roofs come in several common materials, and they don’t all get along with the same products.
| Roof Material | What It Is | Sealant Notes |
|---|---|---|
| EPDM rubber | A synthetic rubber membrane, usually black or gray | Needs EPDM-compatible lap sealant; many generic silicone products are a poor match |
| TPO | A thermoplastic white membrane | Similar approach to EPDM, but confirm compatibility on the product data sheet |
| Fiberglass | A rigid, glossy panel | Generally more forgiving; still clean and prep properly |
| Aluminum | Metal panels with seams | Watch for thermal expansion; sealant must flex |
| Coated surfaces | A membrane covered with an elastomeric or acrylic coating | Coating and sealant are different products; don’t confuse the two |
EPDM is a synthetic rubber membrane with well-established chemistry, and its seams and penetrations are typically sealed with an EPDM-compatible lap sealant or an EPDM-specific adhesive rather than a generic silicone. Applying a solvent-based product to the wrong membrane can cause swelling, wrinkling, or simple poor adhesion. If you’re unsure what you have, the roof’s texture and color are clues, and a call to the manufacturer with your VIN settles it.
Self-Leveling vs. Non-Sag: Two Tools, Two Jobs
Walk into any RV parts aisle and you’ll see two main types of lap sealant, and they are not interchangeable. (Proofpoint vs abnormal vs mimecast workflow differences that)
Self-leveling sealant flows out as it cures, spreading into a smooth, flat puddle. It’s designed for horizontal surfaces: the top of the roof, around vent bases, skylight frames, and flat lap seams. You squeeze it out and let gravity do the finishing work.
Non-sag sealant holds its shape and stays put. It’s for vertical and sloped surfaces, like the sides of a vent housing, ladder mounts, and roof edges, where self-leveling product would simply run down the wall.
A practical tip from the shop floor: buy one tube of each and keep them in the rig. Nothing stalls a roof repair faster than discovering you have the wrong formula halfway through the job. And always label the tubes, because once the packaging is gone, they look identical.
The Lap Sealant Everyone Argues About (and Why)
Dicor self-leveling lap sealant is the name most owners know. It’s been the default recommendation for horizontal seams and roof penetrations on EPDM and TPO roofs for decades, and its non-sag sibling handles the vertical stuff. That reputation is well earned, but it’s also where a lot of confusion starts.
Because Dicor is so widely recommended, some owners treat it as a universal answer. It isn’t. Product formulations change over time, and the only reliable source is the manufacturer’s current technical data sheet, which lists approved substrates, application temperatures, and cure times. Check the date on that sheet. A forum post from eight years ago may describe a formula that no longer exists.
The bigger controversy is silicone. Many manufacturers discourage silicone sealants on EPDM and TPO roofs because of adhesion and compatibility problems, and plenty of experienced techs will tell you the same. Yet some products are marketed as compatible, and you’ll find owners who swear by them. This is a genuine disagreement between sources, not a settled question. The safe play is to follow the roof manufacturer’s specification rather than a stranger’s success story.
Coatings and Sealants Are Not the Same Thing
This distinction saves people from wasting money. Roof coatings, whether elastomeric or acrylic, protect the entire membrane surface. They reflect sun, add a layer of UV defense, and can extend the life of an aging roof. Sealants address specific spots: seams, penetrations, and joints.
You can’t fix a leaking vent by painting the whole roof with coating. The water will find the gap underneath. And you shouldn’t slather lap sealant across an entire roof panel either. Coatings go on broad areas; sealants go in the gaps. Keep the two categories straight and your repairs will actually hold.
What Actually Causes Sealant to Fail
Sealant doesn’t fail at random. The usual suspects are predictable.
UV exposure breaks down the surface of the sealant over time, drying it out and causing cracks. Ponding water sits on low spots and works its way under the edges. Thermal cycling, the daily expansion and contraction of the roof as it heats and cools, stresses the bond at every seam. Add road vibration and the occasional tree branch, and you have a recipe for slow deterioration.
The practical takeaway is to inspect at least once or twice a year, and more often if the rig sits outside in harsh sun. Look for sealant that is cracked, peeling, pulling away from the edge, or has a dull, chalky surface. Pay special attention to the front and rear caps, around the shower skylight, and anywhere a cable or antenna enters the roof. (Backup immutability explained make ransomware proof copies)
A Step-by-Step Resealing Process That Works
This is the sequence that holds up in practice. Skipping steps here is the most common reason a fresh bead fails within a season.
- Clean the area thoroughly. Dirt, old chalky residue, and oxidation prevent adhesion. Use a mild cleaner and let the surface dry completely.
- Remove loose and failing sealant. Peel away cracked or lifting material with a plastic scraper. Don’t gouge the membrane.
- Wipe with the appropriate prep product. Follow the sealant maker’s guidance on surface prep.
- Apply the right sealant for the surface. Self-leveling on horizontal seams, non-sag on verticals.
- Tool the bead if needed. A wet finger or plastic tool smooths the edge and pushes sealant into the joint.
- Let it cure fully. Cure time depends on temperature and humidity, so check the data sheet and don’t rush it.
- Recheck after the first rain. A quick look after a storm confirms the bond is holding.
A common mistake is applying sealant over a wet or damp surface. It may look fine for a week, then lift at the edges. Another is piling on layer after layer of new sealant over old. At some point the buildup cracks and traps moisture. Strip it back and start clean.
When to Call in a Pro
Some jobs are worth doing yourself. Others aren’t. If the membrane itself is torn, if you find soft spots in the decking, or if water has already stained the interior ceiling, the problem is structural, not cosmetic. Sealant won’t fix a rotted substrate. That’s the point where a qualified RV technician earns their fee. A single DIY measure has limits, and smart owners know where those limits are.
Seasonal Habits That Extend Roof Life
A few small habits pay off over years.
Park with a slight tilt so water drains off instead of pooling. Trim branches that scrape the roof. Wash the roof a couple of times a season to remove grit that works into seams. Keep a photo log of the roof each spring so you can compare year over year and catch slow changes.
And if you’re the kind of owner who likes comparing product approaches before buying, the same careful comparison habit helps elsewhere. Even a simple household task rewards reading the instructions before you start. Roof sealant is no different: the label is there for a reason.
Conclusion
RV roof sealant is a small purchase with an outsized job. It keeps water where it belongs, protects the structure underneath, and buys you years of trouble-free camping. The formula for success is simple: identify your roof material, match the sealant to it, use self-leveling on flats and non-sag on verticals, prep the surface properly, and inspect twice a year. Skip the shortcuts, respect the data sheet, and treat silicone claims with healthy skepticism. Your ceiling will thank you.
FAQ
What is the best sealant for an RV roof?
There’s no single best product for every rig. The right choice depends on the roof material. EPDM and TPO membranes typically call for an EPDM-compatible lap sealant, with self-leveling versions for horizontal seams and non-sag versions for vertical surfaces. Fiberglass and aluminum are more forgiving but still need proper prep. Always confirm compatibility on the manufacturer’s current technical data sheet. (E reader waterproof ratings explained ipx8 really means)
Can I use silicone caulk on my RV roof?
Many manufacturers discourage silicone on EPDM and TPO roofs because of adhesion and compatibility concerns, though some products are marketed as compatible. Sources genuinely disagree on this point. The safest approach is to follow the roof manufacturer’s specification rather than relying on a general-purpose silicone.
How often should RV roof sealant be replaced?
Inspect at least once or twice a year, and more often if the RV sits in strong sun. Reseal any area that is cracked, peeling, or pulling away from the edge. Full replacement usually isn’t necessary; spot repairs and touch-ups handle most issues.
What’s the difference between self-leveling and non-sag sealant?
Self-leveling sealant flows and flattens as it cures, making it ideal for horizontal surfaces like roof seams and vent bases. Non-sag sealant holds its shape and stays put, so it’s used on vertical and sloped surfaces where the self-leveling type would run.
Can I apply sealant over old sealant?
Only if the old sealant is clean, firmly bonded, and compatible. Cracked or lifting material should be removed first. Piling new sealant over failing layers traps moisture and tends to crack, so stripping back to a clean surface gives a much better result.
Do I need a roof coating as well as sealant?
They serve different purposes. Sealant fills seams, joints, and penetrations. A coating covers the whole membrane to add UV protection and extend its life. A coating won’t stop a leak at a vent base, and sealant alone won’t protect the entire surface. Many owners use both, in that order.