Quick Answer: How do I choose gaming motherboards?
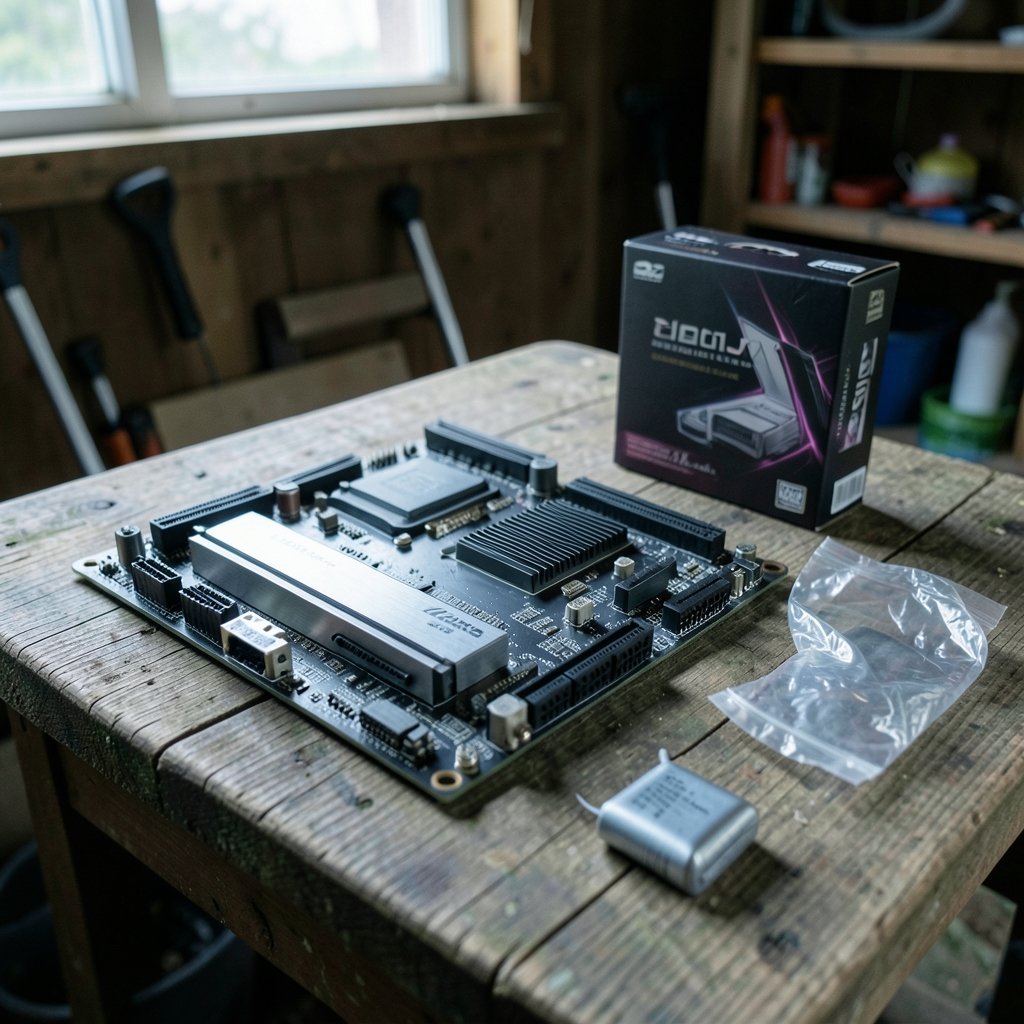
Choosing a gaming motherboard starts with matching the board’s socket and chipset to your CPU, then working outward to memory type, form factor, and connectivity. In plain terms, pick the CPU first, confirm the socket, and choose a chipset that has the features you will actually use.
Mid-range chipsets often deliver the same gaming frame rates as flagship boards, so the premium usually buys I/O, overclocking headroom, and nicer power delivery rather than raw speed. Mini-ITX boards trade expansion slots for size, while full ATX boards offer more M.2 slots and PCIe lanes.
Before buying, compare socket, chipset tier, DDR4 versus DDR5 support, form factor, M.2 and USB counts, networking, VRM cooling, and BIOS update support.
Does a fancier motherboard make your games run faster? Almost never. It can, however, decide whether your build boots on the first try, whether your CPU runs stable under load, and whether you have room for a second SSD two years from now. That gap between marketing and reality is where most first-time builders lose money. This guide walks through the decisions in the order that actually matters, so the board serves the build instead of the other way around.
Start With the CPU, Not the Motherboard
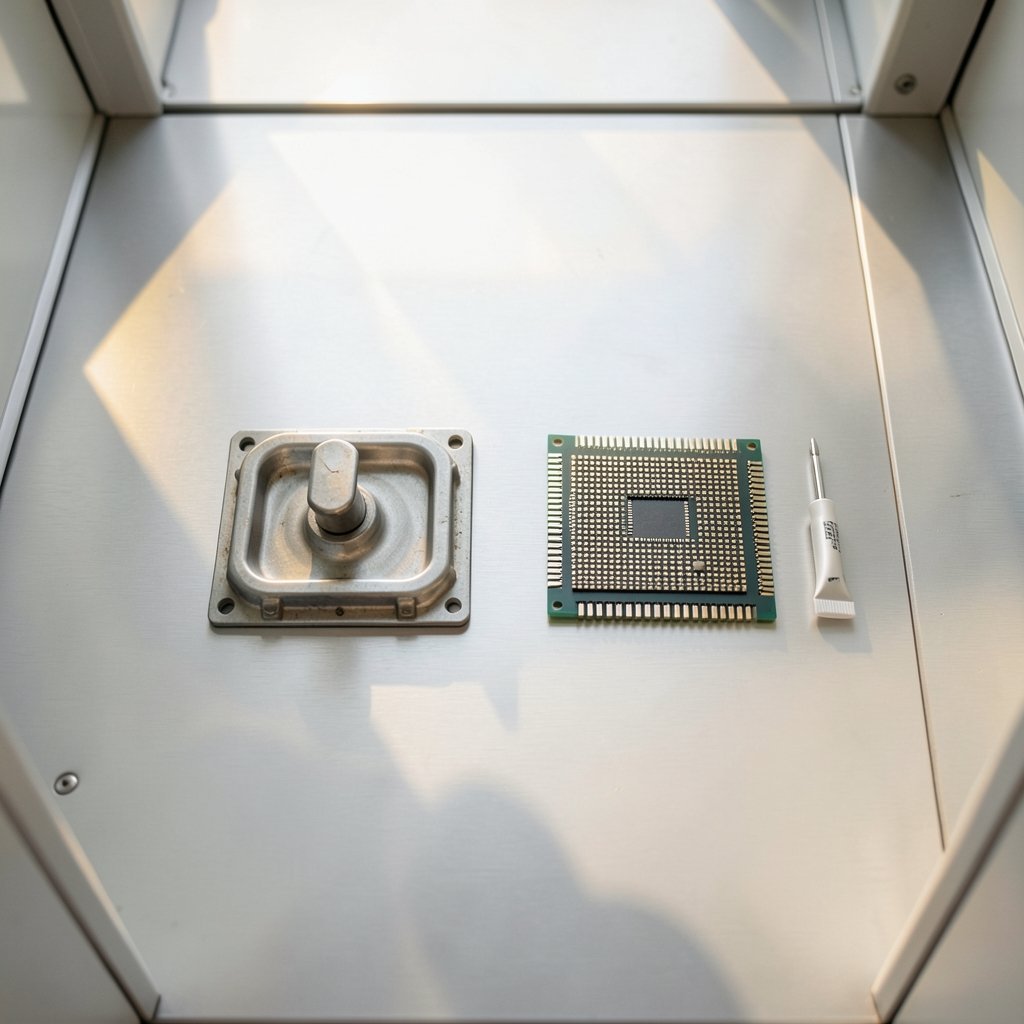
The single most common mistake is shopping for a board before the processor. A motherboard is a platform, and the platform is defined by the CPU socket. AMD’s AM5 socket and Intel’s LGA1700 and LGA1851 sockets are physically incompatible, and no adapter fixes that. Socket and chipset pairings also shift with each CPU generation, so the vendor’s current compatibility list is the only source worth trusting.
The practical order looks like this:
- Pick the CPU for your budget and resolution.
- Note its exact socket.
- List the chipset features you need.
- Only then start comparing boards.
Skipping step one leads to heartbreak. Someone buys a clearance board with a great price, then discovers their chosen chip needs a different socket entirely. If you are still deciding on the rest of the platform, the guide on the best motherboard for gaming covers how boards pair with common CPU tiers.
Chipset Tiers: What You Actually Pay For
The chipset is the traffic controller sitting between your CPU and everything else. Tiers differ mainly in overclocking support, PCIe lane counts, and USB connectivity. On Intel, only Z-series chipsets such as Z790 and Z890 allow CPU overclocking; B- and H-series generally do not. On AMD, B650 and X670 boards (and their successors) support CPU overclocking, while A620 is more limited.
| Chipset Tier | Overclocking | Typical Buyer | Gaming Impact |
|---|---|---|---|
| Entry (A620, H-series) | Limited or none | Budget builds, non-K or non-X CPUs | None if the CPU is locked |
| Mid-range (B650, B-series) | Yes on AMD, no on most Intel B | Most gamers | None |
| Flagship (X670, Z-series) | Yes | Enthusiasts, heavy I/O users | None |
That last column deserves emphasis. A mid-range board with a sensible VRM will produce the same frame rates as a flagship board with the same CPU, GPU, and memory. The extra money buys ports, slots, and overclocking menus, not frames. Spending there is fine if you will use those features, but it is not a performance upgrade.
Memory: DDR5 Is the Default, DDR4 Is the Bargain
DDR5 is now standard on AM5 and on Intel’s LGA1700 and LGA1851 boards, while DDR4 boards persist on older platforms. The choice is usually made for you by the CPU generation, but two details trip people up.
First, slot count. Boards come with two or four DIMM slots. Four-slot boards look more future-proof, but filling all four with a high-capacity DDR5 kit can force lower memory speeds because of the load on the memory controller. Two sticks in the correct slots is often the faster, more stable configuration. Second, maximum supported speeds depend on both the CPU and the BIOS version, so the number on the box is a ceiling, not a promise.
For a gaming build, a moderate-capacity DDR5 kit at a sensible speed beats an aggressive kit that needs manual tuning to stay stable. Memory tuning is a rabbit hole, and the returns in games are modest compared with what a better GPU delivers.
Form Factor: Match the Board to the Case
Size is a hard constraint, not a preference. The three common sizes are ATX at 305 by 244 millimeters, Micro-ATX at 244 by 244 millimeters, and Mini-ITX at 170 by 170 millimeters. The case must support your chosen form factor, and it must also clear your GPU length and CPU cooler height.
Here is how the trade-offs usually shake out:
| Form Factor | Expansion | Build Difficulty | Best For |
|---|---|---|---|
| ATX | Most slots, most M.2 | Easy | Standard gaming towers |
| Micro-ATX | Fewer slots, still generous | Easy | Smaller towers, budget builds |
| Mini-ITX | One PCIe slot, fewer M.2 | Demanding | Compact builds |
Mini-ITX is where beginners get burned. Cable routing is tight, cooler clearance is tight, and one wrong measurement means a return. It works beautifully when planned, but plan on paper first. The same discipline applies to displays and peripherals: just as you would choose a gaming monitor that matches the panel you actually play, you should choose a board size that matches the desk and case you actually own.
PCIe and M.2: Read the Fine Print
PCIe 5.0 slots and M.2 connectors appear on higher-end boards, while PCIe 4.0 is common in the mid-range. The honest advice is not to overpay for PCIe 5.0. Real-world gaming gains from PCIe 5.0 graphics cards and SSDs are often small, and the standard was finalized back in 2019, so it is no longer a novelty worth a premium.
What matters more is how the M.2 slots are wired. Some slots share lanes with SATA ports or with the main PCIe slot, which means installing a second drive can disable a port or halve bandwidth. These lane-sharing rules are board-specific, so read the manual before assuming four M.2 slots means four full-speed drives. Count the slots you will realistically fill in three years, not the ones that look good in a spec table.
VRM Quality: Trust Reviews, Not Phase Counts
The voltage regulator module feeds clean power to the CPU. Its design, including phase count and heatsink size, affects stability with high-power chips. Marketing departments love big phase numbers, but those claims are reported inconsistently across brands, which makes them a poor comparison tool.
Reviews that measure VRM temperatures under sustained load are far more reliable than a spec sheet. If you are buying a mid-range board for a mid-range CPU, almost any competent VRM will do. If you are pairing a flagship processor with a budget board, check thermals first. Throttling under load is a real outcome, and it shows up in games as stutter rather than a clean frame-rate drop.
Connectivity: The Details That Annoy You Later
Connectivity is where a cheap board quietly costs you. Check these before checkout:
- M.2 slots: count them and check lane sharing.
- USB: front-panel USB-C headers are still missing on some budget boards.
- Networking: 2.5GbE Ethernet is the sensible baseline; Wi-Fi is worth having if cable runs are awkward.
- Fan headers: enough for your case fans plus the CPU cooler.
- Debug features: a POST code display or BIOS flashback button saves hours when something goes wrong.
That last point is underrated. A board with a BIOS flashback feature can update firmware without a supported CPU installed, which matters when a newer chip needs a newer BIOS. Support windows differ by vendor, and AMD’s AM4 history shows how messy this can get when a platform spans multiple CPU generations.
BIOS, Updates, and the First Boot
Some boards need a BIOS update before they will recognize a newer CPU. This is not rare, and it is the classic first-build trap: everything is assembled correctly, the fans spin, and nothing appears on screen. Before buying, check the vendor’s CPU support list for your exact model and note whether the board ships with a recent enough BIOS.
Practical habits that save real time:
- Download the latest BIOS and chipset drivers to a USB stick before assembly.
- Update the BIOS before installing Windows if the board supports it.
- Enable the memory profile (EXPO or XMP) in BIOS, then verify stability.
- Keep the motherboard manual, because front-panel wiring diagrams matter.
None of this is glamorous, but it is the difference between an evening of gaming and an evening of troubleshooting. The same principle of matching parts to real use applies across a whole setup, whether you are weighing a mechanical versus membrane keyboard for gaming and everyday work or picking a laptop instead of a desktop. Speaking of which, if space or budget pushes you toward a portable machine, the roundup of gaming laptops under 1000 that actually fit a budget is a useful reality check on what fixed hardware costs.
Budget Strategy: Where the Money Should Go
A sensible split for a gaming build puts the largest share into the GPU, then the CPU, then memory and storage, with the motherboard taking a modest slice. A board that costs as much as the processor is usually a sign of misplaced priorities unless you specifically need its I/O.
Three rules that hold up in practice:
- Buy the chipset tier that matches your CPU’s overclocking status. A locked CPU does not need a Z-series board.
- Spend on features you will use within a year, not features that sound impressive.
- Leave room for one more SSD and one more fan header, because those are the upgrades people actually make.
If you enjoy tinkering with other tools, the same logic of comparing before committing shows up in software too, as in this comparison of Trello alternatives for beginners choosing a board tool. The pattern is universal: define the job, then buy for it.
Common Mistakes Worth Avoiding
The recurring errors are predictable. Buying a board before the CPU. Assuming more expensive means faster. Filling all four memory slots on a whim. Ignoring case clearance for the GPU and cooler. Forgetting that a second M.2 drive may disable a SATA port. Skipping the BIOS update check. And trusting a phase-count badge over an independent thermal review.
Each one is cheap to avoid with ten minutes of reading and expensive to fix after the parts arrive. A short checklist beats enthusiasm every time.
Conclusion
Choosing a gaming motherboard is a matching exercise, not a shopping spree. Lock in the CPU and its socket, pick a chipset tier that matches whether you will overclock, confirm DDR5 support and slot count, then verify form factor, M.2 wiring, networking, and BIOS support for your chip. Spend the savings on the GPU, where the frames actually come from. Do that, and the board becomes what it should be: the quiet, reliable foundation the rest of the build stands on.
Frequently Asked Questions
Does an expensive motherboard increase FPS?
No. With the same CPU, GPU, and memory, a mid-range board and a flagship board produce essentially identical frame rates. The premium pays for overclocking features, more ports and slots, and sturdier power delivery, not raw performance.
Can I use an AMD CPU in an Intel motherboard?
No. AMD’s AM5 socket and Intel’s LGA1700 and LGA1851 sockets are physically different, and no adapter exists. The CPU and motherboard must share the same socket, so choose the processor first and confirm the socket before buying a board.
Is DDR4 still fine for a new gaming build?
It depends on the platform. DDR5 is standard on AM5 and on current Intel boards, while DDR4 remains on older platforms. If you are building on an older platform with a good deal on DDR4, it still games well; for a new platform, DDR5 is the default.
Do I need PCIe 5.0 for gaming?
Not really. PCIe 4.0 already provides plenty of bandwidth for current graphics cards and SSDs, and real-world gaming gains from PCIe 5.0 are often small. Buy it if it comes with a board you like, but do not pay a large premium for it alone.
Will a Mini-ITX board limit my upgrade options?
Yes, in practical terms. Mini-ITX boards typically have one PCIe slot and fewer M.2 connectors, and cases constrain GPU length and cooler height. They are excellent for compact builds, but plan clearances carefully and accept that expansion will be limited.
What should I check before my first boot?
Confirm the board’s BIOS supports your CPU, download the latest BIOS and drivers to a USB stick, and have the manual handy for front-panel wiring. After Windows is installed, enable the memory profile in BIOS and run a stability test before trusting the build.