
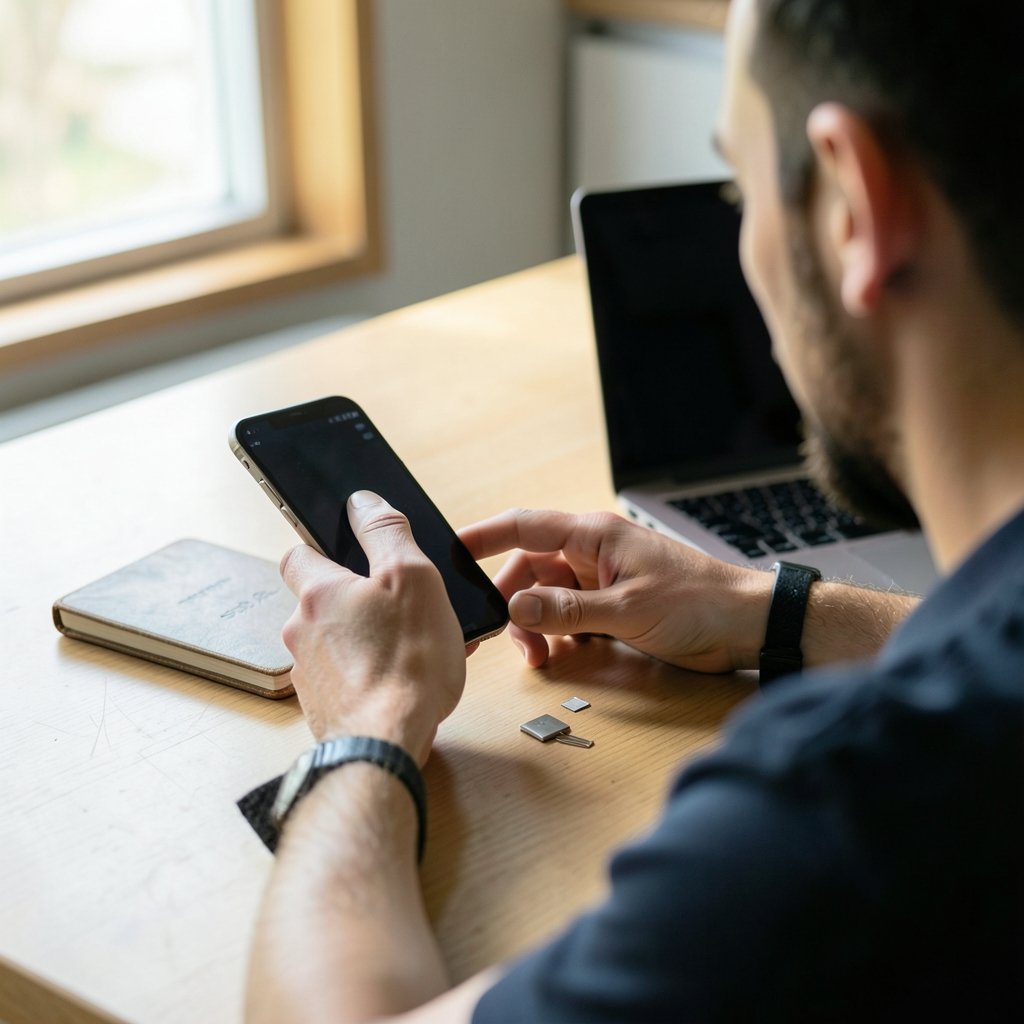
The little plastic SIM card that lived in your phone for decades is quietly disappearing. Apple stopped including a SIM tray on iPhone 14 models sold in the United States, and the company’s own support documentation now treats eSIM as the default way to connect a phone to a network. For anyone who has ever fumbled with a paperclip and a tray the size of a fingernail, that is genuinely good news. For anyone who has just bought a new phone and cannot find the “activate eSIM” button, it is a puzzle worth solving properly.
This guide walks through the real activation paths, the mistakes that stop them from working, and what to do when the QR code refuses to scan.
What an eSIM Actually Is, and Why It Matters
An eSIM is a small chip soldered into the iPhone’s logic board. Instead of holding one carrier profile, it stores digital profiles that can be downloaded, swapped, and deleted. The GSMA, the industry body that writes the technical specifications behind eSIM, designed the standard so a profile could be provisioned remotely over the internet rather than physically shipped. (About eSIM on iPhone)
That shift changes the practical experience in three ways:
- You can add a line in minutes without visiting a store.
- You can keep a home number active while adding a travel or work line.
- You can move a line between iPhones during setup without asking a carrier for a new card.
The trade-off is that activation depends on your carrier’s backend, your Wi-Fi connection, and your iOS version all cooperating at once. When one of those three fails, the setup screen gives you a vague error and no explanation.
Which iPhones Support eSIM

eSIM support arrived with the iPhone XS, XS Max, and XR, and has been present on every model since. There is one important exception that catches people out: iPhones manufactured for mainland China typically ship without eSIM hardware, and some regional variants differ as well. If you bought a phone abroad or secondhand, confirm the model number before assuming eSIM will work. (eSIM)
If you are still deciding which device to set up, a breakdown of the best iPhone to buy can help you match the model to your carrier’s requirements before you commit.
| iPhone generation | eSIM support | Physical SIM tray |
|---|---|---|
| iPhone XS, XR and later (most regions) | Yes | Yes, on most models |
| iPhone 14 and later (US models) | Yes | No |
| Mainland China variants | Typically no | Yes |
| iPhone SE (2nd gen and later) | Yes | Yes |
Check the model identifier in Settings > General > About if you are unsure which variant you own.
Before You Start: The Four Things That Actually Matter
Most failed activations trace back to something that could have been checked in two minutes. Do these first.
- Confirm the iPhone is not tied to a carrier. A carrier-tied phone will reject a profile from a different network. Settings > General > About shows “No SIM restrictions” when the device is free of carrier restrictions.
- Connect to stable Wi-Fi. The profile downloads over the internet, and a weak connection is the single most common cause of a stalled activation.
- Update iOS. Apple has changed the eSIM menu paths several times across releases, and older builds handle profile transfers poorly.
- Have your carrier’s activation details ready. That means a QR code, an activation code, or a carrier app login, depending on the network.
One more thing worth knowing: if you are moving from an older iPhone, keep it switched on and nearby during setup. The transfer flow needs both devices.
Method 1: Activate With a QR Code
This is the most common path and the one most carriers hand you when you sign up online.
- Open Settings and tap Cellular (older iOS versions call it Mobile Data).
- Tap Add eSIM or Add Cellular Plan.
- Choose Use QR Code.
- Point the camera at the QR code your carrier sent, usually by email or in your account dashboard.
- Label the new line (for example “Travel” or “Work”) so you can tell it apart later.
- Choose which line handles calls, messages, and mobile data by default.
- Wait for the profile to download. This can take a minute or two.
If the camera will not focus, tap Enter Details Manually and type the SM-DP+ address and activation code printed alongside the QR code. Those two strings do the same job as the image.
Method 2: Activate Through Your Carrier’s App
Many networks now let you buy and install a plan entirely inside their own app. The flow varies, but it generally looks like this: download the app, sign in or create an account, choose a plan, then tap something like “Install eSIM” or “Activate.” The app hands the profile to iOS, and the install completes in Settings.
This route is usually the smoothest for travel data plans, because the provider can verify your purchase and push the profile in one motion. It is also the route most likely to break if the app is out of date, so update it before you start.
Method 3: Transfer an eSIM From an Old iPhone
Since iOS 16, Apple has supported transferring a number from a previous iPhone during setup. Put the old phone next to the new one, begin setup, and follow the prompt to transfer the cellular plan. Both devices need to be signed in and running a recent version of iOS.
If the prompt does not appear, you can trigger it later from Settings > Cellular > Add eSIM > Transfer From Nearby iPhone. Note that not every carrier supports this. Some networks require you to contact support and request a re-issue, which usually means the old profile is deactivated the moment the new one goes live.
Method 4: Manual Entry for Stubborn Cases
When a QR code is damaged or a carrier sends only text details, manual entry saves the day. You will need two pieces of information: the SM-DP+ address (a server address, often looking like a domain name) and the activation code (a long alphanumeric string). Enter both exactly as provided. A single mistyped character will produce a failure with no useful error message, so copy and paste where you can.
Dual SIM: How Two Lines Behave Together
Most eSIM-capable iPhones hold one physical nano-SIM and multiple eSIM profiles, though the number that can be active at the same time is limited and varies by model. In practice you will choose:
- A default line for calls and messages.
- A default line for mobile data.
- Which line handles data when the other has no coverage.
A frequent frustration: a phone set to use the travel eSIM for data will still try to send iMessages from the home number unless you change the “Send & Receive” settings under Messages. Fix that before you leave the airport.
Common Mistakes and How to Avoid Them
Deleting the profile too early. Once an eSIM profile is removed from a phone, it usually cannot be reinstalled from the same QR code. Many carriers issue single-use codes. If you must delete, ask for a fresh code first.
Assuming a screenshot of a QR code will work. Some scanners handle it fine; others do not. Use the original image on a second screen where possible.
Skipping the carrier activation step. A profile can install successfully and still be dead because the carrier has not switched the line on. Check your account dashboard for a “pending activation” status.
Ignoring region locks on travel plans. A data-only travel eSIM often cannot make calls, and some do not include a phone number at all. That is normal, not a fault.
Forgetting about the physical SIM. If you move your primary number to an eSIM and leave an old physical SIM in the tray, the phone may default to the wrong line for calls. Set defaults explicitly.
For anyone weighing up a new handset alongside a plan change, the current iPhone Philippines price listings are a useful reality check on how much the hardware side of the equation costs before you start shopping for data packages.
Troubleshooting When Activation Fails
Work through these in order. Most issues resolve in the first three steps.
- Toggle airplane mode on and off, then retry.
- Restart the iPhone. Genuinely effective, and often overlooked.
- Reconnect to a different Wi-Fi network. Corporate and hotel networks with captive portals frequently block profile downloads.
- Check for a carrier settings update. Settings > General > About sometimes surfaces a prompt.
- Confirm the profile is not already active on another device. Carriers block duplicate installs.
- Contact the carrier. Ask specifically whether the eSIM profile has been provisioned on their side. This is the question that resolves most dead ends.
If activation keeps failing on a brand-new device, it is worth checking whether other buyers have reported the same fault. Reports around the iPhone Duo Crackgate evidence audit six hours 2026 show how quickly hardware and software issues surface publicly, and a quick search can save hours of solo troubleshooting.
eSIM in Daily Use: What Changes After Activation
Once the line is live, the experience is largely invisible. Calls route through whichever line you set as default. Data switches automatically if you enable data roaming on the secondary line. Battery impact is minimal, though running two active lines does draw slightly more power in weak signal areas.
Two habits are worth building. First, label every line clearly the moment you add it, because “Secondary” tells you nothing three months later. Second, keep a note of which carrier owns which profile. When you travel and add a temporary plan, that record prevents the classic mistake of deleting your primary number while clearing out holiday data.
If you are planning a long trip and want to keep entertainment downloads separate from work data, sorting out a best free music app for iPhone before you fly means your offline library is ready regardless of which line is active.
Security and Privacy Considerations
An eSIM is not inherently more secure than a plastic SIM, but it removes one physical attack vector: nobody can pop the tray and steal your number. The flip side is that a remote attacker who compromises your carrier account credentials can potentially request a profile transfer. Strong account passwords and carrier-level PINs matter more than ever.
Apple’s own documentation on eSIM setup and transfer is the authoritative reference for menu paths, and it is updated with each iOS release. Because those paths shift, treat any guide (including this one) as a map rather than a guarantee, and confirm the exact wording on your own device.
Conclusion
Activating an eSIM on an iPhone comes down to four moving parts: a phone not tied to a carrier, a stable connection, an updated iOS, and a carrier that has actually provisioned the line. Get those right and the process takes under five minutes. Get one wrong and you will stare at a spinning progress indicator wondering what broke. The QR code route covers most situations, the carrier app covers travel plans, and the transfer flow covers upgrades. When something fails, check the carrier’s provisioning status before you delete anything, because a deleted profile is usually gone for good.
Frequently Asked Questions
Can I activate an eSIM without Wi-Fi?
Technically the profile downloads over a data connection, but you need an active connection to begin. If your only line is the one you are trying to replace, use Wi-Fi. Trying to activate over the very line you are deactivating is a reliable way to get stuck.
How long does eSIM activation take?
The install itself usually takes one to three minutes. Carrier provisioning on the network side can take anywhere from a few minutes to a few hours, and some networks only complete it during business hours. If the profile installs but shows “No Service,” provisioning is the likely culprit.
Can I reuse a QR code if I delete the eSIM?
Usually not. Most carriers issue single-use activation codes, and a deleted profile cannot be reinstalled from the same QR code. Contact the carrier for a replacement before deleting anything, especially while travelling.
Does an eSIM change my phone number?
No. The number belongs to the carrier account, not the SIM format. Moving from a physical SIM to an eSIM keeps the same number, provided the carrier performs a proper swap rather than issuing a new line.
Why does my iPhone say “eSIM not supported”?
This usually means the device is a regional variant without eSIM hardware, most commonly a mainland China model, or that the phone is tied to a carrier. Check the model identifier in Settings > General > About and confirm the device is not tied to a carrier.
Can I use two eSIMs at the same time?
Many recent iPhone models support two active eSIMs simultaneously, but the exact number of active lines depends on the model and the carrier. You can store more profiles than you can run at once, so switching between them is a settings change rather than a reinstall.



