
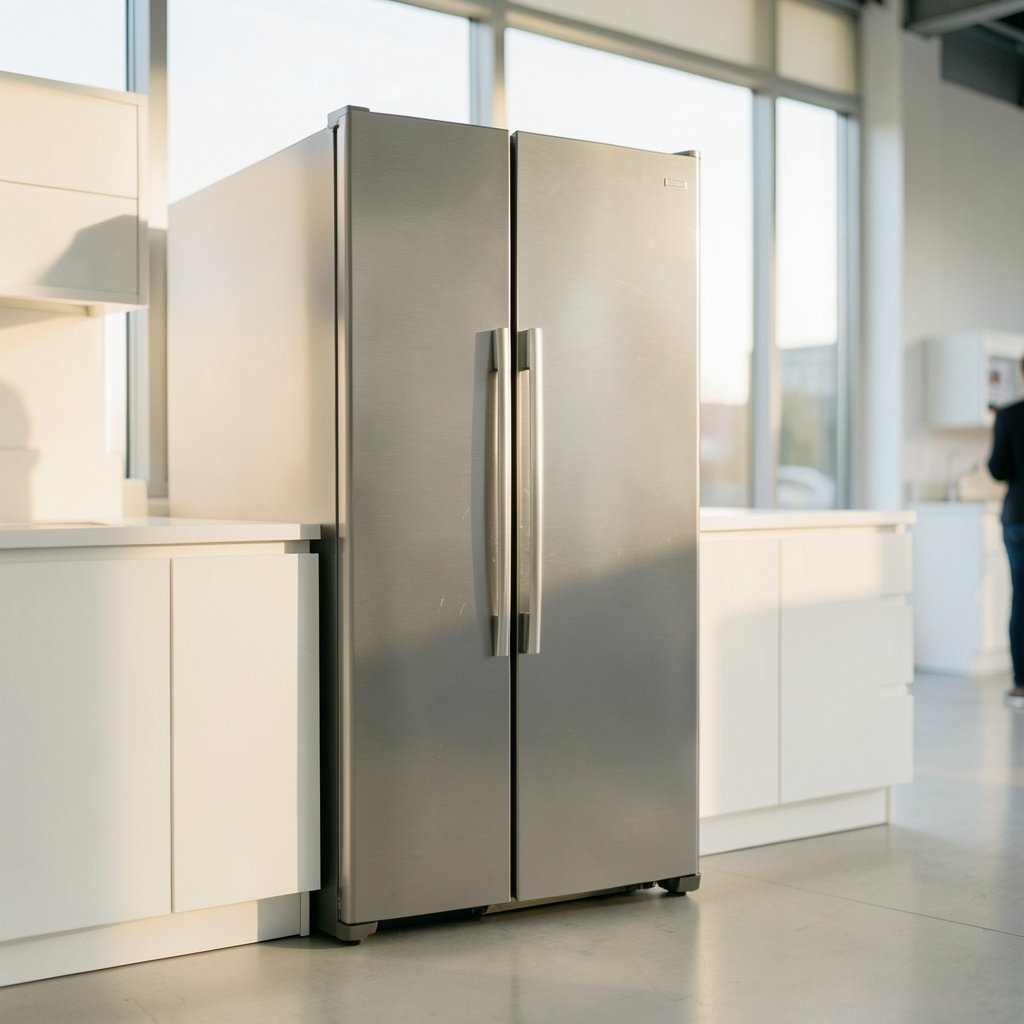
What if the biggest problem with your next refrigerator isn’t how much food it holds, but how far it sticks out into your kitchen? That question applies to every counter depth side by side refrigerator purchase. These appliances promise a cleaner, flatter kitchen profile while keeping the tall, narrow layout millions of households already know. But the label “counter depth” hides more than it reveals, and plenty of buyers learn that the hard way after delivery day.
This guide walks through what counter depth really means, where side by side designs help and hurt, how to measure before you buy, and which mistakes show up again and again in real kitchens.
What “counter depth” actually means in a real kitchen
A counter depth refrigerator is built so its main body sits roughly flush with standard base cabinets. Base cabinet boxes typically run about 24 to 25 inches deep. A standard-depth fridge often measures 30 to 36 inches deep, so it juts well past the counter line. A counter depth model pulls that body back to around cabinet depth.
Here’s the catch nobody mentions at the showroom: the doors and handles still stick out. Most counter depth fridges protrude a few inches past the cabinet face once you add door thickness and a handle. That is normal and expected. If a salesperson promises a perfectly flush wall of cabinetry, ask to see the manufacturer’s clearance diagram.
There is also no single industry standard that defines “counter depth.” Depths vary by brand and model. One fridge labeled counter depth might be 24 inches deep, another 26. That variation matters when you are fitting an appliance into a tight galley or a built-in alcove.
Why side by side remains a popular layout
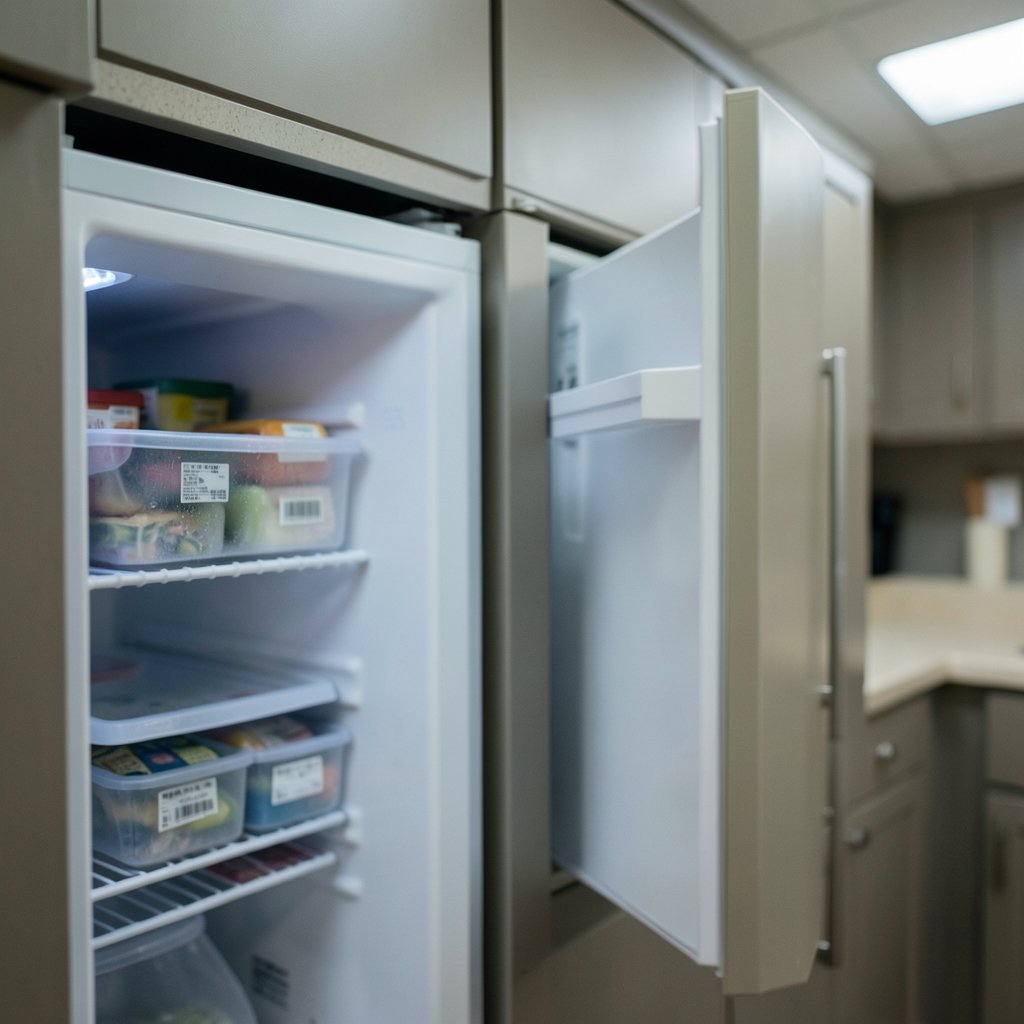
In a side by side refrigerator, the freezer is a full-height vertical column sitting beside the fresh-food column, behind two narrow doors. It is a genuinely old design idea that refuses to die, and for good reasons.
First, narrow doors. Each door on a side by side is roughly half the width of a French door or top-freezer door. In a tight kitchen, that smaller swing arc can mean the difference between opening the fridge fully and banging into a wall or an island.
Second, ergonomics. The freezer column puts frozen items at eye level and at hip level instead of buried in a bottom drawer. People who use ice and frozen vegetables daily tend to like this.
Third, the tall narrow footprint suits galley kitchens and older homes with narrow appliance openings. Standard side by side widths commonly land around 33 to 36 inches, and counter depth versions usually keep similar widths while trimming depth.
The trade-off is real, though, and it shows up in the freezer column first.
The capacity trade-off nobody warns you about
A shallower box holds less. That is simple geometry, and it hits counter depth models harder than standard-depth ones of the same width and height.
| Factor | Standard-depth side by side | Counter depth side by side |
|---|---|---|
| Body depth | Roughly 30 to 36 inches | Roughly 24 to 26 inches |
| Usable volume | Larger for the same width and height | Smaller, most noticeable in the freezer |
| Kitchen profile | Protrudes past cabinets | Sits near the cabinet line; doors still protrude |
| Narrow door swing | Wider doors | Narrower doors, easier in tight spaces |
| Best for | Big families, bulk buying | Tight kitchens, cleaner sightlines |
The freezer column is where buyers feel the squeeze. A narrow vertical freezer with reduced depth holds less than people expect, especially bulky items like frozen pizza boxes, whole turkeys, or large bags of ice. If you buy in bulk, walk through a showroom model with a mental inventory of your last big grocery run.
Practical tip: bring a tape measure and check the freezer column’s interior depth and shelf spacing against the items you buy most. A model that looks generous in photos can feel cramped once a frozen lasagna pan is in it.
Measure like a pro before you commit
This is the step people skip, and it causes the most returns and the most frustration. “Counter depth” is a marketing term, not a guaranteed dimension, so measure the actual space.
- Measure cabinet depth. From the wall behind the fridge to the front face of your base cabinets. Write it down.
- Measure the opening width and height. Include trim, molding, and any adjacent wall or counter that limits the space.
- Check the manufacturer’s cutout specs. Look for required air clearance at the back, sides, and top. Fridges need breathing room for the condenser.
- Account for door swing and handle projection. Open the door in your mind (or on the showroom floor) and confirm it clears nearby walls, islands, and drawer pulls.
- Measure the delivery path. Doorways, stairwells, and tight corners. A fridge that fits the kitchen but not the hallway is a costly problem. If a unit arrives damaged or fails early, the repair math gets ugly fast, which is why it pays to understand what happens when an RV refrigerator repair fails and what it costs when you replace instead of limping along with a failing unit.
One more practical note: pull the fridge out and check the water line and outlet location if you want an ice maker or water dispenser. Many side by side models include both, and the hookups need to line up.
Energy, labels, and what the numbers tell you
Refrigerators sold in the United States carry a Federal Trade Commission EnergyGuide label showing estimated annual energy use and cost. They must also meet U.S. Department of Energy efficiency standards. The ENERGY STAR program is a voluntary U.S. EPA certification that recognizes models meeting efficiency criteria set above the federal minimum.
What does this mean in practice? A counter depth side by side is not automatically more or less efficient than a standard-depth model. Efficiency depends on the compressor, insulation, defrost system, and door seals, not on depth alone. Compare the EnergyGuide estimates side by side when you shop, and favor models with a strong efficiency rating if electricity costs worry you.
A smaller box does have one quiet advantage: less interior volume can mean less cold air to maintain, though manufacturers design around this differently. Do not assume it. Read the label.
Common mistakes buyers make, and how to avoid them
Mistake one: trusting the label over the tape measure. Counter depth is not standardized. Measure the cabinet run and compare it to the spec sheet.
Mistake two: forgetting the doors. The body may sit flush while the doors and handles add three or four inches. Plan for that protrusion near walkways.
Mistake three: underestimating freezer shrinkage. The vertical freezer column in a counter depth unit is the tightest space in the kitchen. Check it against your real habits.
Mistake four: skipping clearance requirements. Fridges need airflow. Cramming one into an alcove with no gap can shorten its life and hurt efficiency.
Mistake five: ignoring the water line and outlet. If you want ice and water, confirm the hookups fit the new footprint.
Mistake six: buying for the showroom, not the kitchen. A model that looks sleek in a wide display aisle can feel cramped in a narrow galley.
First-hand experience from appliance installers tends to echo the same theme: most complaints after delivery are about fit and clearance, not about cooling performance. Measure twice, and measure the path to the kitchen too.
Where counter depth side by side makes the most sense
This layout shines in specific situations:
- Galley kitchens where a protruding fridge blocks traffic.
- Open-plan spaces where the fridge is visible from the living area and a cleaner line matters.
- Narrow appliance openings that cannot accept a wider French door model.
- Households that use the freezer daily and like eye-level access to frozen goods.
It makes less sense for bulk buyers, large families, and anyone who routinely stores oversized frozen items. If capacity is king, a standard-depth model or a different layout may serve better. The same principle of matching the tool to the job shows up elsewhere, like choosing a Polaris general utility side by side that balances work and play rather than buying more machine than the job requires.
Installation details that protect your investment
Once the fridge is chosen, installation decides whether it performs. Level the unit so doors close on their own and seals stay tight. Leave the manufacturer’s recommended air gap at the back and sides. Let a new fridge stand upright for a few hours before plugging it in if it was laid down during transport. Set the temperature and give it a full day to stabilize before loading it with food.
Keep the condenser coils clean. Dust buildup is one of the most common reasons a fridge stops cooling efficiently, and the fix is usually simple preventive maintenance. If cooling does fail, a fix refrigerator that stopped cooling practical guide can help you tell a quick fix from a call to a technician.
Finally, check the door seals with the dollar-bill test: close the door on a bill and tug. If it slides out easily, the seal is weak and cold air is escaping.
How counter depth side by side compares to other layouts
| Layout | Freezer position | Door swing | Best fit |
|---|---|---|---|
| Side by side | Full-height vertical column | Two narrow doors | Tight spaces, eye-level frozen access |
| French door | Wide bottom drawer | Two wide top doors plus drawer | Wide openings, bulk freezing |
| Top freezer | Top compartment | One full-width door | Budget kitchens, simple use |
| Bottom freezer | Bottom drawer | One full-width door | Fresh-food access at eye level |
Counter depth versions exist across most of these layouts, but the side by side pairing is especially common because the narrow doors suit tight kitchens so well.
Conclusion
A counter depth side by side refrigerator solves a real problem: it pulls the appliance back toward the cabinet line and keeps the narrow-door layout that tight kitchens depend on. The catch is that “counter depth” is a loose term, capacity shrinks in the freezer column, and doors still protrude. Buyers who measure their cabinet run, check the spec sheet, confirm clearance requirements, and test the freezer space against their actual habits end up happy. Buyers who trust the label and skip the tape measure end up frustrated. The fridge is a long-term purchase, so an hour with a measuring tape is the best investment you can make before swiping a card.
FAQ
How deep is a counter depth side by side refrigerator?
Most counter depth models have a body around 24 to 26 inches deep, close to standard base cabinet depth. However, the term is not standardized, so depths vary by brand and model. Doors and handles usually add a few more inches of protrusion. Always check the manufacturer’s spec sheet rather than relying on the label.
Is a counter depth side by side refrigerator worth the extra cost?
It depends on your kitchen. If a standard-depth fridge would block a walkway or stick out awkwardly in an open-plan space, counter depth is worth it. If you need maximum capacity, a standard-depth model usually gives more usable space for the money. Weigh the visual gain against the capacity loss in the freezer column.
Does counter depth mean the fridge sits perfectly flush with cabinets?
No. The body sits near the cabinet line, but doors and handles typically protrude a few inches. A truly flush installation usually requires a built-in or integrated refrigerator, which costs considerably more. Expect some protrusion and plan clearance accordingly.
How much food can a counter depth side by side hold?
Less than a standard-depth fridge of similar width and height, because the shallower box holds less volume. The freezer column is where this shows up most. Check the interior dimensions and shelf spacing in person, and compare them against the bulky frozen items you buy regularly.
Do side by side refrigerators use more energy?
Not necessarily. Energy use depends on the compressor, insulation, defrost system, and door seals, not on the layout alone. In the U.S., refrigerators carry an EnergyGuide label showing estimated annual energy use and cost, and ENERGY STAR certified models meet efficiency criteria above the federal minimum. Compare labels directly when shopping.
What should I measure before buying a counter depth side by side?
Measure cabinet depth, the appliance opening width and height, and the delivery path through doorways and corners. Then check the manufacturer’s required air clearance at the back, sides, and top, plus door swing and handle projection. Confirm water line and outlet locations if you want an ice maker or dispenser.



