
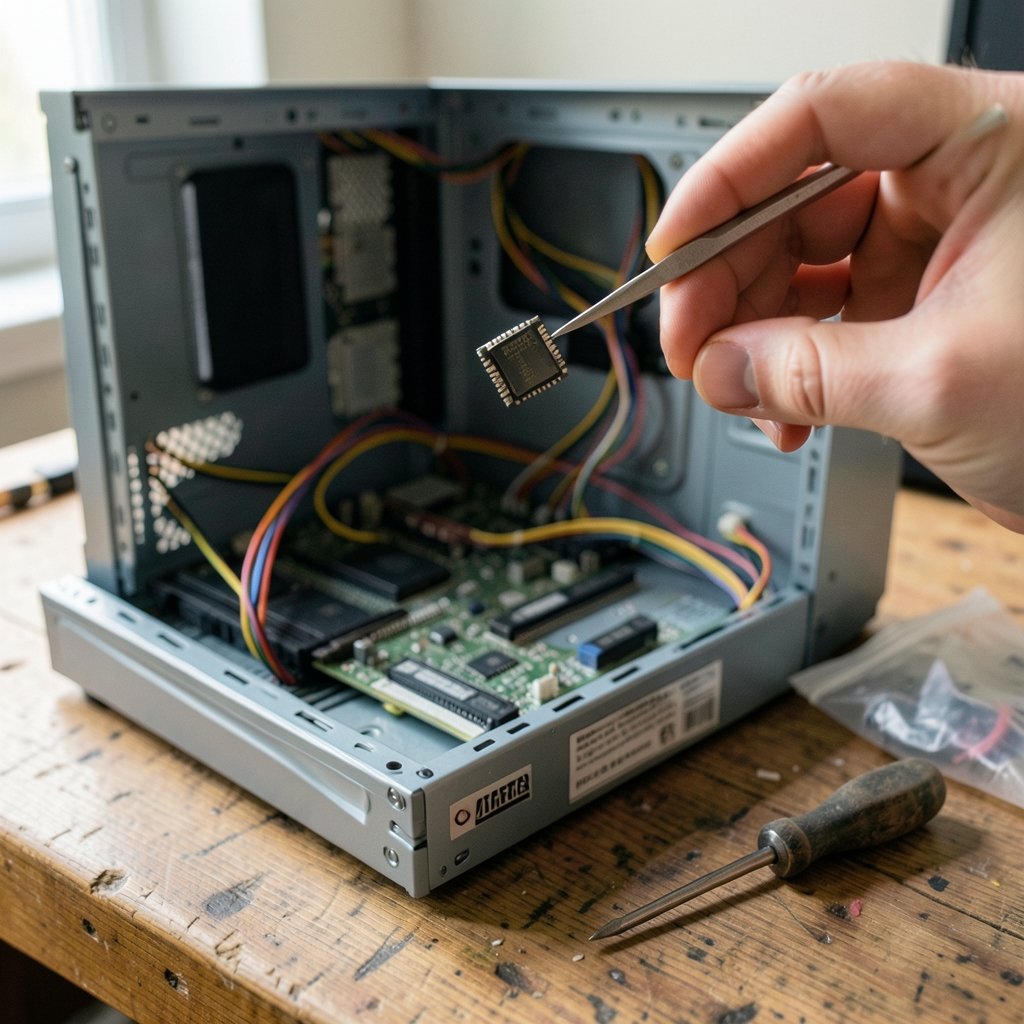
When Microsoft announced Windows 11 in June 2021, it dropped a bombshell: every PC would need a Trusted Platform Module (TPM) version 2.0 to run the new operating system. Millions of otherwise capable computers were suddenly told they didn’t qualify. The requirement caught so many people off guard that Microsoft later published dedicated support guidance explaining how to check for and turn on TPM 2.0.
Here’s the good news. Most PCs built in the last several years already have TPM 2.0 hardware inside. It’s just switched off in the firmware. Flipping it on usually takes a few minutes in the BIOS or UEFI settings. This guide walks through the whole process: checking your current status, enabling the right setting for your hardware, and confirming everything works.
Why Windows 11 Insists on TPM 2.0
A TPM is a small security chip, or a firmware equivalent, that stores encryption keys and handles cryptographic operations in isolation from the rest of the system. Windows uses it for BitLocker drive encryption, Windows Hello biometric sign-ins, and a pile of enterprise security features.
Microsoft made TPM 2.0 mandatory because the older 1.2 standard had known weaknesses, and the company wanted a consistent security baseline across all Windows 11 devices. The Trusted Computing Group, the industry body that maintains the TPM specification, publishes the technical details for anyone who wants to dig deeper into how these modules work.
The practical takeaway: this isn’t a marketing gimmick. A working TPM genuinely hardens a machine against certain classes of attacks, particularly ones that involve physically stealing a drive or tampering with boot processes.
Step One: Check Whether TPM Is Already On

Before touching any BIOS settings, find out where you stand. Windows ships with a built-in tool for exactly this purpose.
- Press Windows key + R to open the Run dialog.
- Type `tpm.msc` and hit Enter.
- Look at the status message in the center pane.
If it says “The Trusted Platform Module (TPM) is ready for use,” you’re done. The version number appears under “Specification Version” in the bottom pane. If it shows 2.0, Windows 11 will accept your machine.
If the tool reports “TPM cannot be found” or shows version 1.2, you need to make a change. A second opinion never hurts either. Open PowerShell as administrator and run `Get-Tpm`. The output lists whether a TPM is present, enabled, and activated.
This kind of quick diagnostic check is a habit worth building. The same principle applies when you check for viruses on a Windows PC — verify the current state before changing anything.
Step Two: Understand Which Type of TPM You Have
There are two flavors of TPM, and knowing which one your machine uses saves a lot of confusion.
| Type | What it is | Where it lives | Typical hardware |
|---|---|---|---|
| Discrete TPM | A separate physical chip | Soldered to the motherboard or plugged into a TPM header | Older business PCs, some custom builds |
| Firmware TPM (fTPM) | TPM emulated by the CPU and chipset firmware | Inside the processor platform | Most consumer PCs since roughly 2016 |
Intel calls its firmware implementation Platform Trust Technology (PTT). AMD calls its version fTPM, and on some boards it appears as “AMD fTPM switch.” If your PC has a recent Intel or AMD processor, you almost certainly have a firmware TPM waiting to be switched on. No extra hardware needed.
Discrete modules matter mainly for older systems or specific corporate configurations. They plug into a dedicated header on the motherboard, and availability varies wildly between boards. Some boards don’t have the header at all.
Step Three: Enter the BIOS or UEFI Settings
This is where most people get stuck, and it’s understandable. Every manufacturer uses different menu names, and the layout changes between BIOS versions.
The general routine:
- Restart the PC.
- Tap the setup key repeatedly as the logo appears. Common keys are Del, F2, F10, or Esc. Watch the boot screen — it usually names the correct key.
- If Windows boots too fast to catch it, use the recovery route: Settings > System > Recovery > Restart now (under Advanced startup), then choose Troubleshoot > Advanced options > UEFI Firmware Settings.
Once inside, look for a tab labeled Security, Advanced, Peripherals, or Trusted Computing. The TPM setting hides in one of those. Exact paths differ by vendor, so check your motherboard or PC maker’s official support pages if the menu isn’t obvious.
A word of caution from experience: don’t change random settings while you’re in there. Firmware menus contain options that can prevent the machine from booting. Touch only the TPM-related entry and leave everything else alone.
Step Four: Turn On the TPM Setting
Find the entry and enable it. The label depends on your platform:
- Intel systems: “Intel Platform Trust Technology,” “PTT,” or “Intel PTT”
- AMD systems: “AMD fTPM switch,” “fTPM,” or “Firmware TPM”
- Generic boards: “TPM Device Selection,” “Security Device Support,” or “TPM State”
Set it to Enabled (or, on AMD boards with a switch option, select fTPM rather than “Discrete TPM”). Then save and exit, usually with F10. The machine will reboot.
One common mistake: people enable “Security Device Support” but leave the device selection on the wrong option, so the firmware TPM never actually activates. If the first attempt doesn’t work, go back and check both settings.
Another gotcha involves BIOS updates. Flashing new firmware sometimes resets security settings to defaults, silently disabling the TPM. If Windows 11 suddenly complains about TPM after an update, revisit the firmware menu before assuming hardware failure.
Step Five: Verify the Change in Windows
Boot back into Windows and run `tpm.msc` again. You want to see “ready for use” and specification version 2.0.
If the tool still shows nothing, try these fixes:
- Clear the TPM through the management console if it shows as present but not ready. Be aware this can trigger a BitLocker recovery prompt, so have your recovery key handy.
- Check Device Manager under Security devices for a listed Trusted Platform Module.
- Re-enter firmware setup and confirm the setting actually saved. Some boards require you to accept changes with a confirmation dialog.
Once TPM 2.0 shows as ready, run the PC Health Check app from Microsoft to confirm Windows 11 compatibility overall. TPM is only one of several requirements, alongside Secure Boot, RAM, and processor generation.
What to Do If Your PC Has No TPM Option
Some older machines genuinely lack firmware TPM support, and some budget boards shipped without a TPM header. In those cases, options are limited:
- Add a discrete TPM module if the motherboard has a compatible header. Check the board’s manual for the exact module type — pin layouts are not universal, and plugging in the wrong one can damage hardware.
- Upgrade the platform. If the CPU predates firmware TPM support, no setting will conjure one into existence.
- Stay on Windows 10 for as long as it receives updates, and plan a hardware refresh.
It’s worth being honest here: workarounds that bypass the requirement exist, but they leave a machine in an unsupported state that may stop receiving updates. For most people, that trade-off isn’t worth it.
TPM, BitLocker, and the Recovery Key Trap
Here’s the part almost nobody mentions until it’s too late. If BitLocker is active, changing TPM settings can lock the drive and demand a recovery key at the next boot. Before touching firmware, confirm your key is backed up — check your Microsoft account’s device page or print the key. (Undo shortcut key for windows and mac)
The same warning applies to Windows Hello. Clearing or resetting the TPM wipes stored PINs and biometric credentials, so you’ll re-enroll your face or fingerprint afterward. Annoying, but recoverable. A lost BitLocker key is not.
While you’re tightening security, it’s also worth learning how to enable two-factor authentication on your Microsoft account. A TPM protects the device; two-factor authentication protects the account. Together they close two very different doors.
Common Mistakes and What Actually Works
After helping plenty of people through this process, a few patterns stand out.
Mistake one: hunting for a “TPM 2.0” label. Firmware menus rarely use that exact phrase. Look for PTT, fTPM, or Trusted Computing instead.
Mistake two: assuming a failed check means dead hardware. Nine times out of ten, the TPM exists and is simply disabled. Check `tpm.msc` after every firmware change to confirm progress.
Mistake three: skipping the save step. Some BIOS screens require you to confirm changes on exit. If you power off without saving, nothing changes.
Mistake four: panicking at the BitLocker screen. That blue recovery prompt looks alarming but is normal after a TPM change. Enter the key and the system continues.
What actually works is methodical: verify current status, back up recovery keys, change one setting, reboot, verify again. Slow and boring beats fast and broken every time.
Conclusion
Enabling TPM 2.0 for Windows 11 comes down to three moves: check your current status with `tpm.msc`, flip the right firmware switch (PTT on Intel, fTPM on AMD), and verify the result. Most modern PCs already have the hardware — it’s just dormant. The whole job takes ten minutes once you know where to look.
The bigger lesson is about preparation. Back up your BitLocker recovery key before you start, expect menu names to vary by manufacturer, and treat firmware settings with respect. Do that, and the Windows 11 compatibility check stops being a roadblock and becomes a checkbox. Your machine ends up more secure than it started, which is a rare win-win in the world of PC maintenance.
Frequently Asked Questions
Does enabling TPM 2.0 slow down my computer?
No measurable impact for everyday tasks. TPM operations are lightweight and happen mostly during boot, sign-in, and encryption setup. Firmware TPMs run on dedicated microcontroller logic inside the chipset, so they don’t compete with your CPU for general workloads.
Can I enable TPM 2.0 without entering the BIOS?
Not for firmware TPMs — the switch lives in firmware, full stop. Windows can clear or manage an existing TPM through `tpm.msc`, but it cannot activate one the firmware has disabled. The only exception is adding a discrete module, which still requires a reboot to be detected.
Is it safe to clear the TPM in Windows?
It’s safe in the sense that it won’t damage hardware, but it does erase stored keys. BitLocker will demand a recovery key, Windows Hello credentials reset, and any other TPM-bound secrets are lost. Back up your recovery key first, then clear only if the TPM is present but not functioning correctly.
Why does my PC show TPM 1.2 instead of 2.0?
Older discrete modules and some early firmware implementations only support version 1.2. Check the firmware menu for a version selection option — some boards let you switch between 1.2 and 2.0. If no option exists, the hardware itself is the limit, and a discrete 2.0 module or newer platform is the fix.
Will a BIOS update disable my TPM again?
It can. Firmware updates sometimes restore security settings to factory defaults, which may include disabling the TPM. If Windows 11 starts complaining after an update, revisit the firmware menu and re-enable PTT or fTPM before troubleshooting anything else.
Do I need a separate TPM chip to install Windows 11?
Usually not. Most Intel and AMD platforms from the past several years include a firmware TPM that costs nothing extra. A discrete module is only necessary on older systems or boards that lack firmware TPM support entirely. Check `tpm.msc` first — the answer is often already on your machine.



