

Most people assume a fresh operating system install means starting over. In reality, Apple’s own recovery tools are built around a preserve-first model: reinstalling macOS in place replaces the system software while leaving your documents, photos, apps, and settings untouched. The catch is that a handful of menu choices look almost identical but behave very differently, and one wrong click turns a safe repair into a full wipe.
This guide walks through the safe path step by step, explains which options destroy data and which don’t, and covers the practical details that trip people up in the middle of a recovery session.
Reinstall vs. Erase: The Distinction That Decides Everything
Before touching anything, understand that “reinstall macOS” and “erase and reinstall” are two separate operations that live in the same recovery menu. (Wikipedia: macOS)
| Operation | What happens to your data | When to use it |
|---|---|---|
| Reinstall macOS (in place) | User files, apps, and most settings are preserved | System bugs, failed updates, sluggish behavior, corrupted OS files |
| Erase All Content and Settings | Everything is deleted; Mac returns to setup state | Selling, trading in, or handing the Mac to someone else |
| Disk Utility erase, then reinstall | Everything on the startup volume is destroyed | Severe corruption, failed reinstall, preparing a clean slate |
The first row is the one you want. Apple has documented this behavior for years: the Reinstall option installs the operating system over the existing installation without erasing the startup volume. Your home folder stays where it is.
The second and third rows are destructive. Erase All Content and Settings, introduced with macOS Monterey in 2021, is the modern fast path to a clean Mac, and it absolutely deletes your data. People confuse it with a reinstall constantly because both appear in recovery or system settings. They are not the same thing.
Before You Start: The Three-Minute Prep That Saves Hours
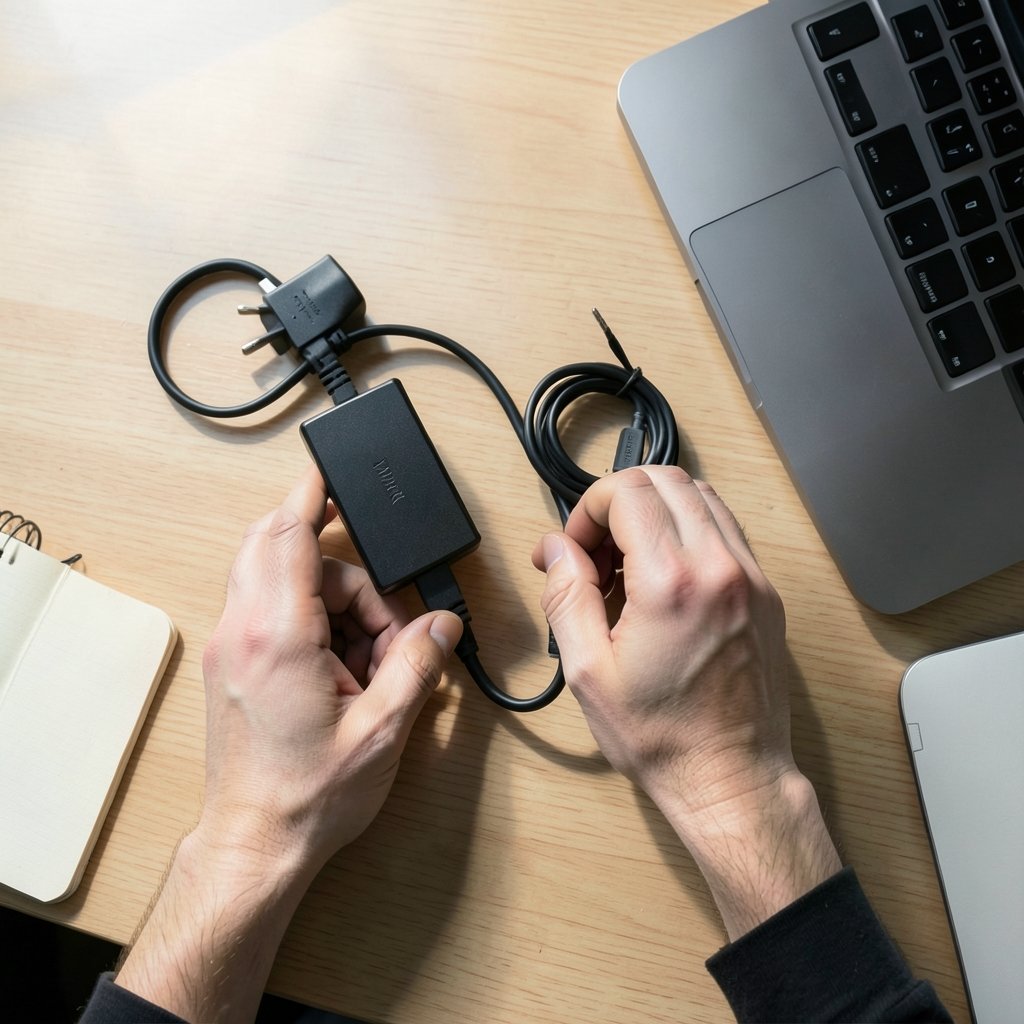
Skipping preparation is the single most common mistake. A reinstall usually finishes cleanly, but power interruptions, failing drives, and FileVault-encrypted volumes can all turn a routine job into a recovery puzzle. Three quick steps prevent that.
- Back up with Time Machine. Connect an external drive and run a full backup. Apple recommends this before any major system change, and it is the difference between an inconvenience and a disaster.
- Note your Apple Account credentials. Recovery may ask you to authenticate, especially on Apple silicon Macs with Activation Lock.
- Plug in power. A laptop on battery can die mid-install. Use the charger.
If you want a broader picture of how much storage modern workloads demand and why a clean system sometimes matters, it helps to understand what is actually consuming space behind the scenes, from local caches to cloud sync folders.
How to Enter macOS Recovery on Your Mac
The entry method depends on your hardware, and this is where many guides go wrong by presenting one set of steps as universal.
Apple silicon Macs (M1, M2, M3, M4 and later)
- Shut down the Mac completely.
- Press and hold the power button until “Loading startup options” appears on screen.
- Release the button and select Options.
- Click Continue.
Intel-based Macs
- Shut down the Mac.
- Press the power button and immediately hold Command (⌘) + R.
- Keep holding until the Apple logo or a progress bar appears.
Intel Macs also support Option + Command + R (Internet Recovery), which downloads the latest compatible macOS from Apple’s servers rather than using a local recovery partition. That option is useful when the built-in recovery volume is damaged, though Intel support has been winding down, so confirm the current behavior for your specific model before relying on it. (Apple Support: Reinstall macOS on your Mac)
Once you are in Recovery, the interface offers four main tools: Restore from Time Machine, Reinstall macOS, Safari, and Disk Utility. You want the second one.
Step-by-Step: Reinstalling macOS In Place
With Recovery loaded, the process itself is short. The waiting is the long part.
- Select Reinstall macOS (the label may include a version name, such as “Reinstall macOS Sonoma”).
- Click Continue.
- Accept the license agreement.
- Choose your startup disk. It is usually preselected. Do not click “Show All Disks” and pick something else unless you know exactly why.
- Click Install and authenticate if prompted.
- Let it run. Expect 30 to 90 minutes depending on your Mac, connection speed, and the size of the download.
The Mac will restart several times. A black screen with a progress bar, an Apple logo, or a spinning globe are all normal. Resist the urge to force-restart during this phase, even if it looks stuck for ten minutes.
What you will and won’t lose
Your documents, photos, music, and installed applications survive. So do most preferences. What you may lose is finer-grained: certain system-level tweaks, some kernel extensions, and occasionally app-specific settings that live outside your home folder. If you use tools that hook deeply into the OS, plan to re-authorize them afterward.
One honest caveat: Apple’s wording about exactly what a reinstall preserves has shifted slightly across macOS versions, and behavior can vary if the startup volume was modified or partially corrupted. That is precisely why the backup matters. A reinstall is generally safe, not magically safe.
Common Mistakes That Turn a Reinstall Into a Wipe
These are the traps that show up again and again in support forums and repair shops.
Confusing Reinstall with Erase. The two options sit near each other in Recovery. Read the label twice. “Reinstall macOS” preserves; “Erase Mac” or Disk Utility’s Erase command does not.
Erasing the disk “just to be clean.” Some guides suggest wiping first for a “truly fresh” install. That is a legitimate strategy for a machine with deep corruption, but it is not a data-preserving reinstall. If you go that route, restore from your Time Machine backup immediately afterward.
Expecting a downgrade. Reinstall installs the version of macOS that Recovery offers, typically the latest compatible release. It is not a supported way to roll back to an older OS. If you need an older version, that is a different and more involved procedure.
Interrupting the install. Closing the lid, unplugging power, or force-restarting mid-install can leave the system in a half-written state. If that happens, you may need to erase and reinstall, which is exactly the outcome you were trying to avoid.
Ignoring FileVault. If FileVault is on, recovery may prompt for your password or require you to enter it to access the disk first. Have that password ready. Forgetting it mid-process is a genuine problem, not a minor annoyance.
Skipping the backup because “it never fails.” It usually doesn’t. The one time it does, the backup is the whole ballgame.
When a Reinstall Is the Right Fix (and When It Isn’t)
A reinstall is a system-software repair. It is good at fixing corrupted OS files, failed updates that left the Mac unbootable, strange startup behavior, and persistent glitches that survive safe mode and a PRAM/NVRAM reset.
It is not a cure-all. If your Mac is slow because the drive is nearly full, reinstalling won’t help. If an app is crashing, the app is the problem, not macOS. And if you are chasing performance for heavy workloads, the bottleneck is often elsewhere entirely, whether that is storage, memory, or the way modern compute infrastructure is architected. Understanding what an AI data center looks like at scale, for instance, makes it obvious why local hardware limits are usually about memory and storage rather than the operating system itself.
For data-heavy work, a cleaner approach is often to optimize the workflow rather than the machine. If you regularly push spreadsheets and datasets to their limits, learning how to use AI for data analysis can solve a performance complaint that no reinstall ever would.
After the Reinstall: A Short Checklist
Once the Mac boots back to your desktop, do a quick verification pass.
- Confirm your files are present in Finder, especially anything in Documents, Desktop, and Pictures.
- Open a few key apps to check they launch and are signed in.
- Run Software Update to catch any pending patches.
- Check that iCloud Drive and other sync services have reconnected.
- Re-authorize any security or backup tools that need full disk access.
- Make a fresh Time Machine backup so your safety net reflects the new state.
If something is missing, restore just those items from Time Machine rather than running a full restore. Selective recovery is faster and less disruptive.
A Note on Backups Beyond Time Machine
Time Machine is the default for good reason, but redundancy helps. Many people keep a second copy of critical files in cloud storage or on a separate drive. If you are building out a home setup and want to think about what else deserves protection, the same logic that applies to your Mac applies to other devices, and it is worth knowing which outdoor security cameras without a subscription store footage locally versus in the cloud. The principle is identical: know where your data lives and how you would get it back.
Conclusion
Reinstalling macOS without losing data comes down to one decision made carefully in Recovery: choose Reinstall macOS, not Erase. Everything else is preparation and patience. Back up first, plug in power, keep your Apple Account and FileVault passwords handy, and let the installer finish without interference. The process preserves your files by design, and with a backup in place, even the unlikely failure becomes a minor setback rather than a catastrophe. For most Macs with software-level problems, it is the cleanest repair available, and it takes less time than most people expect.
Frequently Asked Questions
Does reinstalling macOS delete my files?
No, not when you use the Reinstall macOS option in Recovery. It installs the operating system over the existing installation without erasing the startup volume, so your documents, photos, and apps remain in place. Files are only lost if you erase the disk first or use Erase All Content and Settings.
How long does a macOS reinstall take?
Typically 30 to 90 minutes. The download size, your internet speed, and the Mac’s storage speed all affect timing. Apple silicon Macs often download a smaller recovery image, while Intel Macs using Internet Recovery may take longer. Plan for the upper end and keep the Mac plugged in.
Will I lose my installed applications?
In most cases, no. Applications stored in your Applications folder survive an in-place reinstall. Some apps that rely on system extensions, kernel-level components, or deep permissions may need to be re-authorized or reinstalled afterward, particularly security and virtualization software.
Can I reinstall an older version of macOS this way?
Generally no. Recovery installs the version of macOS it offers, usually the latest compatible release for your Mac. Rolling back to an earlier version is a separate, more involved process and is not what the Reinstall option is designed for.
What happens if the reinstall fails partway through?
The Mac may boot into Recovery again or show an error. Try running the reinstall once more. If it fails repeatedly, the startup volume may be damaged, in which case erasing the disk and reinstalling becomes necessary, followed by restoring your data from the Time Machine backup you made beforehand.
Do I need a backup if the reinstall preserves my data?
Yes. The reinstall is designed to preserve data, but power loss, disk errors, or an interrupted install can still cause problems. A Time Machine backup takes minutes and turns a potential disaster into a recoverable inconvenience. Apple recommends backing up before any major system change for exactly this reason.



