
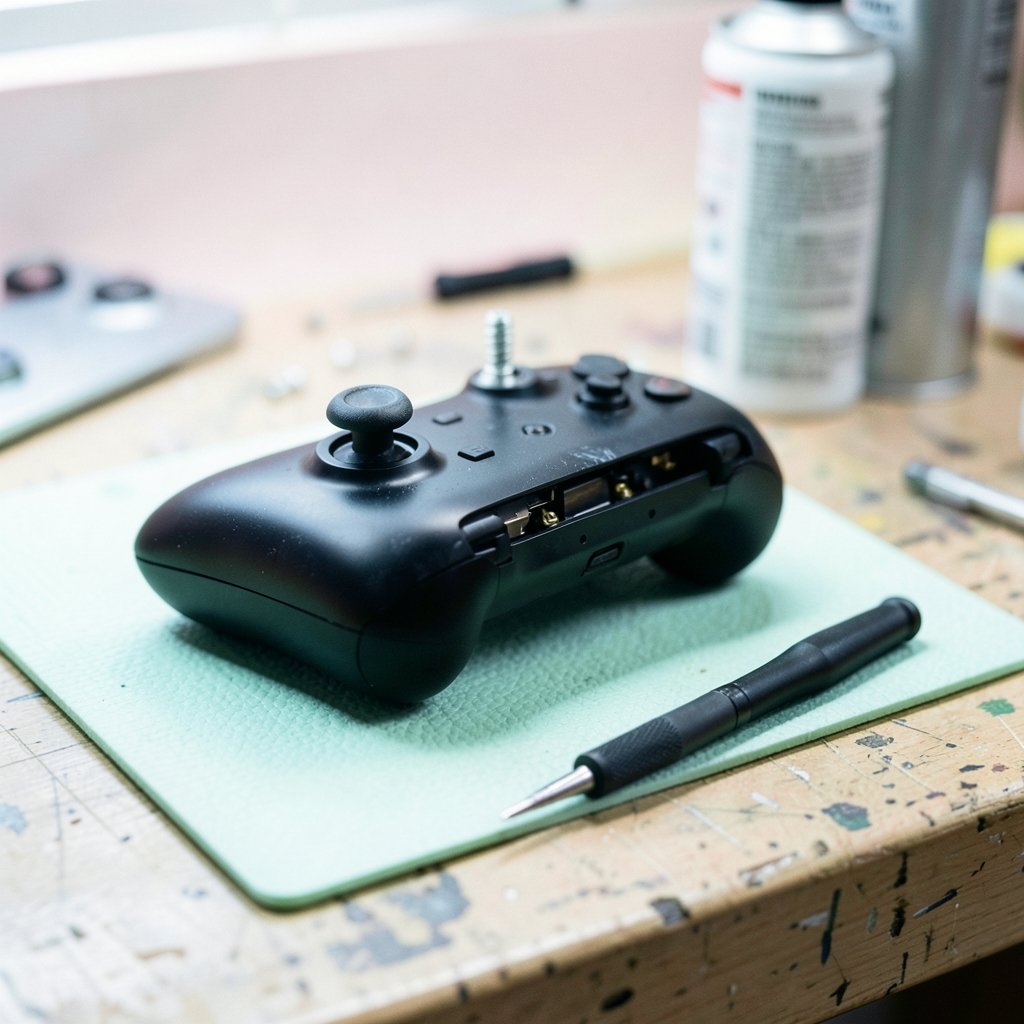
A class-action lawsuit filed over drifting thumbsticks turned a quiet annoyance into a public issue, and it made one thing clear: almost every controller eventually fails in a predictable way. The good news is that most of those failures are fixable at home with a screwdriver, some contact cleaner, and twenty minutes of patience.
Quick Answer: What are the most common problems with gaming controller and how do i fix them?
The most common gaming controller problems are stick drift, unresponsive or sticky buttons, trigger and bumper failures, Bluetooth pairing drops, battery and charging faults, and rumble motor noise. Most can be fixed at home by cleaning the stick module or button contacts with isopropyl alcohol, recalibrating the controller in your console settings, reseating the battery, or resetting and re-pairing the device.
Drift is the outlier because cleaning only buys time. Worn potentiometers or a cracked stick module usually need a replacement part, which is cheap but requires opening the shell. Button and trigger faults are more often debris or a tired rubber membrane, so cleaning and reseating solve them far more often than parts swaps.
Before spending money on a repair kit or a new pad, check the controller’s age and warranty status, which platform you’re on, whether the fault appears in one game or every game, whether firmware is current, and the cost of an official repair versus a replacement module.
Stick drift sits at the top of nearly every repair-shop list, and it’s the fault most likely to end a controller’s life early. The analog stick relies on potentiometers or hall-effect sensors that translate physical movement into electrical resistance, and when that contact surface wears or collects dust, the controller starts reporting movement that isn’t happening. Your character walks forward on its own. The camera creeps toward the sky. Menus scroll without input.
The frustrating part is how gradual it is. Drift rarely announces itself. It creeps in over months until one day a menu won’t stay still. That slow onset is why so many players blame the game before they blame the hardware.
Stick Drift: The Fault That Ends Most Controllers Early

The first move is always calibration, not repair. Every major platform ships a calibration or input-test tool, and running it tells you whether the stick is genuinely off-center or whether the game’s deadzone settings are just too tight. A stick that reads slightly off in the test but behaves fine in games probably doesn’t need surgery yet.
If calibration confirms drift, cleaning is the next step. Compressed air into the gap around the stick base removes loose debris, and a small amount of isopropyl alcohol (90% or higher, never rubbing alcohol) applied to the stick base while rotating it can flush out the grime causing false contact. Let it dry fully before powering on. This works often enough to be worth trying first, but it’s a stay of execution, not a cure.
When cleaning stops helping, you’re into parts territory. Replacement analog stick modules are inexpensive, and third-party hall-effect modules use magnetic sensing instead of physical contact, which removes the wear mechanism entirely. The tradeoff is installation difficulty: hall-effect upgrades usually require soldering on some models, while OEM-style modules are often plug-in.
A few practical warnings from people who do this often:
- Don’t drown the stick in alcohol. Flooding the module can carry debris deeper and damage the sensor.
- Don’t skip the calibration after reassembly. A new module rarely reads perfectly centered out of the box.
- Don’t ignore the deadzone setting. Many games let you widen it slightly, which is a legitimate stopgap while you wait for parts.
Buttons That Stick, Sink, or Stop Responding
Face buttons fail in two ways: they stick down, or they stop registering. Sticking is almost always debris or a spilled drink drying into a sticky film between the button cap and the housing. The fix is disassembly, a cotton swab, and isopropyl alcohol on the button well and the rubber membrane underneath.
Buttons that stop registering are usually a worn conductive pad on the rubber membrane or dirty contact traces on the circuit board. Cleaning the carbon contacts with alcohol and a pencil eraser (gently) restores conductivity surprisingly often. If the rubber itself is torn or flattened, a replacement membrane is a cheap part.
The most common mistake here is prying buttons out with a metal tool. Plastic button caps scratch and crack easily, and a cracked cap turns a five-minute cleaning job into a shell replacement. Use plastic spudgers only.
Shoulder buttons and triggers are a separate story. Bumpers use small tact switches that wear out from repeated clicks, and triggers use either a potentiometer or a hall sensor. A trigger that reads partial input instead of full pull usually needs a new trigger assembly, while a bumper that clicks but doesn’t register is often a dirty switch contact that cleaning can rescue. If you’re weighing a repair against an upgrade, it helps to know what a good pad feels like in the first place, which is why players comparing options often check a guide to the best Xbox controller before deciding whether to fix or replace. (Xbox controller won’t connect)
Connectivity, Pairing, and Input Lag Problems
Wireless faults get misdiagnosed constantly. A controller that “disconnects randomly” is often suffering from 2.4GHz interference rather than a broken radio. Routers, USB 3.0 ports, and even some external drives sit right on top of the same frequency band, and moving the console or the controller a few feet away from the router fixes more cases than any firmware update.
The standard sequence for a stubborn pairing problem:
- Remove the controller from the console’s paired-device list entirely.
- Reset the controller (most models have a pinhole reset button or a button combo).
- Update the controller firmware through the console’s settings menu.
- Re-pair using a wired USB connection first, then test wireless.
If the controller works perfectly wired but drops constantly on wireless, the radio or antenna is the suspect. If it drops on both, the cable or port is the suspect. That one test splits the diagnosis in half and saves a lot of guessing.
Input lag is a different animal. It’s usually a display setting (game mode off), a TV’s post-processing, or a crowded wireless environment, not a broken controller. Before replacing hardware, test the controller on a different display and a different USB port. Gamers who play competitively often find that their connection matters more than their pad, which is why serious players research the best internet for gaming alongside their hardware.
Battery, Charging, and Power Faults
A controller that won’t hold a charge is usually a worn battery, a damaged charging port, or a cable that only charges and doesn’t carry data. The cable test is free: swap in a known-good data cable and a different power source. If the controller charges on one and not the other, you’ve found the culprit without opening anything.
Built-in batteries degrade the same way phone batteries do. After a few hundred charge cycles, capacity drops noticeably, and a controller that used to run twenty hours now dies in six. Replacement batteries are inexpensive on most models, but swollen batteries are a stop-use situation. A bulging battery pack can crack the shell and is a genuine safety concern, so replace it rather than continue charging it.
Charging port damage is the sneaky one. USB-C ports collect lint, and a port that “won’t charge” is sometimes just packed with pocket fuzz. A wooden toothpick and a light blast of air resolve a surprising share of these cases. Don’t use metal pins; the contacts inside a USB-C port are tiny and easy to short.
Rumble, Audio, and Other Odds and Ends
Rumble motors fail quietly. A controller that buzzes unevenly or not at all usually has a loose motor connector or a dead motor, both of which are replaceable but rarely worth the effort unless the haptics matter to you. Headphone jacks on controllers suffer the same lint and debris problem as charging ports, and a jack that only works when the plug is wiggled is often dirty rather than broken.
Then there’s the firmware layer, which causes more phantom problems than people expect. A controller that behaves oddly after a console update, or that shows up as an unrecognized device, is often running stale firmware. Checking for updates takes two minutes and has resolved sync issues, button mapping weirdness, and dead zones that appeared out of nowhere.
For anyone maintaining a whole setup, a little preventive upkeep goes a long way. Keeping the controller out of dusty rooms, storing it face-down rather than resting on the sticks, and wiping the shell with a microfiber cloth after heavy sessions all reduce the wear that leads to drift and sticky buttons. The same discipline applies to the rest of the machine; if you’re troubleshooting a PC that stutters while you game, it’s worth learning how to fix antimalware service executable high CPU usage so you don’t blame the controller for a system problem.
When Repair Beats Replacement
The math is simple. A stick module, a rubber membrane, or a battery costs a fraction of a new controller, and the repair takes under an hour for anyone comfortable with a screwdriver. Replacement wins when the shell is cracked, the circuit board is water-damaged, or multiple systems have failed at once.
| Problem | Typical fix | Difficulty | Replace instead when |
|---|---|---|---|
| Stick drift | Clean, calibrate, replace module | Medium | Board damage or cracked stick housing |
| Sticky buttons | Clean button well and membrane | Easy | Torn membrane you can’t source |
| Dead bumper | Clean switch or replace assembly | Medium | Switch solder pads lifted |
| Pairing drops | Reset, update firmware, re-pair | Easy | Radio fails on wired and wireless |
| Weak battery | Replace battery pack | Easy | Swollen battery or cracked shell |
| Charging port | Clean lint, reseat cable | Easy | Port physically broken off board |
One more consideration: warranty. Many controllers carry a one-year warranty, and official repair programs often replace drifting pads for free or at low cost. Check the warranty before you open anything, because breaking the seal usually voids it. If the pad is out of warranty and you’re already shopping, it’s worth reading about the best wireless gaming headsets 2026 and similar gear guides so a controller purchase fits the rest of your setup rather than duplicating what you already own.
Conclusion
Most controller failures aren’t mysterious. They’re wear, debris, and tired batteries, and they follow patterns you can predict and often fix yourself. Start with the free diagnostics: calibration tools, cable swaps, firmware updates, and a reset. Move to cleaning when those don’t work. Only then consider parts, and only replace the whole controller when the damage is structural or the repair cost approaches the price of new hardware.
The players who get years out of a single pad aren’t lucky. They calibrate early, clean before things break, store the controller properly, and fix small faults before they compound. A twenty-minute cleaning session every few months is cheaper than a new controller every year, and it keeps the one you already like in your hands.
Frequently Asked Questions
Can stick drift be fixed permanently?
Only by changing the sensing technology. Cleaning and calibration treat the symptom, and drift usually returns. Swapping in a hall-effect module removes the physical wear that causes drift in the first place, which is the closest thing to a permanent fix available to most players.
Is it worth repairing a controller or should I just buy a new one?
Repair wins when the fault is a single component and the shell and board are intact. A module, membrane, or battery costs a fraction of a new pad. Buy new when the shell is cracked, liquid damage has reached the board, or several systems have failed together.
Why does my controller disconnect only in certain games?
That pattern usually points to the game’s own settings rather than the hardware. Some titles poll the controller differently or run tighter deadzones, which exposes a marginal stick or a weak wireless link. Test the same controller in another game and on a wired connection to confirm. (Game controller)
How do I clean a controller without taking it apart?
Compressed air around the sticks and buttons, a microfiber cloth on the shell, and a toothpick in the charging port handle most surface grime. Deeper cleaning of stick modules and button wells requires opening the shell, and liquid cleaners should never be poured into a sealed controller.
Does firmware actually fix controller problems?
Sometimes. Firmware updates have resolved pairing failures, mapping errors, and deadzone behavior after console updates. They won’t fix worn hardware, so treat an update as a free first step rather than a cure for drift or a dead button.
How can I make a controller last longer?
Store it face-up so the sticks aren’t compressed, keep it away from dust and drinks, wipe it down after heavy sessions, and recalibrate periodically. Widening the in-game deadzone slightly also reduces the constant micro-movements that wear stick sensors fastest.



