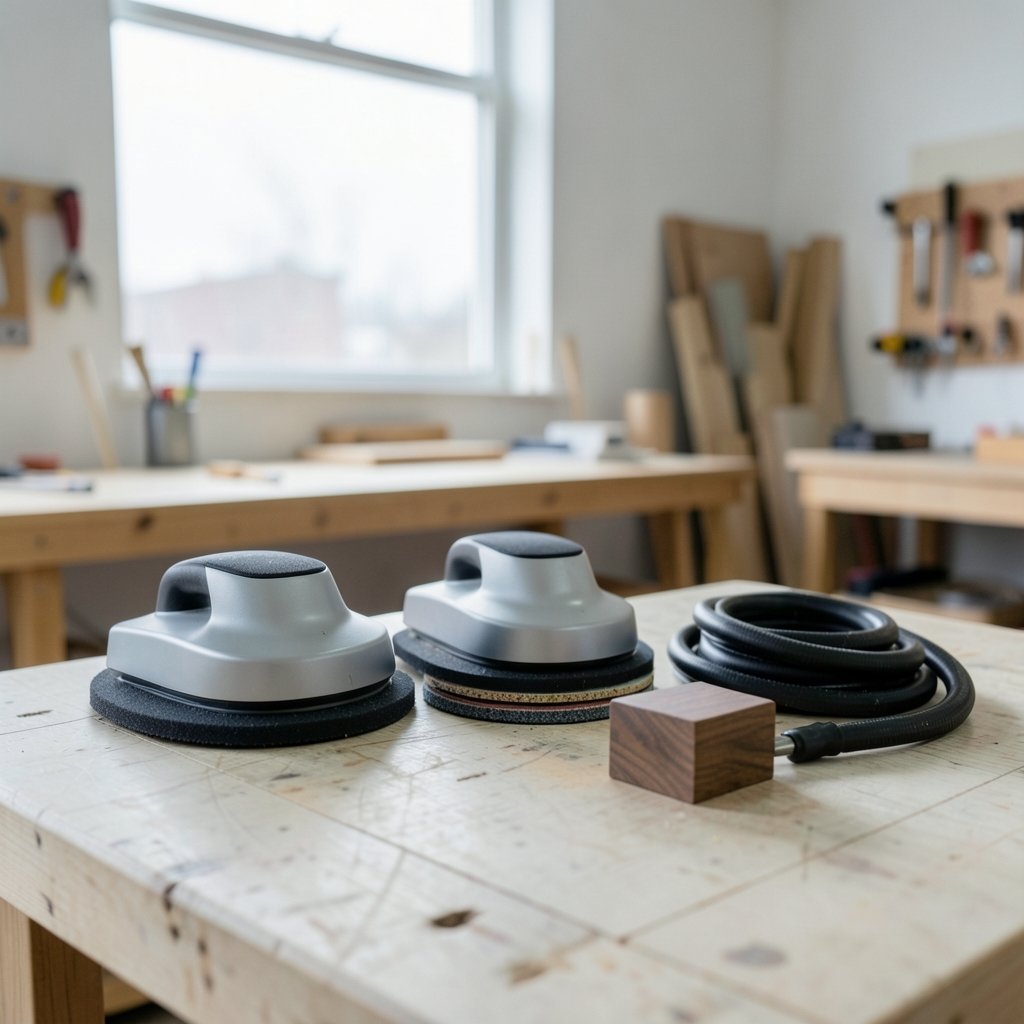
What separates a sander that glides across a board like it is skating on ice from one that leaves pigtail swirls all over your best walnut? More often than not, it comes down to whether the buyer understood the machine before paying for it. Orbital sanders look nearly identical on a shelf, yet the differences in orbit size, pad diameter, dust control, and motor quality change the finished surface dramatically. This guide walks through what actually matters, what marketing glosses over, and how to match a sander to the work you really do.
Start With the Two Types of Orbital Action
Every orbital sander falls into one of two families, and the choice shapes everything else.
A random orbital sander (ROS) spins its pad freely on a bearing while the whole pad travels in a small circle. Because the pad rotates at a slightly different rate than the orbit, the abrasive never retraces the same path. That non-repeating pattern is why random orbitals resist swirl marks so well. They are forgiving, they finish beautifully, and they suit beginners.
A geared or forced-rotation orbital sander drives the pad rotation positively through gears. Material disappears faster, which is great for stripping paint or flattening rough stock, but the scratch pattern is more visible and the tool is less forgiving on veneers or softwoods.
For most furniture work, cabinetmaking, and refinishing, the random orbital is the sensible default. Geared models earn their place in heavy stock removal or production environments where speed beats finesse.
Orbit Diameter Is the Spec That Actually Matters

Ask an experienced finisher what to look at first and the answer is usually orbit diameter, sometimes called stroke. This is how far the pad travels in its circle, and it decides the balance between speed and surface quality.
| Orbit diameter | Typical use | Scratch behavior |
|---|---|---|
| About 2.5 mm (3/32 in) | Fine finishing, veneers, between-coat sanding | Very fine scratches, slow stock removal |
| About 5 mm (3/16 in) | All-round work, the general-purpose choice | Balanced speed and finish |
| About 6 mm (1/4 in) | Fast stock removal, rough flattening | Faster cutting, deeper scratches |
A small-orbit sander with fine grit can produce a near-polished surface, but it will test your patience on a glued-up tabletop that needs flattening. A large-orbit machine flattens quickly, yet it can gouge thin veneer before you notice. Many serious woodworkers eventually own two: a 5 mm all-rounder and either a small-orbit finisher or a big-orbit brute for rough work.
Buyers often make the mistake of chasing the largest orbit because the number sounds stronger. A 6 mm orbit on a 125 mm pad is difficult for a beginner to handle, and the extra cutting action is wasted on finish sanding. Match the orbit to the task, not to the spec sheet’s bragging rights.
Pad Size, Power, and Weight
Pad size and orbit work together. Common pad sizes are 125 mm (5 in) and 150 mm (6 in). The larger pad covers more area per pass but is heavier and harder to control on edges and curves. The 125 mm size is the sweet spot for most home workshops because it stays manageable overhead and in tight spots.
Mains-powered random orbitals typically sit in the 250 to 400 W range. That is plenty for hobby and light professional work. Wattage figures vary by model and region, so check current manufacturer data rather than treating any number as a standard.
Weight deserves more attention than it gets. A sander is held for long stretches, often at chest height or above. A heavy 150 mm machine that feels solid in the shop can turn into a burden after twenty minutes on a wall of cabinets. If you sand vertically or overhead, hold the tool before buying or accept that you will need to rest more often.
Dust Extraction: Health Protection, Not Cleanliness
Wood dust is a recognized respiratory hazard, and public health bodies in the UK and US publish guidance on controlling exposure in woodworking. That makes dust extraction a health decision, not a tidiness preference.
Random orbitals are usually designed to be hooked to a shop vacuum or extractor through a port on the body. The difference between sanding with extraction and sanding without it is not subtle. With good airflow, the surface stays visible, the abrasive clogs far less, and the air stays breathable. Without it, you get a haze, a clogged disc within minutes, and a workshop that needs an hour of cleaning.
A few practical points that catch people out:
- Match the port size. Sander outlets vary, and a loose hose connection leaks more dust than it captures. Adapters are cheap; buy the right one.
- Use a bag or cyclone. A vacuum bag fills fast when sanding. A small cyclone separator saves filters and keeps suction strong.
- Do not rely on the onboard canister. The little collection boxes on some sanders catch a fraction of the dust. They are better than nothing and worse than a proper extractor.
Eye and hearing protection belong in the same conversation. Sanders are noisy and they throw debris, so glasses and ear defenders are standard kit, not optional extras.
Abrasives and Backing: Where Money Quietly Disappears
Most random orbitals use hook-and-loop backing, the Velcro-type system that lets you swap discs in seconds. A minority use pressure-sensitive adhesive discs, which hold flatter but are slower to change and leave residue.
The abrasive itself matters as much as the machine. A sensible grit progression runs coarse to fine, and the rule of thumb is not to skip more than about one step:
- Start at 80 grit to remove marks and level the surface.
- Move to 120 grit to erase the 80-grit scratches.
- Follow with 180 grit for a finish-ready surface.
- Finish at 240 grit where a finer surface is wanted before staining or clear coating.
Skipping from 80 straight to 240 is one of the most common beginner errors. The fine disc cannot remove the coarse scratches, so you sand longer, burn through more paper, and still see the marks under finish. Each step exists to erase the previous one.
Cheap discs are a false economy. They shed grit, overheat, and clog, which costs more in time than the savings. Buy quality paper in bulk and change it when it stops cutting, not when it turns completely smooth.
Variable Speed and Electronic Controls
Better random orbitals offer variable speed and electronic feedback that holds the orbit rate steady under load. This is genuinely useful. Slowing the orbit helps on heat-sensitive finishes, on plastics, and when a soft pad is loaded with fine grit. Constant-electronics keep the speed from sagging when you press down, which produces a more even scratch pattern.
It is worth being honest about how often most hobbyists use the full speed range. Many settle on one or two settings. Still, the control costs little extra on a mid-range machine and pays off the first time you sand a curved profile or a finish that wants a gentle touch.
Ergonomics, Vibration, and the Controls You Touch
A sander is a hand tool, so the grip matters. Look for a body that sits naturally in the palm, a soft overmold where your hand rests, and a power switch you can reach without shifting your grip. Some models place the switch awkwardly, and you only notice after an hour of use.
Vibration is the silent deal-breaker. Well-balanced machines with quality bearings run smoothly; cheap ones buzz until your fingers tingle. If you can, run a display model for thirty seconds. If you cannot, read owner reports specifically about vibration rather than overall star ratings.
The pad brake deserves a mention. On a good random orbital, the pad stops quickly when you lift the tool, which prevents the free-spinning pad from scuffing the surface as you set it down. A sander without effective braking will nick your work eventually.
Corded or Cordless?
Corded sanders deliver consistent power and run all day. Cordless models trade some muscle for freedom from a cord, which matters on ladders, in tight corners, and outdoors. For workshop work, corded still wins on value and runtime. For site work and touch-ups away from an outlet, a cordless sander on a shared battery platform is a reasonable buy, provided you already own batteries for that platform.
If you are building out a tool kit and weighing where money goes, it helps to think in systems. The same logic that applies to choosing a tablet worth buying for beginners and everyday use applies here: buy for the tasks you actually do, not the ones you imagine. Photographers weighing gear face the same trade-off, which is why a practical buying guide for the best Android phones for photography stresses matching specifications to real workflows. Sanding rewards the same discipline.
Common Mistakes Buyers Make
A few errors show up again and again.
- Pressing down hard. Extra pressure does not speed up cutting. It slows the orbit, loads the motor, and leaves deeper scratches. Let the machine and the abrasive do the work.
- Buying the biggest orbit first. Aggression is not a virtue on finish work.
- Ignoring dust extraction. The health case alone settles this.
- Skipping grits. Covered above, and still the most frequent cause of disappointing finishes.
- Judging by wattage alone. Orbit, balance, and dust design matter more than a headline number.
- Forgetting consumables in the budget. Discs, adapters, and hoses add up. Factor them in from the start.
There is a parallel in other gear categories where the accessory ecosystem decides satisfaction. Gamers researching peripherals quickly learn that a gaming keyboard buying checklist to verify before you pay saves more regret than any single specification. The same holds for sanders: the machine is half the purchase, and the paper, hose, and pads are the other half.
Matching the Sander to the Job
Different work calls for different machines. A furniture restorer sanding veneered panels wants a small orbit and light weight. A cabinet shop flattening glued panels wants a 150 mm machine with a 5 or 6 mm orbit and strong extraction. A homeowner touching up trim wants something compact, quiet enough not to annoy the household, and easy to hook to a vacuum.
Before buying, list the three jobs you will do most often. If two of them involve finish sanding, prioritize a smaller orbit. If two involve stripping or flattening, prioritize orbit size and extraction. If the list is genuinely mixed, a 125 mm machine with a 5 mm orbit is the safest single purchase, and it will handle nearly everything short of production work.
It also pays to check the small things: whether the pad is replaceable, whether the backing pad is available as a spare, and whether the dust port matches common hose sizes. A sander with an odd port or an unobtainable pad becomes a nuisance years down the line.
Conclusion
Buying an orbital sander is less about raw power and more about matching orbit size, pad diameter, dust control, and ergonomics to the work in front of you. A 5 mm orbit on a 125 mm pad with real dust extraction and a comfortable grip will out-finish a bigger, brasher tool in most home workshops. Get the abrasives right, resist the urge to press hard, and step through the grits properly. With those steps, the sander stops being a source of swirl marks and becomes the tool that makes every project look professionally finished.
Frequently Asked Questions
What is the difference between a random orbital sander and a geared orbital sander?
A random orbital sander lets the pad spin freely while it orbits, producing a non-repeating scratch pattern that resists swirl marks. A geared orbital sander drives the pad rotation positively, removing material faster but leaving a more visible scratch pattern. Random orbitals suit finishing; geared models suit heavy stock removal.
What orbit size should a beginner choose?
A 5 mm (3/16 in) orbit on a 125 mm pad is the safest all-round choice. It balances cutting speed against finish quality and is forgiving on most woods. Smaller orbits suit fine finishing and veneers, while larger 6 mm orbits remove stock faster but leave deeper scratches.
Do I really need a dust extractor for my sander?
Yes, for health and for performance. Wood dust is a recognized respiratory hazard, and extraction keeps the air cleaner while stopping the abrasive from clogging. A shop vacuum or extractor connected through the sander’s dust port makes a visible difference to both the surface and the workshop air.
Can I skip grits when sanding?
No, and skipping is the most common cause of disappointing finishes. Each grit erases the scratches left by the previous one, so move in steps such as 80, 120, 180, and 240. Jumping from coarse to fine leaves the deep scratches in place, and they show up clearly once finish is applied.
Is a cordless orbital sander worth buying?
It depends on where you work. Corded models deliver consistent power and run indefinitely, which suits workshop use. Cordless sanders make sense for site work, ladders, and touch-ups away from an outlet, especially if you already own batteries for that platform.
How much should I budget for consumables?
Plan for discs, a hose adapter, and possibly a cyclone separator alongside the tool itself. Quality abrasives cost more upfront but cut faster and last longer than cheap discs, so the running cost often evens out. Budget for consumables from the start rather than treating them as an afterthought.