
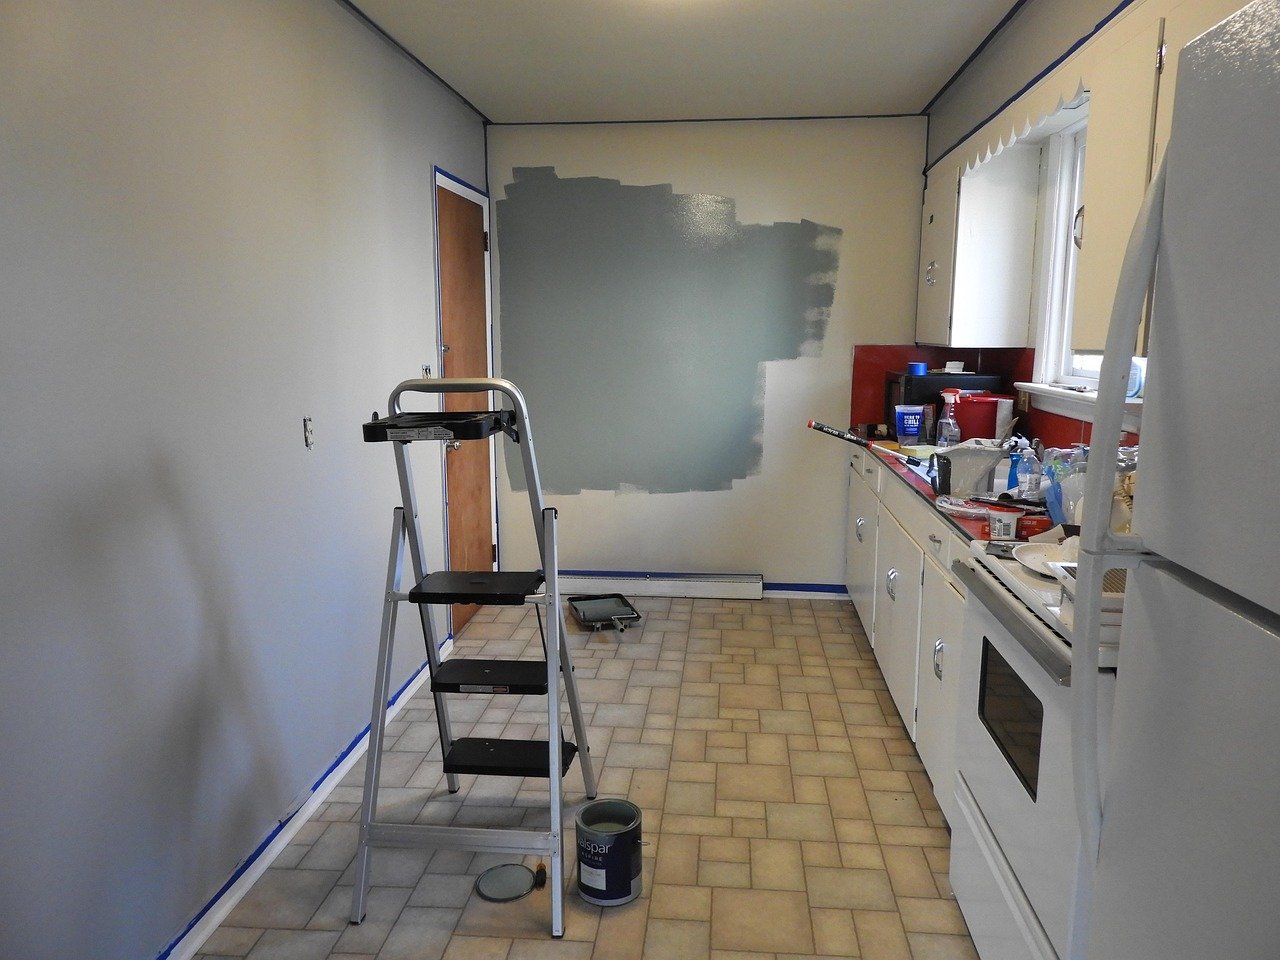
Can a gallon of paint really save you thousands on a kitchen remodel? For many homeowners, the answer is yes. Painting kitchen cabinets is one of the highest-return DIY projects out there. It transforms a tired kitchen without the mess, cost, or weeks of downtime that come with a full replacement. But here is the catch: cabinets take more abuse than almost any other surface in the house. They get greasy fingers, steam, scrubbing, and constant opening and closing. A sloppy paint job will start peeling within months. (Paint: composition, types, and how it cures)
The good news is that the process is not complicated. It is just unforgiving of shortcuts. This guide walks through the whole job the way an experienced painter would approach it, including the prep work most people skip and the mistakes that ruin otherwise decent results.
Why Painting Cabinets Is Worth the Effort
New cabinet boxes and doors can easily run five figures. A paint job costs a fraction of that, and the structural cabinets in most homes are perfectly sound. The problem is usually cosmetic: dated oak tones, yellowed white, or worn edges.
Painting also gives you options a replacement does not. You can go two-tone, paint the uppers light and the lowers dark, or match a color to new countertops. If your kitchen is tight on space and every inch counts, a lighter cabinet color can make the room feel bigger, and it pairs well with other space-saving moves like the ideas in this guide to small kitchen remodeling ideas budget smart upgrades that.
One honest caveat: painted cabinets are not the same as factory-finished cabinets. A professional spray shop bakes on a hard conversion varnish that a brush-and-roller job cannot fully match. What you can achieve at home is a durable, smooth, good-looking finish. It will not be bulletproof, but it will hold up for years if you prep properly.
What You Need Before You Start
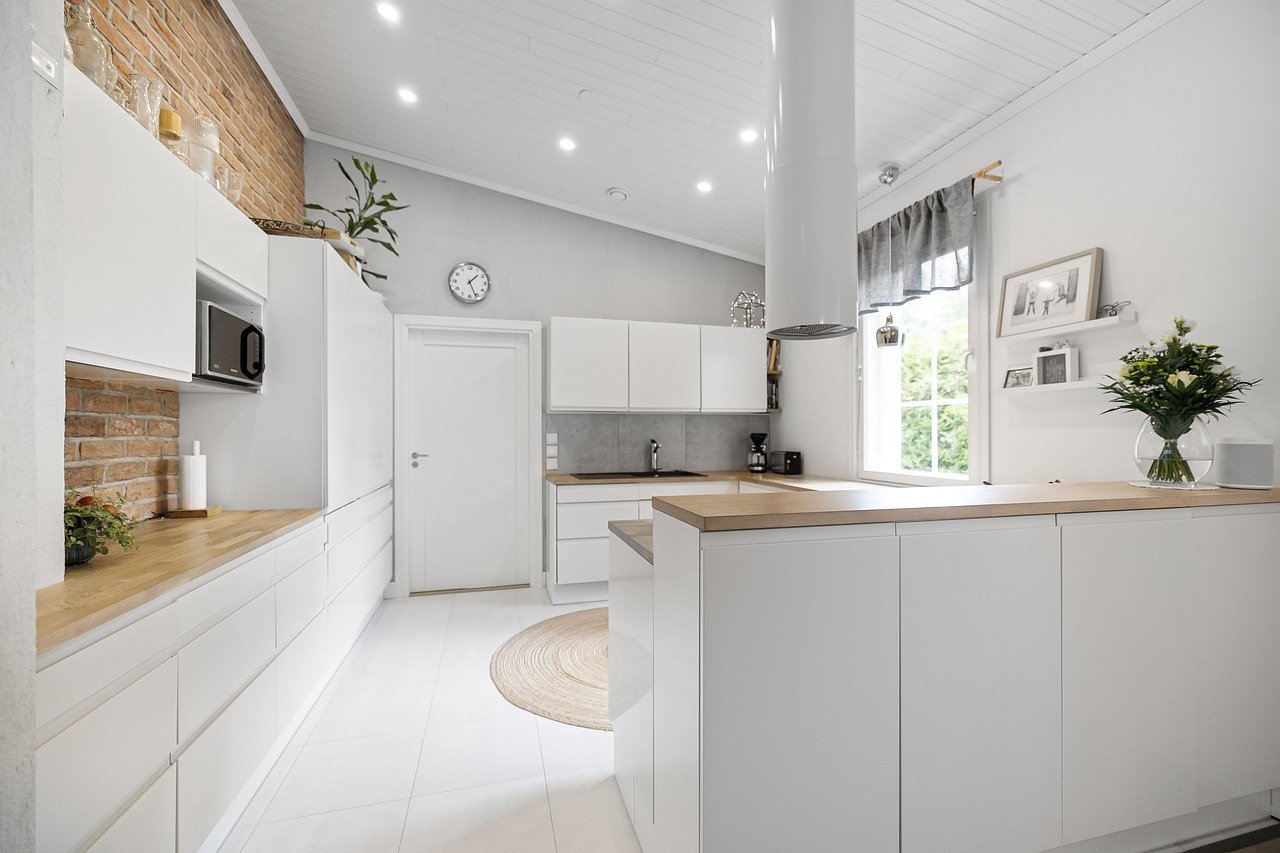
Gather everything first. Starting and stopping to hunt for supplies is how drips happen.
| Category | Items |
|---|---|
| Cleaning | Degreaser or TSP substitute, scouring pads, clean rags, warm water |
| Abrasion | Medium and fine sanding sponges, sandpaper (120 and 220 grit), tack cloths |
| Repair | Wood filler, paintable caulk, putty knife |
| Protection | Drop cloths, plastic sheeting, painter’s tape, nitrile gloves, safety glasses |
| Application | Angled sash brush, small foam roller, roller covers, paint tray |
| Paint | Bonding primer, cabinet-grade topcoat |
Two items deserve special attention. First, a bonding primer designed for slick surfaces. Second, a cabinet-grade paint. Ordinary wall paint is too soft for doors and drawer fronts. Look for a 100% acrylic or urethane-enriched acrylic formula made for trim and cabinetry.
Step 1: Empty, Label, and Photograph
Take everything out of the cabinets. Then, before removing a single door, take photos of the whole kitchen and number every door and drawer front with a piece of tape on the inside face. Hinges go into labeled bags.
This sounds fussy until you are staring at twelve nearly identical doors wondering which one belongs above the fridge. Labeling saves real time on reinstall day. While the doors are off, this is also the moment to clean the inside of the cabinets and check whether the hinges need replacing. New hinges are cheap and make old boxes feel new.
Step 2: Degrease Like You Mean It
This is the step that decides whether your paint sticks. Kitchen cabinets carry a film of cooking grease that is invisible to the eye and completely fatal to adhesion. Paint applied over grease will lift, blister, or peel, sometimes within weeks.
Use a degreaser or a trisodium phosphate (TSP) substitute and scrub every surface, paying extra attention to the areas around the stove, handles, and the bottom edges of upper doors where steam collects. Rinse with clean water and let everything dry completely.
A practical tip from people who do this often: wipe with a clean white rag and check it. If the rag comes away even slightly gray or tacky, wash again. Do not trust a quick pass with a spray bottle.
Step 3: Repair, Fill, and Sand
Now fix the flaws. Fill dents, gouges, and old hardware holes with wood filler. Caulk cracks at joints. Let everything cure, then sand smooth.
Next, degloss the surfaces. You do not need to strip the cabinets to bare wood. You do need to break the shine so the primer has something to bite into. Scuff-sand with 120-grit, then follow with 220-grit for a smoother surface. Pay attention to edges and corners, which are hard to sand and easy to miss.
Wipe away all dust with a tack cloth. This is not optional. Sanding dust under primer creates a gritty texture that no amount of topcoat will hide.
Spray, Brush, or Roll?
| Method | Finish quality | Skill needed | Best for |
|---|---|---|---|
| Brush and roller | Good | Low | Most DIYers, small kitchens |
| Sprayer (HVLP or airless) | Excellent | Moderate to high | Large jobs, flawless look |
| Spray cans (aerosol) | Fair | Low | Touch-ups and small parts |
Brushing and rolling is the practical choice for most people. Use a small foam roller for flat panels and a quality angled brush for edges and recesses. Spraying gives a smoother, factory-like result, but it requires masking the entire kitchen and serious ventilation. If you go that route, practice on scrap first. (EPA: VOCs and indoor air quality)
Step 4: Prime Everything
Primer is the bridge between the old surface and the new paint. It seals, blocks stains, and gives the topcoat something to grip. Apply one thin, even coat of bonding primer to all faces, edges, and the inside edges of the frames.
Thin coats beat thick ones every time. A heavy coat of primer sags, pools in corners, and takes forever to dry. Let it dry per the label, then sand very lightly with 220-grit and wipe off the dust.
While the primer dries, it is a good moment to think about the details that finish a kitchen. Under-cabinet lighting, for example, makes a huge difference to how painted cabinets look at night, though bare LED strips can cast harsh dots. A diffuser solves that, and this walkthrough on how to use a led strip diffuser kitchen cabinets fix dots glare hotspots explains the fix.
Step 5: Apply the Topcoat
Now the satisfying part. Stir the paint thoroughly. Do not shake it, because shaking whips air bubbles into the paint that end up on your doors.
Apply the first coat thin. Roll the flat panels, then immediately brush the edges and recesses so everything stays wet and blends. Work in small sections and keep a wet edge. Once the first coat is dry, sand lightly with 220-grit, wipe the dust, and apply a second thin coat.
Most cabinets need two coats over primer. Dark colors over light cabinets may need three. Resist the urge to load the brush. Runs and drips are almost always caused by too much paint, not too little.
Painting Doors Flat
Lay doors and drawer fronts flat on sawhorses or a covered workbench. Paint one side, let it dry fully, then flip and paint the other. Painting doors upright causes drips and uneven coverage. This single habit separates a clean job from a messy one.
Step 6: Let It Cure Before You Rehang
Here is where impatience ruins good work. Paint that feels dry to the touch is not cured. Full hardness takes days to weeks depending on the product, humidity, and temperature. Rehanging doors too early leads to sticking, peeling at contact points, and fingerprints pressed permanently into soft paint.
Check the manufacturer’s data sheet for the recoat and full-cure windows, and give it extra time in humid weather. When you do rehang, adjust the hinges so doors do not rub the frame. Wait about a week before installing hardware, and use a soft cloth between doors and frames if you must close them early.
Common Mistakes That Ruin Cabinet Paint
Most cabinet paint failures trace back to a short list of errors:
- Skipping degreasing. Grease is the number one cause of peeling.
- Painting over glossy surfaces. No scuffing means no adhesion.
- Using wall paint. It stays soft and marks easily.
- Applying thick coats. Thick paint sags, wrinkles, and never hardens properly.
- Rehanging too soon. Soft paint sticks to itself and tears.
- Painting in a dusty or humid space. Both wreck the finish.
There is a parallel lesson in the kitchen itself: small measurement and timing errors cause outsized problems. The same way a recipe fails when someone guesses at conversions, a paint job fails when someone guesses at dry times. If you have ever wondered about kitchen math, this explainer on how many tablespoons in a cup kitchen conversion that trips everyone is a good reminder that precision pays off, in cooking and in painting.
Working Safely and Comfortably
Ventilation matters. Open windows, run a fan, and wear a respirator if you are using solvent-based products. Keep the room cool and dust-free while paint dries. Wear gloves when handling degreasers and safety glasses when sanding overhead.
Plan the job around your life, too. Painting cabinets means living without a functional kitchen for several days. Set up a temporary coffee station and a stash of easy meals somewhere else in the house. A small setup like the ones in this guide to a coffee maker small kitchens actually fits works keeps mornings sane while the kitchen is out of commission.
How Long Does the Whole Job Take?
For an average kitchen, expect three to five days of actual work spread over a week or more, mostly waiting for things to dry. A single weekend is possible for a small kitchen with a fast-drying system, but only if you accept some risk. Rushing the cure is the most common reason a beautiful paint job looks bad six months later.
Conclusion
Painting kitchen cabinets rewards patience more than skill. The painting itself is straightforward. What separates a finish that lasts a decade from one that peels by summer is everything around the paint: the degreasing, the scuffing, the primer, the thin coats, and the waiting. Do those well and a tired kitchen becomes bright and modern for the price of supplies and a long weekend. Skip them and you will be doing the job twice.
Frequently Asked Questions
Can you paint kitchen cabinets without sanding?
Yes, but only if you use a bonding primer made for glossy surfaces, and even then a light scuff-sand improves results. Chemical deglossers exist as an alternative, but they still require careful cleaning first. The real non-negotiable is degreasing, not sanding.
What kind of paint is best for kitchen cabinets?
A cabinet-grade 100% acrylic or urethane-enriched acrylic paint is the usual recommendation. It dries harder and resists scrubbing better than standard wall paint. Oil-based paints are durable but yellow over time and are harder to work with indoors.
How long should paint dry before hanging cabinet doors?
Wait at least 24 to 48 hours, and longer if the label says so. Full cure takes days to weeks. Hanging doors while the paint is still soft causes sticking and peeling at the contact points. Check the product data sheet for exact guidance.
Do I need to remove the cabinet doors to paint them?
It is strongly recommended. Doors painted flat on sawhorses get even coverage and no drips. Painting them upright on the hinges almost always leaves runs and brush marks. Label each door before removing it so reinstallation is easy.
How many coats of paint do kitchen cabinets need?
Plan on one coat of primer and two thin coats of topcoat. Dark colors over light cabinets often need a third coat. Always apply thin coats and sand lightly between them rather than trying to cover everything in one heavy pass.
How soon can I use my kitchen after painting cabinets?
Wait until the paint is dry to the touch before putting items back inside, usually a day or two. Keep heavy use, scrubbing, and closing doors firmly to a minimum for the first week. Full hardness develops over several weeks, so treat the cabinets gently at first.



