
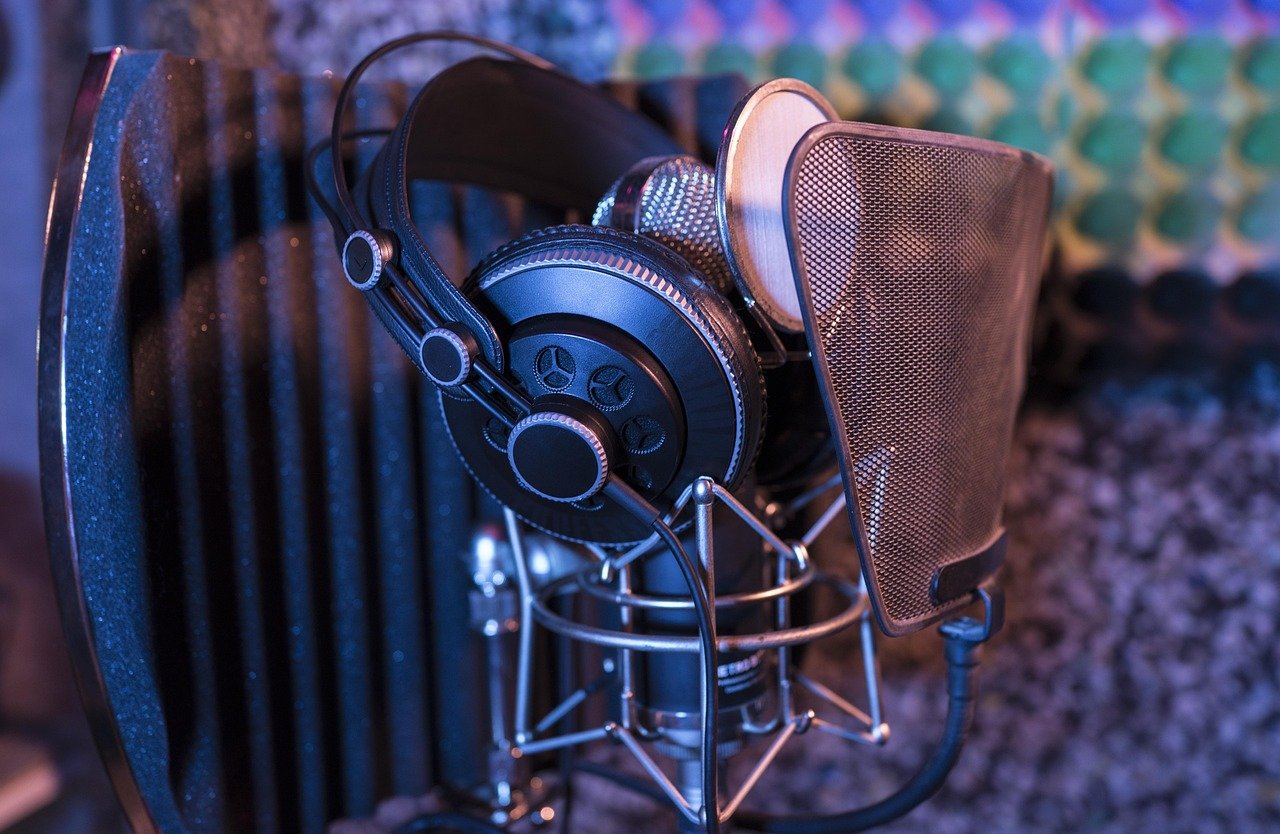
Ever recorded something that sounded great in the room, then played it back and wondered who swapped your voice for a tin can? The microphone is usually the culprit, not your ears. It’s the first gatekeeper in the entire audio chain, and every decision after it, from gain to mixing, inherits whatever it captured.
That’s the frustrating part. Microphones look simple. A metal body, a grille, a cable. But behind that grille sits a transducer that converts air-pressure changes into an electrical signal, and the way it does that job shapes everything you hear. This guide walks through how mics actually work, which type fits which job, and the practical mistakes that ruin recordings before anyone touches a mixer.
What a Microphone Actually Does
Strip away the marketing and a microphone is a converter. Sound waves hit a thin diaphragm, the diaphragm moves, and that movement becomes voltage. The transducer principle hasn’t changed since the late 1800s, though the engineering has come a long way.
Early telephones relied on the carbon microphone, a design that varied electrical resistance as granules were compressed by a diaphragm. It was crude, noisy, and powered the first telephone networks anyway. Historians still argue over who deserves credit for it, which is a good reminder to treat any “inventor of the microphone” claim with suspicion. If you want the full timeline, the history and design of microphones covers the evolution from carbon granules to silicon chips. (Microphone)
Today there are three families worth knowing: dynamic, condenser, and MEMS (the tiny silicon mics inside phones, laptops, and earbuds). Each solves a different problem, and picking the wrong one for your room is the single most common beginner mistake.
Dynamic vs. Condenser: The Choice That Matters Most
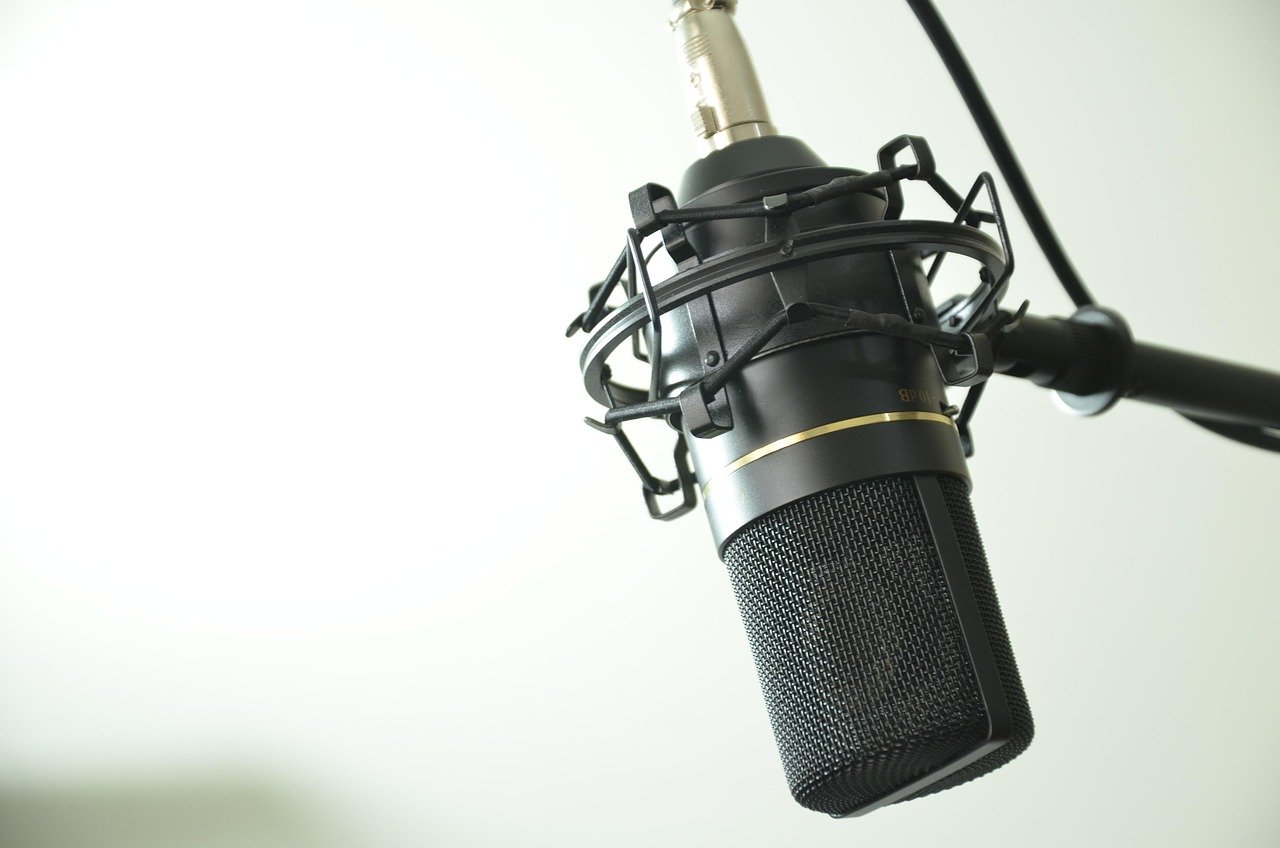
This is the fork in the road. Get it right and everything downstream gets easier.
Dynamic microphones work through electromagnetic induction. A coil attached to the diaphragm moves inside a magnetic field, generating signal. They’re passive, meaning they need no power, and they’re famously tough. Drop one on a stage and it keeps working. They also tend to handle very loud sources without distorting.
Condenser microphones work differently. The diaphragm forms one plate of a charged capacitor, and movement changes its capacitance. This design needs power, usually phantom power delivered over an XLR cable, and it typically delivers higher sensitivity and a wider frequency response. That sensitivity is a double-edged sword: it captures detail beautifully and also captures your neighbor’s dog.
| Feature | Dynamic | Condenser |
|---|---|---|
| Power needed | None | Phantom power or battery |
| Sensitivity | Lower | Higher |
| Detail and air | Good | Excellent |
| Handles loud sources | Very well | Needs padding or distance |
| Room noise pickup | Forgiving | Revealing |
| Typical use | Live vocals, drums, amps | Studio vocals, acoustic instruments, voiceover |
Here’s the part the spec sheets skip. In an untreated room with bare walls and a hard floor, a sensitive condenser will faithfully record every reflection bouncing around you. Many people buy a condenser because “studios use them,” then blame the mic for the boxy result. A comparison of dynamic and condenser mics in untreated rooms explains why a dynamic often wins in a bedroom setup, and it’s worth reading before you spend money on the wrong tool.
Polar Patterns: Where the Mic Listens
A polar pattern describes directional sensitivity, and it decides how much of the room leaks in.
- Cardioid picks up mostly from the front and rejects the rear. The workhorse pattern for vocals and speech.
- Omnidirectional hears equally in all directions. Great for room ambience and conference tables, terrible near a monitor speaker.
- Hypercardioid is tighter and more directional than cardioid, useful for isolating a source on a loud stage.
- Figure-8 (bidirectional) captures front and rear while rejecting the sides, handy for mid-side stereo techniques.
Pattern choice affects feedback rejection too. If a mic is feeding back in a live setting, switching pattern or repositioning often solves it faster than touching the EQ.
Matching the Mic to the Job
Buying a microphone without naming the job first is how people end up with a drawer full of regrets. A quick map:
| Job | Sensible starting point |
|---|---|
| Podcast or voiceover at a desk | Dynamic cardioid on a boom arm |
| Acoustic guitar or strings | Small-diaphragm condenser |
| Loud live vocal | Dynamic cardioid, handheld |
| Drum kit close-miking | Dynamic instrument mics |
| Video calls and streaming | USB condenser or dynamic, close to mouth |
| Field recording | Shotgun or omni with wind protection |
The pattern here is proximity. The closer the mic sits to the source, the less room you capture and the more direct sound dominates. That single principle fixes more bad recordings than any gear upgrade. A buyer’s guide to choosing a microphone for your actual recording needs breaks this down by use case if you want a deeper decision framework.
Gain Staging: Where Good Mics Go to Die
You can own a superb microphone and still record garbage. Gain staging is the art of setting levels so the signal stays clean from capsule to file, and it’s where beginners lose the most quality.
The rule is simple: aim for healthy peaks without clipping, and fix noise problems at the source rather than cranking gain later. If your interface preamp is maxed out and the recording is still quiet, the problem is distance or the mic itself, not the knob. (Occupational Noise Exposure)
A few practical habits that separate clean recordings from hissy ones:
- Set input gain so normal speech peaks around -12 dB to -6 dB, leaving headroom for sudden laughs or loud notes.
- Speak or play at your loudest during soundcheck, not your average.
- Never boost a noisy track in editing to compensate for a weak recording.
- Keep phantom power off for dynamic mics that don’t need it, and on for condensers that do.
If your levels look fine on the meter but the recording still sounds thin or dirty, the issue may be impedance matching or a preamp pushed too hard. A walkthrough of XLR microphone gain staging for clean, stable levels covers the details without drowning you in decibel math.
Common Mistakes That Wreck Otherwise Good Audio
These show up again and again, and each one is fixable.
Recording too far away. A mic across the desk picks up keyboard clatter, room echo, and computer fans along with your voice. Move it to a hand’s width from your mouth and the whole recording tightens up. If keyboard noise is already ruining your takes, there’s a practical fix for USB microphones picking up keyboard noise that doesn’t require buying anything.
Ignoring the room. Soft furnishings, a rug, bookshelves, and a duvet behind the singer do more for audio quality than most gear purchases. You don’t need a studio; you need fewer parallel hard surfaces.
Skipping the pop filter. Plosives from P and B sounds create bursts of low-frequency energy that clip preamps. A cheap foam or mesh filter solves it instantly.
Monitoring with latency. Hearing your own voice arrive late is disorienting and makes people stumble over words. If your voice sounds delayed in headphones, the fix is usually buffer size or direct monitoring rather than a new mic.
Assuming software problems are hardware problems. A mic that suddenly stops working after an update is rarely broken. Working through microphone-not-working fixes in Windows 11 catches most of these cases, from privacy settings to disabled devices.
Trusting Bluetooth for anything critical. Wireless earbuds are convenient, but their mic path compresses audio hard. If your Bluetooth headset mic sounds muffled on calls, the fix for muffled Bluetooth earbud microphones on PC is usually a profile or driver setting, not a replacement.
USB or XLR? The Connector Question
USB microphones contain their own preamp and analog-to-digital converter, so one cable gets you recording. They’re ideal for solo work, streaming, and anyone who wants to skip an audio interface.
XLR microphones output analog signal and need an interface or mixer. That extra box buys flexibility: multiple mics, better preamps, cleaner gain, and room to grow.
The tradeoff is real. USB is simpler and cheaper to start; XLR scales further. If you plan to record two people at once or add instruments later, start with XLR and a two-input interface. If you record alone at a desk, a good USB mic is genuinely enough, and spending the difference on room treatment will improve your sound more than any upgrade path.
One caveat with USB mics: they can introduce monitoring delay depending on drivers and buffer settings. If your voice sounds late in your headphones, there’s a specific fix for USB microphone monitoring delay that walks through buffer and direct-monitoring options.
Specs Worth Reading and Specs Worth Ignoring
Manufacturers love big numbers. Here’s how to read them without getting fooled.
Frequency response tells you the range a mic captures. Wider isn’t automatically better; a mic with a presence boost around 5 kHz will flatter speech but may sound harsh on cymbals. Look at the shape of the curve, not just its endpoints.
Self-noise matters for quiet sources. A noisy mic is fine on a snare drum and unusable for a whispered audiobook.
Maximum SPL tells you how loud a source the mic survives before distorting. Relevant for drums and amps, irrelevant for podcasts.
Sensitivity describes output for a given sound level. Higher sensitivity means less gain needed, which can mean less preamp noise, but also more room pickup.
For scientific and industrial measurement, microphones are built and calibrated to strict standards, and their frequency response is verified in laboratory conditions. That world is far removed from podcast gear, but it’s a useful reminder that “accuracy” and “pleasing sound” are different goals. A vocal mic with a gentle presence lift isn’t inaccurate; it’s tuned.
Conclusion
A microphone is a translator, and like any translator it can be faithful or flattering, detailed or forgiving. The right choice comes down to three questions: what are you recording, how loud is it, and how much room do you want in the result? Answer those honestly and the gear decision mostly makes itself.
Start with placement before purchase. Move the mic closer, soften the room, set gain with headroom, and listen again. Most people discover their existing microphone was never the problem. When you do upgrade, buy for the job in front of you rather than the studio you imagine someday building, and treat room treatment as part of the microphone budget. It’s the least glamorous purchase in audio and the one that quietly improves everything.
Frequently Asked Questions
What is the difference between a dynamic and a condenser microphone?
A dynamic mic generates signal when a coil moves in a magnetic field, needs no power, and handles loud sources well. A condenser mic uses a charged capacitor whose capacitance changes with diaphragm movement, requires phantom power, and typically offers more sensitivity and detail. Condensers reveal room flaws; dynamics forgive them.
Do I need an audio interface to use a microphone?
Only for XLR microphones, which output analog signal and need a preamp. USB microphones have a preamp and converter built in, so they plug straight into a computer. If you plan to record multiple sources at once, an interface with XLR inputs is the more flexible path.
Why does my microphone sound muffled?
Muffled audio usually comes from distance, obstruction, or a compressed wireless path. Check that nothing blocks the grille, move closer to the capsule, and confirm the correct input device is selected in your software. Bluetooth headsets in call mode are a frequent cause because they switch to a narrowband audio profile.
What is phantom power and will it damage my microphone?
Phantom power is a DC voltage, commonly 48 volts, sent over a balanced XLR cable to power condenser microphones. It won’t damage a properly wired dynamic mic, though most dynamics don’t need it. Turn it off when connecting unknown or vintage gear to be safe.
How close should I be to the microphone?
For speech and vocals, roughly a hand’s width, about 10 to 15 centimeters, balances warmth against plosives and room pickup. Closer gives a fuller, more intimate tone with less echo; farther away captures more of the room. Experiment and listen back rather than trusting a fixed number.
Can a cheap microphone sound good?
Yes, within limits. Placement, room treatment, and clean gain staging matter more than price at the entry level. A modest dynamic mic positioned well in a soft-furnished room will outperform an expensive condenser placed across a bare, echoey space almost every time.



