Ever noticed that faint, stale smell drifting out of your coffee maker even after you’ve rinsed it? Or a slick, brownish film clinging to the carafe that dish soap won’t touch? That’s coffee oil, and it’s the quiet culprit behind bitter-tasting coffee and machines that die young.
Coffee isn’t just flavored water. Every bean carries natural oils, and brewing releases them into your machine’s basket, carafe, tubing, and reservoir. Over time those oils oxidize, turn rancid, and leave a sticky residue that traps old flavors and clogs small parts. The good news: removing coffee oil is a straightforward job once you understand what actually cuts through it. This guide walks through what works, what backfires, and how often you should bother.
What Coffee Oil Actually Is and Why It Sticks
Coffee beans contain lipids and diterpenes such as cafestol and kahweol, which are released during brewing. These compounds are oily by nature, and oil and water don’t mix. That’s the whole problem in one sentence.
When hot water passes through the grounds, it carries those oils into the brew path. Some end up in your cup. The rest coat the surfaces it touches: the filter basket, the carafe, the lid, the spray head, and the internal tubing on automatic drip machines. Because oil repels water, a plain water rinse slides right off the film instead of lifting it. You need something that dissolves oil or breaks it apart, and that’s where most cleaning advice either succeeds or fails.
There’s a second layer to the problem: mineral scale. If you have hard water, calcium and magnesium deposits build up alongside the oil. Scale and oil together form a stubborn, gritty film that’s much harder to remove than either one alone. That’s why a cleaning routine should address both substances.
The Everyday Fix: Soap, Hot Water, and a Little Elbow Grease

For removable parts, the answer is refreshingly low-tech. Hot water and a grease-cutting dish soap work well on the carafe, filter basket, lid, and any detachable pieces, because a surfactant lifts oil that water alone can’t.
Here’s the practical routine that actually works:
- Take apart everything that comes off the machine: carafe, basket, lid, reusable filter, and any removable water components.
- Fill a sink with the hottest water you can comfortably handle and add a few drops of dish soap.
- Let the parts soak for five to ten minutes so the soap has time to break the oil film.
- Wipe with a soft sponge, paying attention to the corners and the bottom of the carafe where oil pools.
- Rinse thoroughly with clean hot water and let everything air-dry fully before reassembly.
The most common mistake here is skipping the soak. People squirt soap, swipe once, rinse, and assume it’s clean. Oil films need contact time. The second most common mistake is using an abrasive scrubber on plastic carafes, which scratches the surface and creates tiny grooves where oil and bacteria settle even faster. A soft sponge or a bottle brush does the job without damage.
One more tip from experience: don’t forget the lid. The underside of a carafe lid is often the greasiest, smelliest part of the whole machine, and it’s the piece people clean least.
The Deep Clean: Vinegar, Baking Soda, and Commercial Cleaners
Removable parts only solve half the problem. The internal brew path, reservoir, and tubing also collect oil, and you can’t scrub those by hand. That calls for a deep clean, and there are three main approaches. (Coffeemaker)
White Vinegar
Diluted white distilled vinegar, roughly one part vinegar to one part water, is the most common DIY method for both scale and oily residue. Run it through a full brew cycle, let it sit in the reservoir for 20 to 30 minutes, then run a cycle of plain water. Repeat the plain-water rinse once or twice more until no vinegar smell remains.
Vinegar works, but it comes with a caveat worth knowing before you pour. Some manufacturers warn that repeated or improperly diluted vinegar use can degrade rubber seals and gaskets over time. Guidance genuinely conflicts across brands, so check your specific manual first. If the manual says use a proprietary descaler, believe it.
Baking Soda Paste
For stained plastic and stubborn film on the carafe, a paste of baking soda and water is a reliable scrub. It’s mildly abrasive, so treat it gently on nonstick or delicate surfaces. It’s best used as a spot treatment rather than a whole-machine solution.
Commercial Coffee-Machine Cleaners
Citric-acid and surfactant-based cleaners are sold specifically for coffee equipment, and they’re formulated to tackle oil and scale together. Follow the label dosing exactly. More is not better here, and over-concentrated cleaner can leave its own residue if you skip the rinse cycles.
Here’s a quick comparison to help you choose:
| Method | Best for | Watch out for |
|---|---|---|
| Dish soap and hot water | Removable parts, carafe, basket | Needs soak time; avoid abrasives on plastic |
| White vinegar (diluted) | Scale plus light oil in internal parts | May affect rubber seals; check manual |
| Baking soda paste | Stained carafes, spot scrubbing | Mildly abrasive; not for delicate surfaces |
| Commercial cleaner | Full deep clean, oil and scale together | Must follow dosing and rinse thoroughly |
Whichever route you take, finish with at least one full cycle of clean water and taste-test a small cup before trusting the machine with your good beans. If the coffee tastes like vinegar or cleaner, run another rinse.
How Often Should You Actually Do This?
Frequency recommendations vary widely, from weekly to quarterly, and no single standard exists. That’s frustrating but honest. The right answer depends on how much coffee you brew, how oily your beans are, and how hard your water is.
A sensible practical framework:
- Removable parts: wash with soap and hot water daily or every few days if you brew every morning.
- Deep clean: every one to three months for most home machines, more often for heavy use.
- Hard water households: lean toward the shorter end of that range, and consider filtered water to slow scale buildup.
Dark roasts tend to be oilier than light roasts, so if you favor bold, shiny beans, your machine will need attention sooner. If you’re particular about flavor and already invest in quality gear, protecting that investment with a cleaning schedule makes obvious sense. The same logic applies whether you’re choosing a best pour over coffee maker or a pod-based machine; every brew path that touches hot water and grounds will collect oil eventually.
Machine-Specific Tips: Drip, Pod, and Espresso
Different machines hide oil in different places, and knowing where to look saves time.
Drip machines collect oil in the filter basket, the spray head above the basket, and the carafe. The spray head is the sneaky one: wipe it down with a damp, soapy cloth, because oil film there drips into every subsequent pot.
Pod machines like Keurig-style brewers have a needle and exit spout that oil can clog. If you own one, a routine that includes regular rinsing and occasional descaling keeps it running smoothly. Owners comparing models often weigh cleaning ease as much as brew quality, which is worth keeping in mind if you’re shopping for a best keurig coffee maker or a best k cup coffee maker. Pod machines still need the same oil-fighting logic: soap for removable parts, a descaling or cleaning cycle for internals.
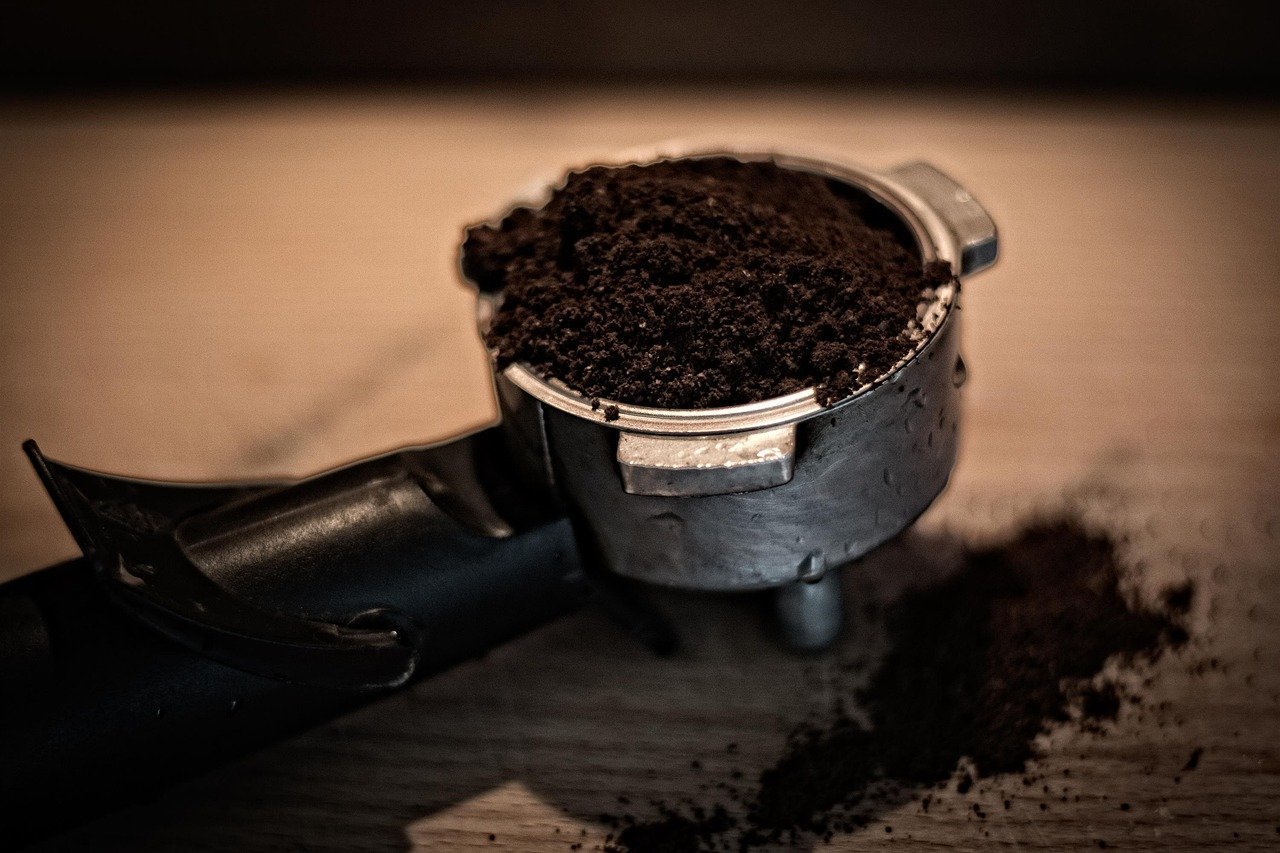
Espresso machines are the most oil-intensive of all, because espresso is brewed under pressure and concentrates oils in the portafilter, basket, shower screen, and group head. Backflushing with a proper cleaner and regularly scrubbing the portafilter basket with soap and hot water are non-negotiable. If you’re dialing in your setup, quality gear helps, from a best coffee grinder for espresso to well-chosen best coffee beans for espresso, but no equipment stays clean on its own.
Common Mistakes That Make It Worse
Some well-intentioned habits backfire. Watch for these:
- Relying on water alone. Oil repels water. A rinse cycle without soap or a cleaning agent mostly spreads the film around.
- Skipping the rinse after cleaning. Leftover vinegar or cleaner ruins the next few pots and can leave residue in the brew path.
- Scrubbing plastic with abrasives. Scratches create permanent hiding spots for oil and bacteria.
- Cleaning only the carafe. The brew path and lid matter just as much, and they’re often ignored.
- Ignoring the manual. Manufacturers know their seals and materials. Their cleaning instructions exist for a reason, and ignoring them can void a warranty.
If you’re the type who likes understanding what’s lurking in your devices, the same curiosity applies to digital grime. Learning what is adware and how do you remove it follows a similar principle: identify the residue, use the right tool, and clean regularly instead of waiting for a problem.
When to Stop Cleaning and Replace Parts
Sometimes cleaning isn’t enough. If the carafe is deeply scratched, if the filter basket is warped, or if the machine still smells stale after a thorough deep clean and multiple rinses, replacement parts are the practical move. Gaskets and seals wear out, and a degraded seal both harbors oil and affects brew temperature. (Safer Choice)
Also know when a machine is beyond saving. If descaling and cleaning no longer restore flow, or if water pools where it shouldn’t, the internal damage may be permanent. A machine that’s been neglected for years often can’t be rescued by one deep clean, which is why the daily rinse habit matters more than the occasional heroic effort.
Conclusion
Removing coffee oil from a coffee maker comes down to one principle: oil needs a surfactant or a solvent, not water alone. Soap and hot water handle everything you can detach. A vinegar, citric-acid, or commercial cleaner cycle handles the internals, with a full water rinse afterward every time. Do the small daily washes, schedule a deep clean every one to three months, and check your manual before trying any DIY method that could harm seals. Your reward is simple and immediate: coffee that tastes the way it should, and a machine that lasts years longer than the one you’d have to replace.
How do you remove coffee oil from a coffee maker?
Soak removable parts like the carafe, basket, and lid in hot water with grease-cutting dish soap, then wipe with a soft sponge and rinse well. For internal parts, run a diluted vinegar, citric-acid, or commercial coffee-cleaner cycle followed by one or two plain-water rinse cycles. The key is using something that lifts oil, since water alone won’t.
Can I use vinegar to clean coffee oil?
Yes, diluted white distilled vinegar is a common DIY method for both oil and mineral scale. Run it through a brew cycle, let it sit briefly, then rinse thoroughly with plain water. However, some manufacturers warn that vinegar can degrade rubber seals if used improperly, so check your machine’s manual before making it your go-to method.
How often should I deep clean my coffee maker?
Most home machines benefit from a deep clean every one to three months, depending on use. Wash removable parts daily or every few days. If you brew multiple pots a day, use dark oily beans, or have hard water, lean toward the shorter end of that range and consider filtered water to slow scale buildup.
Why does my coffee maker smell bad even after cleaning?
A lingering smell usually means oil film remains somewhere you haven’t cleaned, most often the underside of the lid, the spray head, or the internal tubing. Soak parts longer, wipe the spray head with a soapy cloth, and run a full deep-clean cycle with a proper cleaner. If the smell persists after that, a worn gasket or seal may be the source.
Is dish soap safe for cleaning a coffee maker?
Dish soap is safe and effective for removable parts like the carafe, basket, and lid, because it breaks down oil that water can’t. Rinse thoroughly afterward so no soap residue reaches your next brew. Avoid abrasive scrubbers on plastic, since scratches create places where oil and residue collect.
Can old coffee oil affect the taste of my coffee?
Absolutely. Coffee oils oxidize and turn rancid over time, and that stale residue transfers into every new pot. A machine with built-up oil film often produces coffee that tastes bitter, flat, or vaguely burnt regardless of bean quality. Cleaning restores a neutral brew path so fresh coffee tastes fresh.