
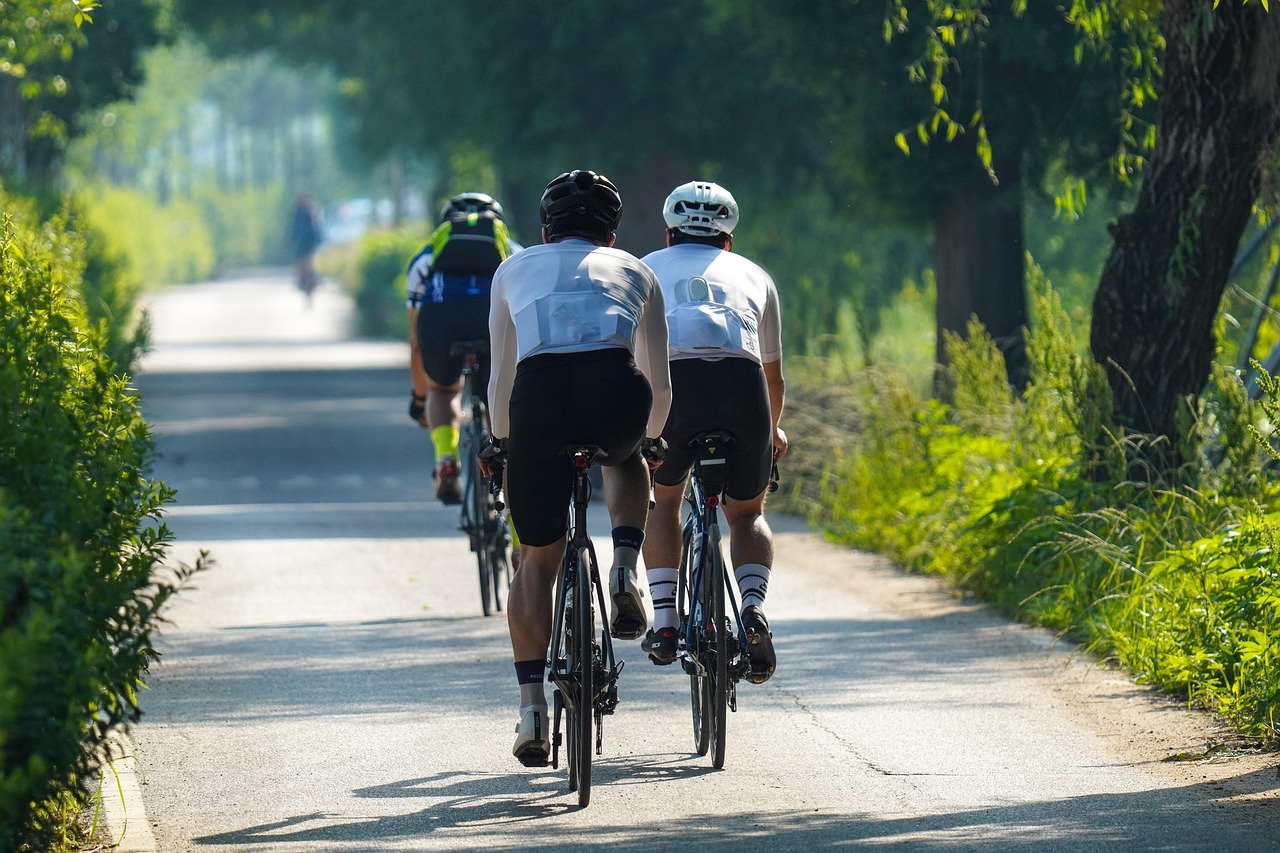
Can you remember the exact moment the wobble stopped and the world started rolling past? Most people can’t. Learning to ride a bike feels less like a skill and more like a switch flipping somewhere behind your ears. The good news: that switch has a reliable trigger, and it isn’t “pedal faster while someone holds the seat.”
Whether you’re eight, eighteen, or forty-eight, the method that works best in practice is the same one used by national cycling-training schemes. It strips the process down to balance first, pedals second, and confidence last. This guide walks through that sequence in plain language, flags the mistakes that stall most beginners, and covers the details people usually learn the hard way.
Why the Old Teaching Method Fails So Often
For decades, the standard approach was training wheels, then a nerve-wracking removal, then a parent jogging behind the saddle. It worked, eventually, for most kids. But it taught the wrong skill first.
Training wheels let a child pedal without ever balancing. When the wheels come off, the rider has to learn balance and pedalling at the same moment, usually while terrified. The result is the familiar cycle of falls, tears, and a bike parked in the garage for two years.
The modern method reverses the order. Riders learn to coast and balance with their feet able to touch the ground, and only add pedalling once gliding feels natural. The UK’s national cycle training programme, Bikeability, is built around this progression: control and balance come before pedals, and pedals come before traffic. It’s the same logic that made balance bikes the default first bike for toddlers.
Step 1: Set the Bike Up So It Helps, Not Hurts
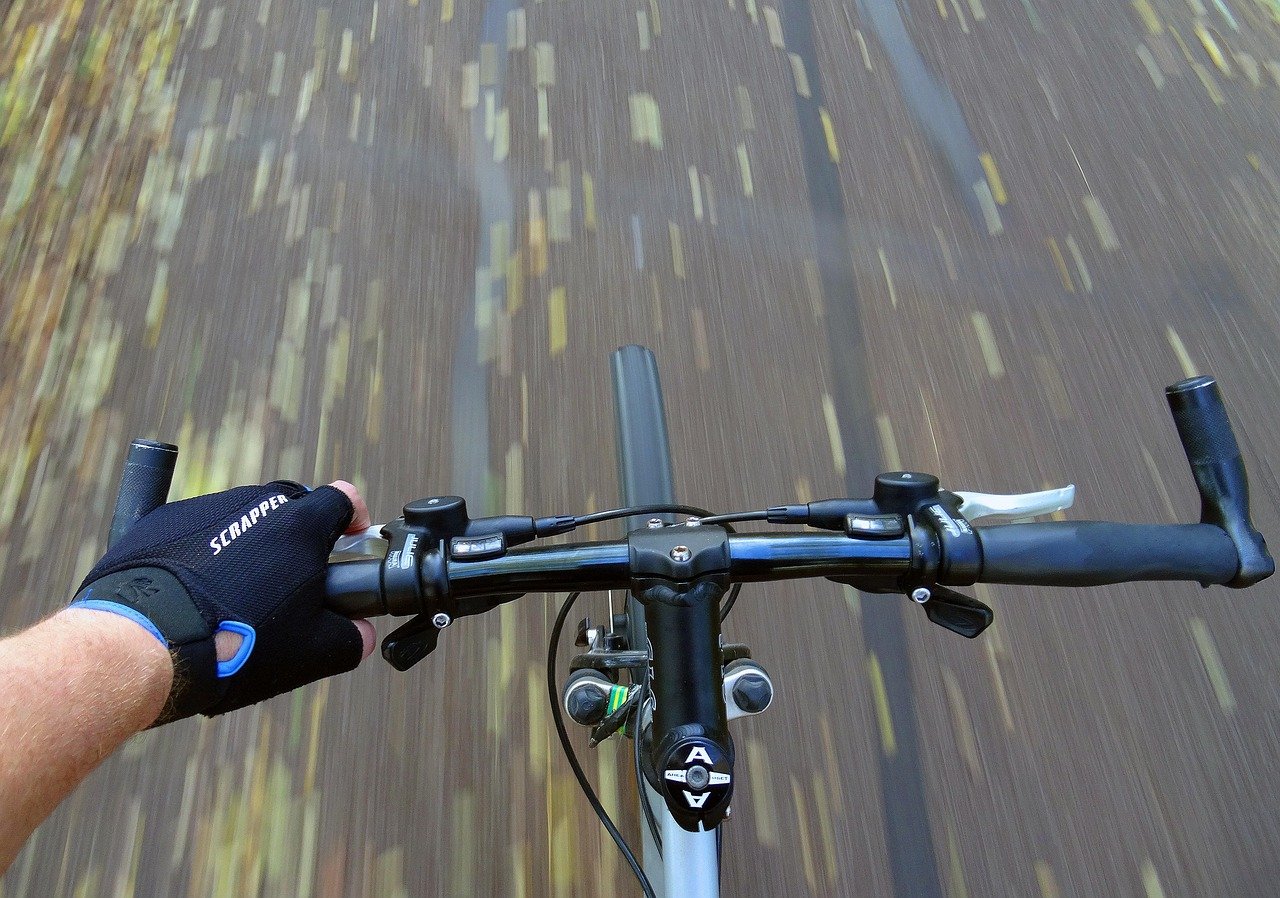
Most beginner bikes are set up for efficiency, not learning. Fix that before the first attempt.
Lower the saddle until the rider can plant both feet flat on the ground while sitting on it. Yes, this looks wrong to anyone used to a proper riding position. It’s temporary. A rider who can catch themselves at any moment will try things a rider who can only reach the ground on tiptoe never will.
Then check the machine itself. A quick pre-ride inspection covers:
- Tyres: firm, with tread intact and no cracking
- Brakes: both levers pull firmly and stop the wheel
- Chain: clean, lightly oiled, and sitting on the rings
- Quick-releases and bolts: wheels and seatpost tight
- Headset and saddle: no wobble when you hold the front brake and rock the bike
If the bike has been in a shed for years, budget for new brake pads and possibly cables. Stopping matters more than going.
Step 2: Find Ground That Forgives Mistakes
A gentle grass slope sounds kind and is actually terrible. Grass is slow, bumpy, and hides holes. Gravel is worse.
The best learning surface is smooth, flat, and slightly downhill at most: an empty car park, a quiet cul-de-sac, a park path, or a closed cycle-training area. Traffic-free space isn’t a luxury for beginners; it’s the whole point. Skills get built in calm conditions and then transferred to the road later.
Pick a spot with room to roll ten or fifteen metres. That’s enough distance to feel balance develop before the ground runs out.
Step 3: Glide Before You Pedal
This is the core of the method, and it’s where patience pays off.
- Straddle the bike with both feet flat on the ground.
- Walk forward while seated, taking small steps, feeling how the bike moves under you.
- Push off and let the bike roll a metre or two with feet hovering just above the ground.
- Repeat, letting the roll get longer each time.
- Add gentle steering: weave between two markers, then try a wide figure-eight.
- Lift both feet onto the frame or pegs for a second or two while coasting.
Some riders get the glide in ten minutes. Others need three sessions across two weeks. Both are normal. The signal to move on is simple: the rider can coast several metres with feet off the ground and steer without panicking.
For adults, this stage often feels silly. Push through it anyway. Adults tend to over-think balance and grip the bars too hard, which makes the bike twitchy. Loose arms and a relaxed grip fix more wobbles than any amount of concentration. (Bicycle)
Step 4: Add the Pedals
Once gliding is comfortable, put one pedal in the two-o’clock position, place a foot on it, push down, and let the other foot come up to meet its pedal. Don’t chase the second pedal; let it arrive.
The first few pedal strokes will feel wobbly. That’s because pedalling adds a new force the body hasn’t integrated yet. Keep the saddle low for this stage so a foot can still catch the ground.
Then raise the saddle in small increments as confidence grows. For efficient pedalling, the leg should be almost straight at the bottom of the stroke, with a slight bend at the knee. A saddle that’s too low wastes energy and strains knees; a saddle that’s too high makes stopping scary. Move it up a centimetre at a time.
Step 5: Learn to Stop on Purpose
Braking is the skill beginners skip and regret. Practise it deliberately, in this order:
- Coast slowly and squeeze both brakes gently until you stop.
- Repeat at walking pace, then at a slow jog pace.
- Practise stopping with only the rear brake, then only the front, to feel the difference.
- Learn to put a foot down as the bike stops, before it tips.
On bikes with two hand brakes, the standard technique is both brakes together with a little more force on the front, while shifting weight back. The front brake does most of the stopping; grabbing it alone on a wet surface is how riders go over the bars. Riders on coaster-brake bikes simply back-pedal, but they should still practise stopping from speed so the reflex is trained.
Step 6: Steering, Signalling, and Looking Behind
Formal cycling instruction teaches a sequence that drivers recognise: look, signal, manoeuvre. Check behind, signal your turn with a hand, then move. Practise each part separately before combining them.
Looking over your shoulder is the hardest of the three, because turning your head tends to turn the bars. The trick is to keep the bike steady with your hips and let your head turn. Practise on an empty path: ride a straight line, glance back for one second, return your gaze forward. Then two seconds. Then add a signal.
Hand signals themselves vary by country, so check local rules. The principle is universal: signal early, signal clearly, and don’t signal so long that you forget to steer.
Step 7: Ride in Traffic Only When the Basics Are Boring
The jump to roads should feel like an upgrade, not a leap of faith. A rider is ready when balance, braking, and shoulder checks are automatic, not when they’ve simply ridden a few times.
Start on quiet streets at quiet hours. Ride predictably, take the lane when it’s too narrow to share, and stay out of the door zone beside parked cars. Many jurisdictions require lights and reflectors after dark, so fit them before the first evening ride rather than after the first near-miss.
For anyone weighing up protective gear, the evidence is genuinely mixed. A review of helmet studies found that helmets reduce head, brain, and facial injuries in crashes, though the authors noted weaknesses in the underlying research. Helmet laws differ sharply by jurisdiction, too, so the practical answer is to know the local rule and decide on gear with clear eyes rather than vibes.
What to Wear and What to Carry
Beginners over-dress for the first ride and under-dress for the twentieth. Loose trousers that catch on the chain are a classic mistake; so are shoes with floppy soles that slide off pedals. Flat-soled trainers work fine. Tie laces and tuck them in.
Carry a basic kit even on short rides: a spare tube, tyre levers, a pump or CO2 inflator, and a multi-tool. Learn to change a tube at home, in daylight, before you need to do it at dusk on a verge.
Common Mistakes That Slow Beginners Down
The same handful of errors shows up again and again, and each has a simple fix:
| Mistake | Why it hurts | Fix |
|---|---|---|
| Saddle too high for learning | Rider can’t catch a wobble, panic sets in | Lower it until both feet reach the ground |
| Gripping the bars hard | Bike feels twitchy, arms tire fast | Relax grip, bend elbows slightly |
| Practising on grass or gravel | Slow, bumpy, hides hazards | Find smooth, flat, traffic-free tarmac |
| Skipping braking practice | First real stop becomes a crash | Drill stops from slow speed first |
| Starting on a road too early | Fear blocks learning | Master balance and control off-road first |
| Looking at the front wheel | Bike follows the gaze and drifts | Look where you want to go, not down |
The gaze point deserves its own mention. New riders stare at the front wheel because it feels safe. It isn’t. The bike goes where the eyes go, so looking ten metres ahead steadies the whole system almost instantly. (Bicycle Safety)
Teaching a Child Without Losing Your Back or Your Patience
Skip the training wheels. A balance bike, or a regular bike with the pedals removed and the saddle dropped, teaches the same glide stage described above. Most children move from gliding to pedalling within a few short sessions once they’re ready.
Readiness matters more than age. A child who can steer a scooter, brake on demand, and follow simple instructions is usually ready. A child who can’t yet do those things will learn faster in a few months than in a few weeks of forcing it. (Kia telluride lease deals)
Keep sessions short, end on a success, and never let a session finish with a fall if you can help it. Ten happy minutes beats forty miserable ones.
Maintaining Momentum After the First Ride
The first successful ride is not the finish line. Confidence fades fast without repetition. Three short rides in the first week will do more than one long one. Add a small challenge each time: a slightly longer route, a gentle hill, a shoulder check at speed, a ride to the shop and back. (Yubikey do you really need one)
It also helps to know your machine. If you’re curious whether hardware like a security key is worth the fuss for locking up, or how a smart lock with a physical key backup keeps a bike shed secure, those are separate rabbit holes worth exploring once riding becomes routine. The bike itself needs only modest care: clean and oil the chain, check tyre pressure weekly, and replace brake pads before they wear to metal.
Conclusion
Learning to ride a bike isn’t about courage or coordination. It’s about sequence. Lower the saddle, find smooth ground, glide until balance feels ordinary, then add pedals, then braking, then steering and signalling, then traffic. Each step is boring on its own and powerful in order.
The riders who struggle most are usually the ones who skipped a step, not the ones who lacked talent. Give the glide stage the time it deserves, practise stopping before you need to, and keep sessions short enough to stay fun. The wobble stops. It always does. And then the world starts rolling past, exactly as it did the first time.
Frequently Asked Questions
How long does it take to learn to ride a bike?
Most beginners manage unaided gliding in one or two sessions and pedalling within a week of short practices. Adults often take longer than children because they over-think balance, not because they lack ability. Three or four 20-minute sessions spread across two weeks is a realistic timeline for a confident, wobbly-free start.
Is it better to learn with training wheels or a balance bike?
Balance bikes win for almost everyone. Training wheels teach pedalling without balance, so the rider has to learn both at once when the wheels come off. A balance bike, or a pedal-free regular bike with a low saddle, teaches balance first, which is the harder skill and the one that prevents falls.
Do I need to wear a helmet to ride a bike?
That depends on where you ride and how you weigh the evidence. Helmets are compulsory in some jurisdictions and optional in others; they reduce head and facial injuries in crashes, though the studies behind that finding have limitations. Many riders wear one regardless of the law; the decision is personal, but knowing the local rule is not optional.
Why do I wobble when I pedal but not when I coast?
Pedalling introduces a new force pattern that the body hasn’t yet balanced against. The fix is to keep the saddle low while learning to pedal, relax the grip, and look further ahead. Wobble usually disappears within a few sessions once the legs and the steering stop fighting each other.
What’s the best place to practise riding?
Smooth, flat, traffic-free tarmac: an empty car park, a quiet cul-de-sac, or a closed training area. Avoid grass and gravel, which are slow and hide hazards, and avoid roads until balance, braking, and shoulder checks are automatic. Ten metres of clear roll-out space is enough to start.
How do I stop without falling over?
Squeeze both brakes together, with slightly more pressure on the front, and shift your weight back as the bike slows. Practise from walking pace first, then faster. The fall usually happens because the rider brakes with the front only or forgets to put a foot down before the bike stops, so drill both habits early.
Should I learn on a road bike or a hybrid?
Start on whatever bike has a low standover height and working brakes. A hybrid or a mountain bike with wide tyres is more forgiving than a road bike with narrow tyres and a stretched riding position. Once balance and braking are solid, moving to a faster bike is easy; learning on an aggressive setup is not.



