
Quick Answer: How do i set up nvme ssd for the best performance?
Getting the best performance from an NVMe SSD means installing it in the right M.2 slot, confirming it runs at the full PCIe lane speed, enabling UEFI boot with GPT partitioning, keeping firmware and the native driver current, and leaving enough free space for the controller to work efficiently. Most of these steps happen in the BIOS and the operating system, not on the drive itself.
The details differ depending on whether the drive is your boot disk or extra storage, and whether your board is PCIe 3.0, 4.0, or 5.0. Older boards may share lanes with SATA ports, so the slot you choose matters as much as the drive.
Before acting, check the slot’s lane allocation, the PCIe generation your board supports, the drive’s firmware version, TRIM status, cooling, and how full the drive will be.
A Statistic That Should Change How You Buy Storage
Here is a fact worth sitting with: the fastest consumer NVMe drives can move several gigabytes of data per second, yet most people never see those numbers in daily use. Sequential speed is a best-case figure measured at high queue depth. Real work — opening apps, loading a game level, saving a project — is mostly small random reads, where the gap between a good drive and a great one shrinks fast.
That mismatch is why setup matters more than the number on the box. A flagship Gen5 drive jammed into a shared lane, booting in legacy mode, with no heatsink and 97% full, will feel slower than a modest Gen3 drive configured properly. The good news is that almost everything that delivers real performance is free and takes an afternoon.
Understand What You Actually Bought
NVMe is a protocol, not a shape. It describes how the drive talks to the system over PCIe lanes. M.2 is the connector most people mean when they say NVMe SSD, but the same protocol also runs on U.2 drives and add-in cards. Two M.2 drives can look identical and perform very differently depending on how many PCIe lanes they get and which generation those lanes are.
PCIe is backward compatible, but it negotiates down to the slower device. A Gen4 drive in a Gen3 slot runs at Gen3 speed. That is not a fault — it is physics and wiring. If you want the advertised speed, the drive, the slot, and the CPU/chipset all have to support the same generation.
Step 1: Check the Slot Before You Install Anything
This is the step people skip, and it causes the most disappointment.
Open your motherboard manual and find the block diagram. Look for two things: how many lanes each M.2 slot gets, and what those lanes are shared with. On many consumer boards, populating the second M.2 slot disables two SATA ports or drops the primary PCIe x16 slot from x16 to x8. On others, an M.2 slot only runs at x2 instead of x4.
| What to check | Why it matters | Where to find it |
|---|---|---|
| Lane count per M.2 slot | x2 halves bandwidth vs. x4 | Motherboard manual block diagram |
| Shared SATA/PCIe lanes | Installing the drive may disable ports | Manual, “shared bandwidth” table |
| PCIe generation per slot | Gen4 drive in Gen3 slot runs at Gen3 | Manual specs page |
| Slot keying (M key vs. B+M) | Wrong key won’t fit or won’t run at full speed | Drive and board spec sheets |
| Heatsink requirement | Gen4/Gen5 drives throttle without cooling | Drive spec sheet and board manual |
Put the drive in the slot wired directly to the CPU if you have a choice and it is your boot drive. That path usually has the lowest latency.
Step 2: Physical Installation Done Right
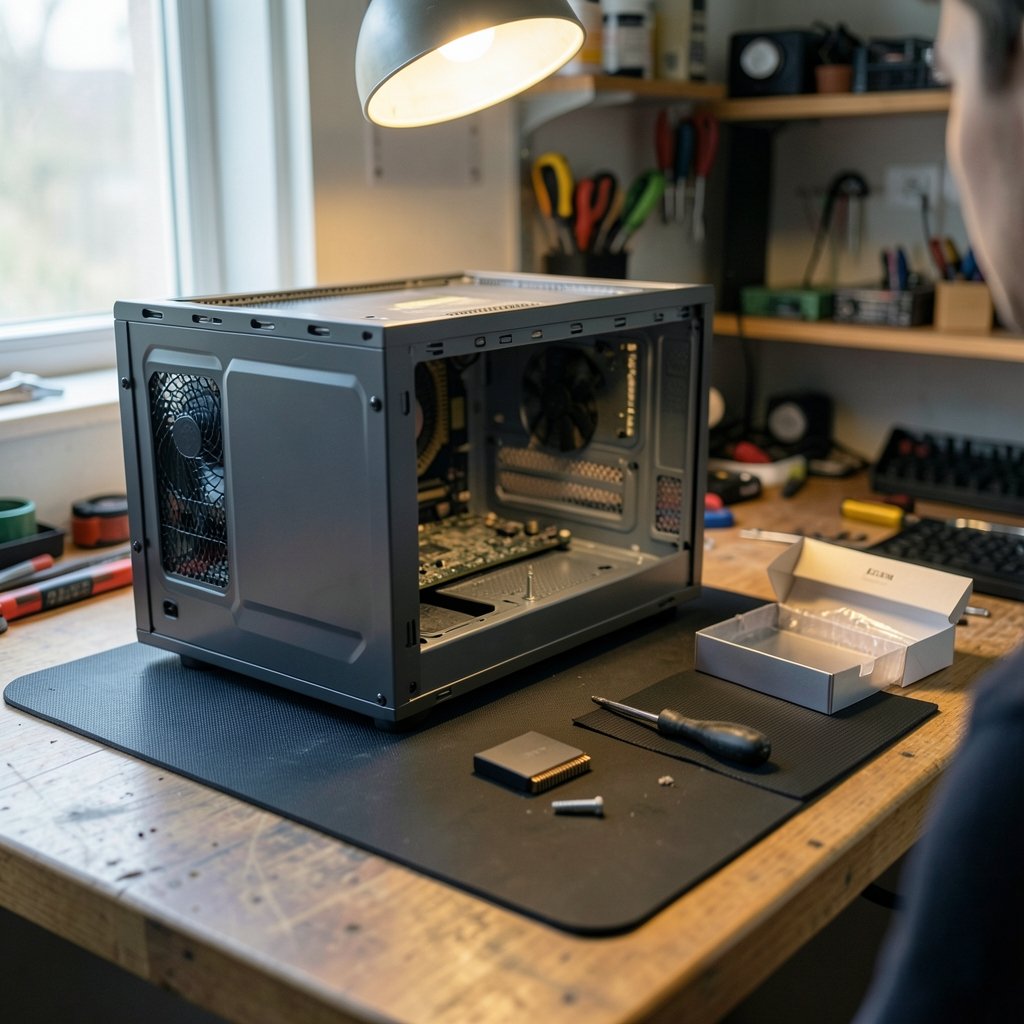
Power down, unplug the PSU, and ground yourself. Remove the M.2 screw or the tool-less latch, slide the drive in at roughly a 30-degree angle until the contacts disappear, then press it flat and secure it. Do not overtighten — the screw only holds the drive down.
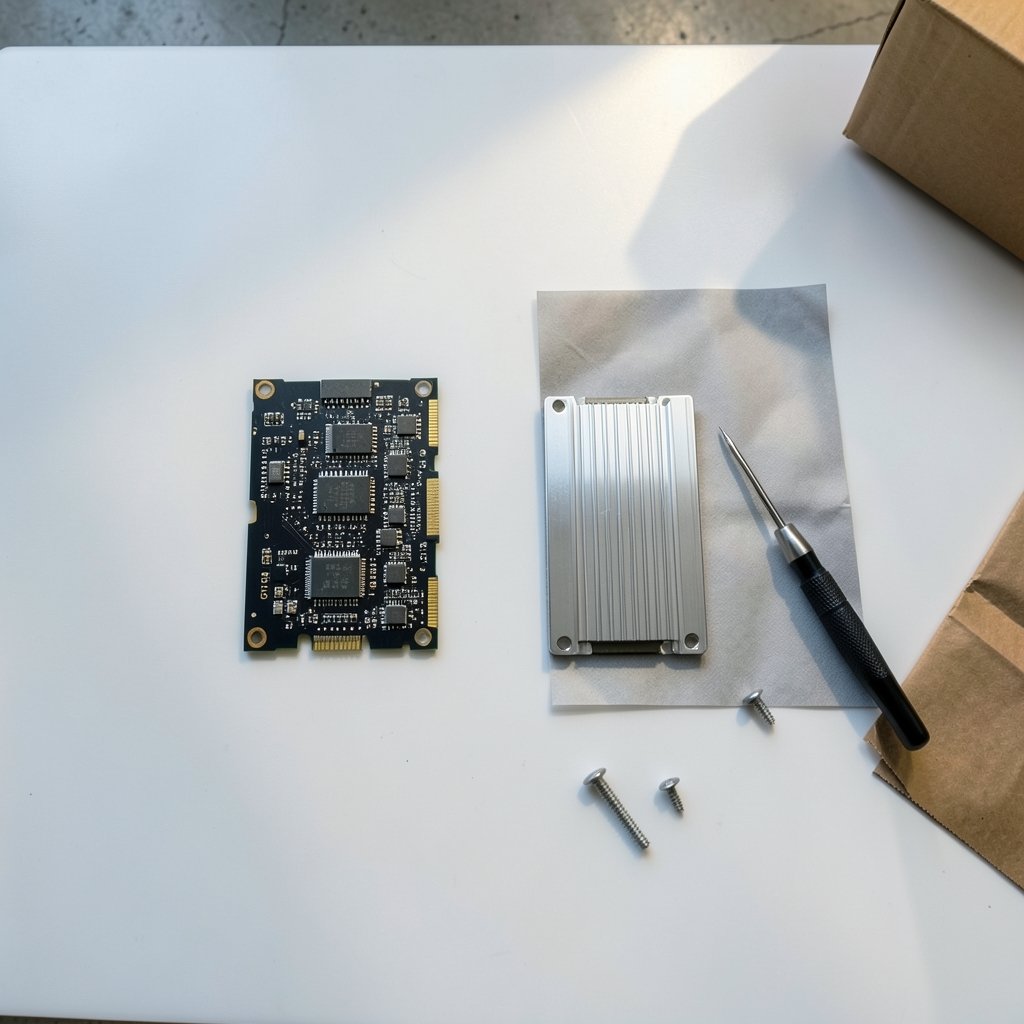
If your board or drive includes a thermal pad and heatsink, peel the protective film. The film is the single most common installation mistake. A pad left covered traps heat instead of moving it, and Gen4/Gen5 controllers will throttle under sustained writes.
Step 3: Confirm the BIOS Sees It as NVMe
Boot into UEFI/BIOS and look for the storage or NVMe configuration page. The drive should appear by model name. If it shows up as a generic mass storage device or not at all, reseat it and check the slot again.
For a boot drive, two settings matter:
- Set the boot mode to UEFI (disable CSM/legacy where possible).
- Partition the drive as GPT, not MBR.
Legacy boot with an NVMe boot disk is a classic misconfiguration. It can work, but it invites boot failures and blocks features like Secure Boot. While you are in there, check that the drive is linked at the expected width and speed — most BIOS screens report the negotiated link, so a Gen4 drive showing Gen3 is your cue to investigate the slot.
Step 4: Install the OS and Use the Native Driver
A clean install onto the new drive is the cleanest path. Windows Setup will detect the NVMe drive and install the in-box stornvme driver, which is what you want. Do not hunt down a third-party storage driver unless a vendor specifically requires one; legacy AHCI drivers on an NVMe disk are a performance and stability trap.
On Linux, the in-kernel nvme driver is standard and needs no action. To verify link speed and width after install, `lspci -vv` shows the negotiated PCIe speed and lane count for the controller. If it reads 8GT/s x4 on a Gen4-capable setup, something is limiting the link.
Step 5: Turn On TRIM and Keep It On
TRIM tells the drive which blocks are no longer in use so the controller can clean them in the background. Without it, write performance degrades over time, especially on TLC and QLC drives.
On Windows, open a command prompt and run `fsutil behavior query DisableDeleteNotify`. A result of 0 means TRIM is enabled. On Linux, either mount with the `discard` option or schedule a periodic `fstrim` — the scheduled route is generally gentler on the drive.
Step 6: Leave Breathing Room
NAND controllers need spare area for garbage collection and wear leveling. A drive that is 95% full has almost no room to shuffle data, and write speeds can fall off a cliff once the SLC cache is exhausted. Keeping 10–20% free is the simple habit that preserves performance.
If you are moving an existing system onto a new drive, cloning is faster than reinstalling. The process is well documented, and a walkthrough like this guide on how to clone hard drive to ssd 2026 covers the prep work. Just make sure the target is initialized as GPT if you are booting in UEFI mode. (NVM Express)
Step 7: Update Firmware, Carefully
Vendor firmware updates have fixed real performance and reliability bugs over the years. Check your drive maker’s support page, note the current firmware revision, and update only from official tools. Back up first — a firmware update interrupted by a power cut can brick a drive.
Do not update firmware on day one out of habit. If the drive is working well and the release notes do not mention an issue you have, waiting is reasonable.
Step 8: Benchmark Honestly, Then Stop
Use CrystalDiskMark on Windows or fio on Linux. Run a sequential test and a random 4K test. Compare your numbers to the drive’s rated specs, not to a leaderboard.
A few ground rules that save people from panic:
- Advertised sequential speeds assume an empty drive, high queue depth, and ideal thermals.
- A drive that hits rated speed on an empty disk and slows at 80% full is behaving normally.
- Benchmarking repeatedly in a row heats the controller and lowers scores. Let it cool between runs.
If you want a second drive purely for backups or media, a portable option is often more practical than another internal slot. Reviews of the best external ssd models are a good starting point, and the same lane-and-generation logic applies to the USB or Thunderbolt port you plug into.
Common Mistakes That Quietly Cost Performance
The pattern is remarkably consistent. People buy a fast drive, install it in a shared slot, boot in legacy mode, fill it to the brim, and then wonder why it feels ordinary.
- Ignoring the block diagram. A shared-lane slot can halve throughput or kill your SATA ports.
- Leaving the thermal pad film on. Instant throttling under sustained writes.
- Skipping the UEFI/GPT check. Boot problems and missing features later.
- Filling the drive past 90%. Garbage collection has nowhere to work.
- Benchmarking once, badly. Single runs on a hot drive tell you little.
- Chasing Gen5 on a Gen3 platform. The slot caps you, and the drive runs warmer for nothing.
There is a broader lesson here that shows up in every hobby with a spec sheet. Whether you are tuning storage or learning the rules for backgammon board game setup, the equipment matters less than whether you configured it correctly. The same is true of software: a guide on how to set up ppsspp 2026 will stress settings and compatibility long before raw hardware. Storage is no different.
What About Laptops and Pre-Builts?
Laptop M.2 slots are usually x4 but may be Gen3 only, and many are single-slot. Check the service manual before buying. Some slim laptops use shorter 2230 drives, and a 2280 drive simply will not fit without an adapter.
Pre-built desktops sometimes ship with the M.2 slot populated by a small boot drive and a second slot wired at x2. If you are adding storage, confirm which slot is which before you commit.
Does Any of This Matter for Gaming?
For game loading, the difference between a well-configured Gen3 drive and a Gen4 drive is often a second or two. DirectStorage-style features change that calculus somewhat, but the setup rules stay the same: full lane width, UEFI boot, TRIM on, drive not full, and cooling in place.
Spending the savings on a better keyboard stand for stage performance or a faster GPU will usually do more for your day than upgrading from a good Gen4 drive to a great Gen5 one.
Conclusion
Setting up an NVMe SSD for best performance is mostly a discipline problem, not a hardware problem. Confirm the slot’s lane allocation and generation, install with the thermal pad film removed, boot in UEFI with GPT partitioning, keep the native driver, enable TRIM, leave free space, update firmware only when it earns its keep, and benchmark with realistic expectations.
Do those things and even a mid-range drive will feel fast for years. Skip them and the fastest drive on the market will feel like a compromise. The setup is the upgrade.
Frequently Asked Questions
Does an NVMe SSD need a heatsink?
Gen4 and Gen5 drives benefit from one, and many ship with a heatsink or require the board’s. Sustained writes can push the controller to its thermal limit, and throttling shows up as slower copy speeds on large files. Gen3 drives usually run cool enough without one.
Why is my NVMe SSD running slower than advertised?
The usual culprits are a slot wired at x2 instead of x4, a Gen3 slot holding a Gen4 drive, a shared-lane configuration, thermal throttling, or a drive that is nearly full. Check the negotiated link speed in BIOS or the OS before assuming the drive is faulty.
Should I use MBR or GPT for an NVMe boot drive?
GPT. It pairs with UEFI boot, supports drives larger than 2TB without workarounds, and avoids the legacy compatibility layer. MBR with an NVMe boot disk works in some configurations but invites problems later.
How much free space should I leave on an NVMe SSD?
Aim to keep at least 10–20% free. The controller uses that space for garbage collection and wear leveling. Drives that stay above roughly 90% capacity often show slower sustained writes, particularly TLC and QLC models.
Is it safe to clone my old drive to a new NVMe SSD?
It is safe if you back up first and initialize the target as GPT for UEFI boot. Cloning preserves your apps and settings, but resizing partitions and bootloader repair occasionally trip people up. A clean install is more predictable if you have the time.
Do I need to enable anything in Windows for NVMe performance?
Confirm TRIM is on with `fsutil behavior query DisableDeleteNotify` (a result of 0 means enabled), make sure the drive uses the native stornvme driver, and keep the drive from filling up. Windows handles NVMe natively, so there is no special mode to switch on.
