Quick Answer: Which budget gaming CPU coolers are worth buying?
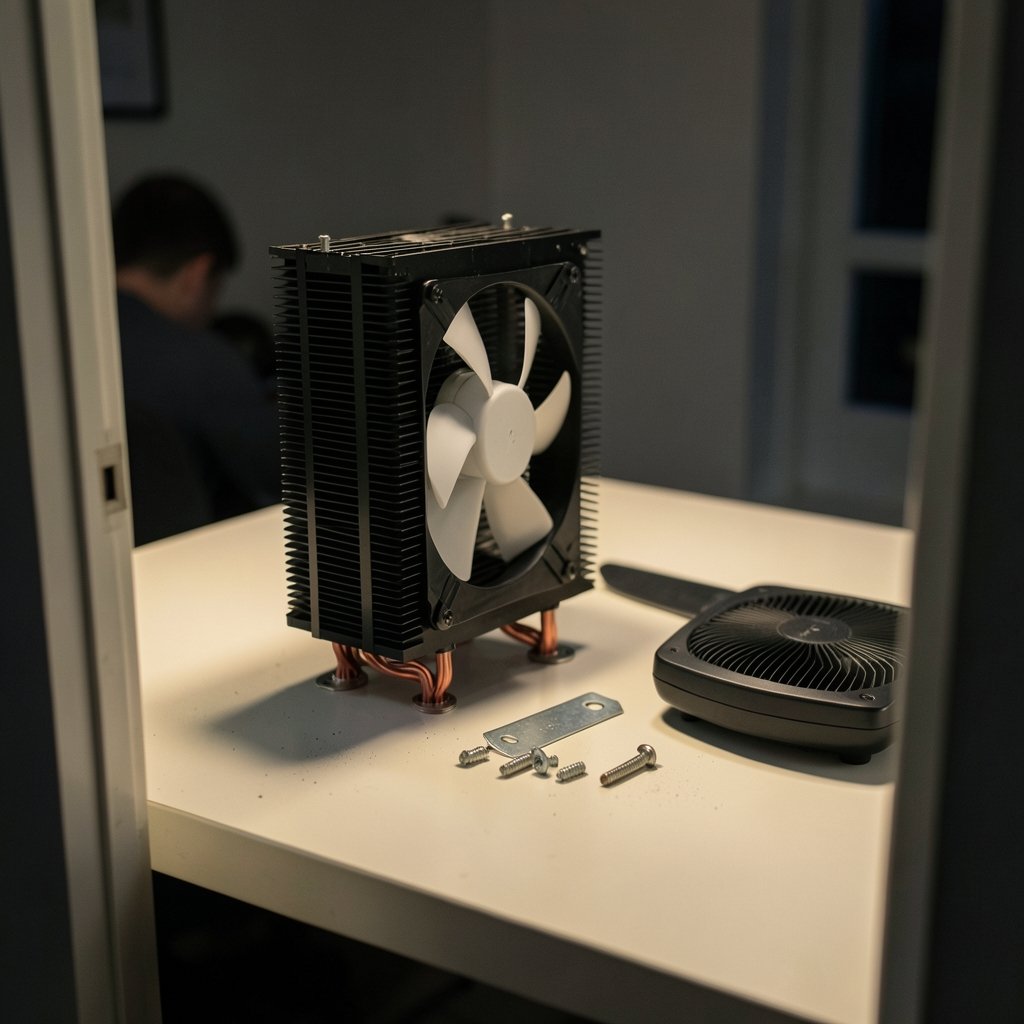
The budget gaming CPU coolers worth buying are single-tower air coolers with four to six heatpipes and a 120 mm fan, typically selling for roughly $20 to $40, paired with a mounting kit that matches the buyer’s socket. These coolers handle 65 W to 125 W processors without drama and mainly buy quieter operation than a stock cooler. Low-profile downdraft models are the alternative for small-form-factor builds, where tower height simply will not fit under the side panel. Before buying, compare socket bracket support, measured noise in reviews, RAM and case clearance, heatpipe count, fan quality, and the actual TDP of the CPU being cooled.
Why Budget Coolers Deserve More Credit Than They Get
Ever noticed how every cooler recommendation thread turns into a fight about $120 liquid kits? Meanwhile, half the people asking own a 65 W processor that never breaks a sweat. That mismatch is where the budget air cooler earns its keep.
The honest truth is that below about $40, temperature differences between decent tower coolers are often just a few degrees Celsius. What separates a good cheap cooler from a bad one is rarely raw cooling. It is noise, mounting hardware, and whether the thing actually fits in the case. Spend accordingly.
There is one number worth internalizing before shopping: TDP is not a standardized rating. AMD and Intel rate thermal design power differently, and cooler makers slap “supports 250 W” on boxes as marketing, not as a certified figure. That is why a cooler rated for 180 W can struggle on one CPU and cruise on another. Reviews with measured temperatures and noise beat box claims every time.
The Shortlist: What Actually Works at This Price
Model availability shifts every year or two, so treat any specific name as a starting point rather than gospel. Still, a few budget towers have earned long reputations across recent generations: the Thermalright Peerless Assassin 120 SE, the Thermalright Assassin King 120 SE, the DeepCool AK400, and the ID-Cooling SE-224-XT. All are single-tower or dual-tower air designs in the $20 to $40 band in most regions, and all have shipped with modern bracket support at some point.
| Cooler type | Typical price band | Best for | Main trade-off |
|---|---|---|---|
| Single-tower 120 mm air (4–6 heatpipes) | $20–$40 | 65–125 W CPUs, mid-tower builds | Height clearance, RAM overhang |
| Dual-tower air | $35–$60 | Hotter CPUs, quieter operation | Bulk, RAM slot blocking |
| Low-profile downdraft | $25–$50 | Small-form-factor and slim cases | Lower thermal ceiling |
| Stock cooler | Bundled free | 65 W non-overclocked CPUs | Louder under sustained load |
The pattern across that table matters more than any single row. A single-tower 120 mm cooler with four to six heatpipes is the sensible default for most budget gaming builds. Step up to dual-tower only if the CPU runs hot or silence is the priority. Step down to low-profile only when the case forces it.
For readers assembling a whole budget setup, it helps to think about the cooler as one piece of a system. The same logic of matching parts to real needs shows up in this guide to a gaming monitor worth buying for beginners and in this breakdown of budget gaming laptops that actually fit the budget. Overspending on one part and underspending on another is the classic beginner mistake.
Socket Support: The Detail That Sinks Builds
Here is a scenario that plays out constantly. Someone buys a discounted cooler, unboxes it, and finds a mounting kit for a socket two generations old. No AM5 bracket, no LGA1700 backplate. Now they are waiting a week for a $5 adapter.
Socket compatibility changes with each CPU generation, and the dates are worth knowing. Intel’s LGA1700 arrived in 2021 and LGA1851 followed in 2024 with Core Ultra 200S. AMD’s AM5 landed in 2022. Many budget coolers now ship with AM5 and LGA1700 brackets in the box, but older stock sitting in a warehouse may not. Check the specific SKU, not the product family.
Practical rules that save headaches:
- Confirm the socket on the CPU box before ordering anything.
- Read the cooler’s “supported sockets” list on the manufacturer page, not the retailer listing.
- Check whether the bracket is included or sold separately.
- If buying used or from clearance stock, ask the seller which brackets are in the box.
- Keep the spare mounting hardware. It is worth nothing now and priceless at the next upgrade.
Airflow, Clearance, and the Measurements People Forget
A cooler that does not fit is not a bargain. Three measurements decide whether a tower works in a given case: cooler height versus case CPU clearance, RAM height versus fan overhang, and clearance to the top fan mounts or side panel.
Tall RGB RAM is the usual culprit. A 120 mm fan on a tower cooler often hangs over the first RAM slot, forcing the fan upward or off entirely. Low-profile RAM solves it. So does choosing a cooler with a narrower fin stack or an offset design.
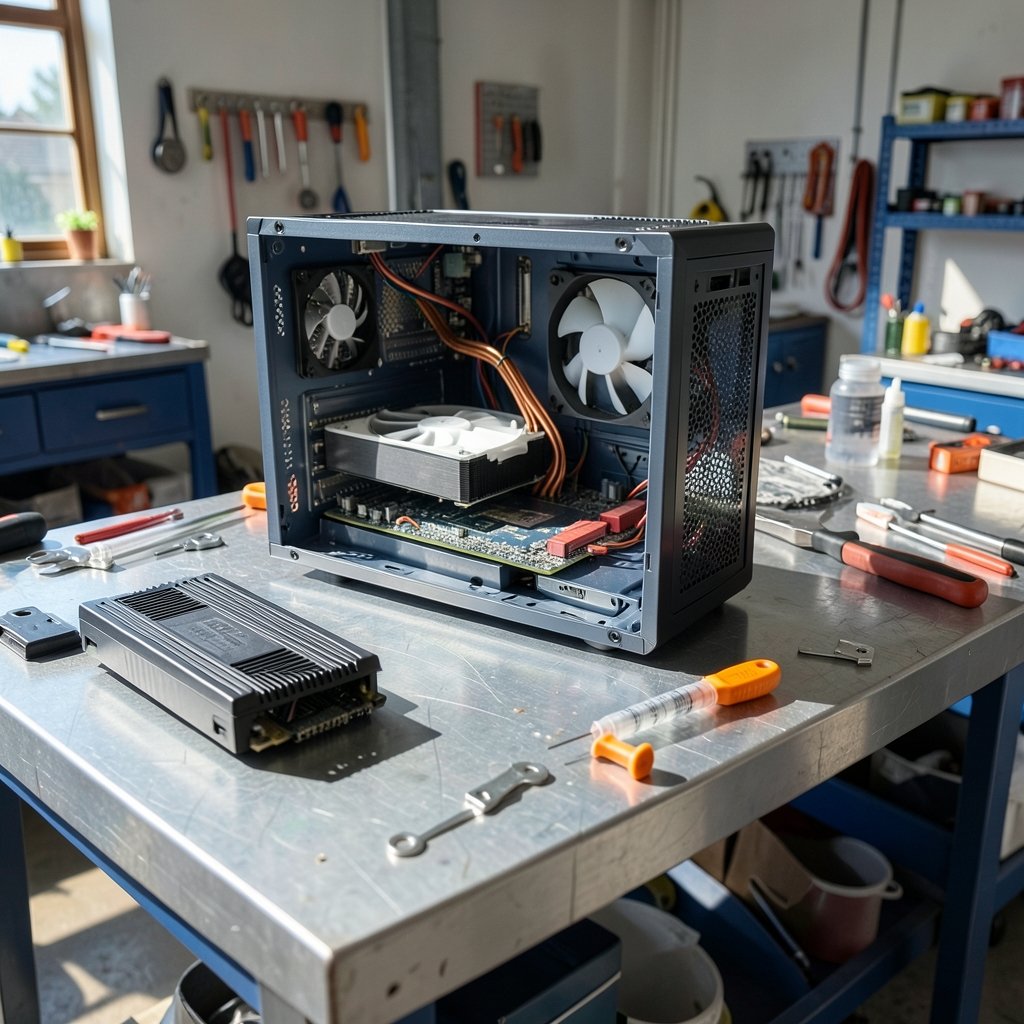
For small-form-factor builds, downdraft coolers are the budget answer. Noctua’s NH-L9i and NH-L9a class coolers and the Thermalright AXP90-X47 are the names that come up repeatedly in that space. They trade thermal headroom for height, so pair them with a 65 W CPU and realistic expectations. Check CPU-to-side-panel clearance before anything else, because in a slim case that number is the whole ballgame.
Case airflow deserves a mention too. A budget tower in a sealed box with one exhaust fan will run hotter and louder than the same cooler in a case with decent intake. Two inexpensive 120 mm case fans often do more for temperatures than $30 extra spent on the cooler itself.
When the Stock Cooler Is Genuinely Enough
It feels almost heretical to say it, but the cooler in the box is often fine. AMD’s Wraith Stealth, bundled with many Ryzen 5 non-X chips, and Intel’s boxed cooler can handle 65 W processors at stock settings without throttling. Bundle policies vary by SKU, so check what ships with the specific chip.
So why buy anything? Noise. A budget tower mainly buys quieter operation under sustained load, plus lower temperatures that give a little headroom for boost clocks. If the machine sits under a desk with headphones on, the stock cooler may never bother anyone. If it sits on the desk next to a microphone, the upgrade pays for itself in sanity.
Overclocking changes the calculus. A 65 W chip pushed hard, or any chip with an adjustable multiplier and raised power limits, needs more thermal headroom than a stock cooler provides. That is when a $30 tower stops being optional.
Reading Reviews Without Getting Fooled
Cooler reviews vary wildly in quality, and the difference matters more than the star rating. A useful review states the test bench, the ambient temperature, the noise floor of the test room, and whether results are noise-normalized. Noise-normalized testing, where every cooler is adjusted to the same sound level before temperatures are compared, is the single most useful methodology for budget shoppers.
Outlets that publish their testing methodology, such as GamersNexus, are worth prioritizing for exactly this reason. A review that says “it kept our chip at 70 °C” without saying which chip, at what power limit, in what room, tells the reader almost nothing.
Watch for these red flags:
- No ambient temperature stated. A 19 °C room flatters every cooler.
- TDP support quoted as fact. It is marketing, not a measurement.
- No noise data. At this price, noise is the differentiator.
- Identical scores across wildly different coolers. Suggests a saturated test.
The same review-literacy habit pays off in other budget categories. It is the same skill set behind judging whether a tablet is worth buying for everyday use or whether a webcam is worth buying for everyday use — specs on a box are claims, and measured performance is evidence.
Matching the Cooler to the CPU, Not the Other Way Around
The most common budget mistake is buying a cooler first and a CPU second. Work backward instead. Identify the CPU’s real power draw under load, then pick the smallest cooler that handles it quietly.
A rough framework that holds up in practice:
| CPU class | Realistic cooler need | Budget pick type |
|---|---|---|
| 65 W, non-overclocked | Stock cooler may suffice | Single-tower 120 mm for quiet |
| 65 W, boosted or overclocked | Moderate headroom | Single-tower, 5–6 heatpipes |
| 105–125 W | Solid tower required | Dual-tower or premium single-tower |
| Small case, any CPU | Height-limited | Low-profile downdraft |
Two more practical notes. First, thermal paste matters less than forums suggest, but a dried-out stock pad on a used cooler is worth replacing. Second, mounting pressure is a real variable. A cooler installed loosely can run 5 °C to 10 °C hotter than the same unit tightened properly, and that is free performance.
For anyone building a full setup around a console instead of a PC, the same matching logic appears in this look at whether the Nintendo Switch 2 is worth buying for everyday use and in this comparison of the best handheld gaming consoles and which one actually fits. Different hardware, identical principle: fit the part to the job.
Where the Money Actually Goes
Strip away the branding and a budget cooler’s price breaks down into a few components: the heatpipe count and quality, the fin stack density, the fan, and the mounting hardware. At the low end, corners get cut on the fan and the brackets, not usually on the metal.
That is why the fan is the part worth scrutinizing. A cheap sleeve-bearing fan gets noisy within a year. A decent fluid-dynamic bearing fan stays quiet for years. If a cooler’s specs are vague about the fan, that is a signal.
Mounting hardware is the other quiet cost. A cooler with a proper backplate and spring screws installs in fifteen minutes and stays put. One with plastic push-pins and a flimsy bracket can flex the board and rattle. On a budget, prioritize solid mounting over an extra heatpipe.
Conclusion
The budget gaming CPU cooler market rewards a boring, sensible approach. A single-tower air cooler with four to six heatpipes and a 120 mm fan, priced around $20 to $40 and confirmed to include the right socket bracket, handles most gaming builds quietly and comfortably. Low-profile downdraft coolers cover small-form-factor builds. The stock cooler covers plenty of 65 W chips for free.
What separates a good purchase from a regret is not the cooler’s marketing. It is the socket bracket in the box, the height and RAM clearance measured before ordering, and reviews that report noise-normalized temperatures instead of box claims. Get those three things right and the cooler disappears into the build, which is exactly what a good one should do.
FAQ
Do I need a budget cooler if I do not overclock?
Not always. A 65 W processor at stock settings often runs fine on the bundled stock cooler. The upgrade is mainly about noise, since a budget tower runs quieter under sustained load and gives a little thermal headroom for boost clocks.
How many heatpipes should a budget cooler have?
Four to six heatpipes is the practical range for a single-tower cooler in the $20 to $40 band. More heatpipes help, but at this price a solid fan and good mounting hardware usually matter more than one extra pipe.
Will a budget tower cooler fit over tall RGB RAM?
Often it will not, or only with the fan shifted upward. A 120 mm fan on a tower frequently overhangs the first RAM slot. Check the cooler’s RAM clearance figure and consider low-profile memory if the fit is tight.
Is a low-profile cooler good enough for gaming?
It can be, with the right CPU. Low-profile downdraft coolers suit small-form-factor builds and 65 W chips, but they trade thermal headroom for height. Pair them with modest power draw and check CPU-to-side-panel clearance first.
Does cooler TDP rating tell me what CPU it can handle?
Not reliably. TDP is rated differently by AMD and Intel, and cooler makers’ support figures are marketing rather than a standard. Compare measured temperatures and noise from reviews with a stated test bench and ambient temperature instead.
How do I know a cooler review is trustworthy?
Look for a stated test bench, ambient temperature, and noise floor, plus noise-normalized results where coolers are compared at equal sound levels. Reviews that quote a temperature without saying which chip, at what power limit, in what room are close to useless.