
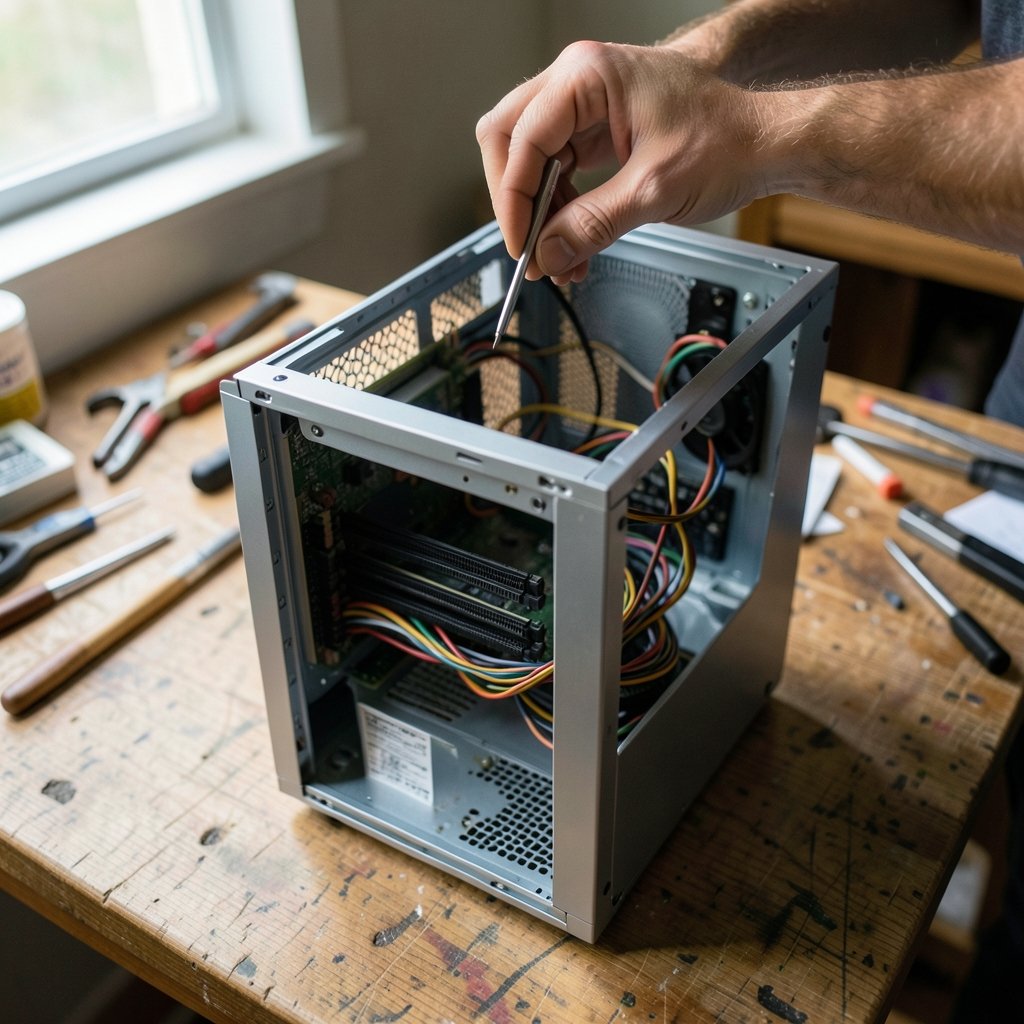
Few things ruin a workday faster than a blue screen with the message MEMORY_MANAGEMENT staring back at you. According to Microsoft’s own bug check reference, this stop code, officially labeled 0x0000001A, is one of the most frequently reported blue screen errors on Windows systems. It is also one of the most misunderstood, because it almost never means what people assume. The error does not automatically mean your RAM is dead. It means Windows detected an inconsistency in how memory was being managed, and that inconsistency can come from faulty hardware, corrupted system files, a misbehaving driver, or even a failing disk. (Windows help and learning)
That distinction matters. If you replace your RAM sticks before running a single diagnostic, you may spend money solving nothing. This guide walks through the fixes in the order that actually makes sense, from the fastest checks to the deeper repairs, so you can stop guessing and start narrowing down the real cause.
What the Memory Management Error Actually Means
The MEMORY_MANAGEMENT stop code appears when the Windows kernel detects that memory has been corrupted or that a page of memory was accessed in a way it should not have been. Microsoft documents this as a bug check rather than a single error, which is the key insight: it is a symptom, not a diagnosis. (Random-access memory)
In practice, the causes cluster into four groups:
| Cause Category | Typical Trigger | Likelihood |
|---|---|---|
| Faulty or mismatched RAM | Bad stick, loose module, incompatible speeds | Common |
| Corrupted system files | Interrupted updates, malware, disk errors | Common |
| Problematic drivers | Outdated GPU, chipset, or storage drivers | Common |
| Disk or storage faults | Bad sectors, failing SSD, corrupted page file | Less common |
Notice that “your RAM is broken” sits in the same tier as “a driver is misbehaving.” Treating the error as a hardware verdict is the single most common mistake people make, and it leads to unnecessary purchases.
Start With the Free, Fast Checks

Before touching any advanced tool, rule out the simple stuff. These steps take minutes and resolve a surprising number of cases.
- Restart, do not shut down. A full restart clears memory in a way that fast startup sometimes does not.
- Check for loose RAM. If you recently moved the PC or added a stick, reseat the modules. A partially seated module produces exactly this kind of intermittent fault.
- Run Windows Update. Microsoft ships memory-related patches and driver fixes through Windows Update regularly.
- Undo recent changes. If the error started after installing new RAM, a new driver, or a new program, that change is your prime suspect. Revert it and observe.
If the error persists after these steps, move to diagnostics. And while you are in a troubleshooting mindset, it is worth confirming your machine is not fighting an infection at the same time, since malware can corrupt memory structures. A guide on how to check for viruses on a Windows PC covers the manual and automated methods in detail.
Test Your RAM Properly With Windows Memory Diagnostic
Windows includes a built-in memory tester, and it is the correct first diagnostic step because it is free, official, and requires no downloads.
Running the Built-In Tool
- Press Windows + R, type `mdsched.exe`, and press Enter.
- Choose Restart now and check for problems.
- The test runs before Windows loads, so expect a blue diagnostic screen for 15 to 30 minutes.
- When Windows returns, check the results in Event Viewer under Windows Logs > System, filtering for the MemoryDiagnostics-Results source.
A clean result does not fully exonerate your RAM. The built-in tool is fast but shallow. If it passes and the error continues, run a deeper third-party tester such as MemTest86, which runs multiple passes and catches marginal faults the built-in tool misses. Let it complete at least four passes overnight; stopping after one pass is a classic mistake that produces false confidence.
If the Test Finds Errors
If either tool reports failures, the diagnosis is straightforward. Reseat the modules first, then test one stick at a time to isolate which one is faulty. Mixed RAM kits running at different speeds or timings are a frequent culprit, and setting the correct XMP or EXPO profile in BIOS often resolves instability that looks like a hardware failure.
Repair Corrupted System Files
If your RAM tests clean, the next most likely cause is corrupted Windows system files. Two Microsoft-documented commands handle this, and they should be run in order.
Step 1: System File Checker
Open Terminal (Admin) and run:
`sfc /scannow`
This scans protected system files and replaces corrupted ones with cached copies. It takes five to fifteen minutes. If it reports that it found corrupt files but could not fix them, move to the next step.
Step 2: DISM
Run:
`DISM /Online /Cleanup-Image /RestoreHealth`
DISM repairs the component store that SFC draws its replacement files from. Running DISM after SFC is the correct order, because SFC needs a healthy source to work from. Many guides reverse this, which is why some repairs fail. After DISM completes, run `sfc /scannow` once more to confirm the fix.
Step 3: Check the Disk
Memory management errors can also stem from storage faults, since the page file lives on disk. Run `chkdsk C: /f /r` from an elevated prompt and allow it to schedule at the next restart. The `/r` flag locates bad sectors and recovers readable data, which takes considerably longer but catches problems a quick scan misses.
Update or Roll Back Problematic Drivers
Drivers operate at a privilege level where a single bug can corrupt memory, which is why graphics and chipset drivers appear so often in blue screen reports. The practical approach is unglamorous but effective.
- Update your GPU driver from the manufacturer’s official site or its control panel, not from a third-party driver updater. Driver updaters frequently install mismatched packages.
- Update chipset and storage drivers from your PC or motherboard maker’s support page, since these are often newer than what Windows Update offers.
- Roll back a driver if the error began right after an update. Device Manager’s Roll Back Driver button exists precisely for this scenario.
A useful habit: if you can predict when the crash happens, you can often identify the driver. Crashes during video playback point to graphics drivers. Crashes during sleep or wake point to power management and chipset drivers. Crashes under heavy disk load point to storage drivers.
Use Windows 11’s Built-In Troubleshooters
Windows 11 includes troubleshooters that can automatically detect and repair some configuration problems. Navigate to Settings > System > Troubleshoot > Other troubleshooters and run the ones relevant to your symptoms. Microsoft has consolidated and retired several legacy troubleshooters over time, so the exact list varies by build. Treat these as a quick pass rather than a cure, but they cost nothing to try and occasionally catch a misconfiguration that manual steps would miss.
Dig Into the Crash Dump for Clues
When the standard fixes do not work, the crash dump tells you what actually failed. This is where patient troubleshooting beats guesswork.
- Confirm dumps are enabled under System Properties > Advanced > Startup and Recovery.
- Open the dump file in a tool like WinDbg and run the `!analyze -v` command.
- Look at the MODULE_NAME and IMAGE_NAME fields. They frequently name the exact driver responsible.
Reading a dump sounds intimidating, but you do not need to interpret the whole thing. You only need the module name. If it points to a specific driver, you have your culprit and can update, roll back, or remove the associated software. If it points to `ntoskrnl.exe` or `ntkrnlmp.exe`, the fault is more likely hardware or a lower-level driver, and you should return to RAM and storage testing.
Advanced Fixes Worth Trying
If you have exhausted the standard steps, these options address less common causes.
- Disable fast startup. Go to Control Panel > Power Options > Choose what the power buttons do and uncheck fast startup. This resolves a surprising number of memory errors tied to hibernation file corruption.
- Increase or rebuild the page file. A too-small or corrupted page file can trigger the stop code. Set it to system-managed, or manually size it to at least 1.5 times your physical RAM.
- Disable memory compression. In an elevated PowerShell window, run `Disable-MMAgent -mc`. This is a diagnostic step, not a permanent fix, but if it stops the crashes, you have narrowed the cause.
- Test with one RAM stick. Run the system on a single module, then swap. This isolates a failing stick faster than any software tool.
- Check for BIOS updates. Memory compatibility fixes ship through BIOS updates more often than people realize, especially on newer platforms.
If the crashes continue after all of this, and especially if they occur alongside other odd behavior like slow boot times or application freezes, it is worth confirming the system is clean. Running one of the best free virus removal tools for Windows rules out malware that tampers with memory. Similarly, if you notice the machine also running hot and sluggish, the guide on fixing antimalware service executable high CPU usage addresses a separate but often co-occurring performance problem.
When to Consider Hardware Replacement
There is a point where diagnostics stop being productive. Consider replacement or professional service if:
- Memory tests fail repeatedly even after reseating and testing sticks individually.
- The error persists with a known-good stick installed and all other steps completed.
- The crash dump consistently points to the same hardware-adjacent module.
- The machine is old enough that a failing motherboard or memory controller is plausible.
Before buying anything, check whether your RAM is still under warranty. Most major manufacturers offer limited lifetime warranties on memory modules, and a failing stick is often replaced at no cost. That is a far better outcome than buying a new kit on a hunch.
Preventing the Error From Coming Back
Prevention is mostly about discipline. Keep Windows and drivers updated through official channels. Avoid mixing RAM kits. Run `sfc /scannow` periodically, especially after major updates. Keep an eye on drive health using the SMART data available in Windows, since a failing SSD can produce memory errors long before it fails outright. And when something does crash, note what you were doing. Patterns are the most valuable diagnostic data you have, and they cost nothing to collect.
A final practical note: many people fix the error, then immediately reinstall the same problematic driver or reinsert the same marginal RAM stick, and wonder why it returns. If a step resolved the issue, leave it resolved. Do not undo your own fix in the name of restoring a setup that was never stable to begin with.
Conclusion
The MEMORY_MANAGEMENT error in Windows 11 feels alarming, but it is one of the more tractable blue screen codes once you stop treating it as a verdict on your RAM. Work through it in order: quick checks first, then Windows Memory Diagnostic, then SFC and DISM, then drivers, then crash dump analysis. Most cases resolve somewhere in the first three stages, and the ones that do not usually point clearly to hardware once you have eliminated the software causes. The cost of this method is patience. The cost of skipping it is a drawer full of RAM sticks that were never the problem.
Frequently Asked Questions
Does the memory management error mean my RAM is broken?
No. It means Windows detected a memory inconsistency, which can come from corrupted system files, a bad driver, a failing disk, or faulty RAM. RAM failure is one possible cause among several, which is why testing comes before replacing.
How long does Windows Memory Diagnostic take to run?
The standard test usually finishes in 15 to 30 minutes depending on how much RAM you have. Extended passes take longer. If it passes but crashes continue, run a deeper tool like MemTest86 for at least four passes overnight.
Should I run SFC or DISM first?
Run SFC first, then DISM. SFC replaces corrupted files using the component store, and DISM repairs that store. If you run DISM first, you are repairing the source after the fact, which is why some repairs fail when the order is reversed.
Can a driver really cause a memory management blue screen?
Yes, and it is common. Drivers run at a privilege level where a bug can corrupt memory structures directly. Graphics, chipset, and storage drivers are the most frequent offenders, which is why updating or rolling them back is a standard fix.
Will reinstalling Windows fix the error?
It can, if the cause is software corruption that SFC and DISM could not repair. It will not help if the cause is faulty RAM or a failing disk. Run memory and disk diagnostics first, or you may reinstall Windows and see the same crash return.
How do I find out which driver caused the crash?
Enable crash dumps, open the dump file in WinDbg, and run `!analyze -v`. The MODULE_NAME and IMAGE_NAME fields usually name the responsible driver. You do not need to read the whole dump, just those fields.



