

Here’s a number that surprises almost every Mac owner: a 256GB drive can show only 40GB free while Finder insists the math doesn’t add up. The gap isn’t a bug. macOS counts caches, local snapshots, and cloud-offloaded files as “purgeable” space, so the number you see in the Storage pane and the number Finder reports often disagree. Understanding that quirk is the first real step toward freeing space, because it tells you where the invisible gigabytes actually hide.
Start With the Storage Pane, Not With a Cleaner App
Before touching a single file, open System Settings → General → Storage. On macOS Ventura (2022) and later, this pane shows a color-coded bar of what’s eating your drive, plus Apple’s own recommendations: Optimize Storage, Empty Trash Automatically, and Reduce Clutter. On older Macs, the same view lives under About This Mac → Storage.
The recommendations are genuinely useful, but treat them as a map, not a magic wand. “Reduce Clutter” surfaces large files you may have forgotten about, and reviewing that list manually beats letting any tool decide for you. A practical habit: work top-down through the categories, largest first, and stop when you’ve reclaimed enough. There’s no prize for an empty drive.
One caution that saves people real pain: the System Data category (called “Other” in older versions) has never been fully documented by Apple, and its contents shift between macOS releases. Don’t chase it with a shovel. Focus on the categories you can actually identify.
Understand Purgeable Space Before You Panic
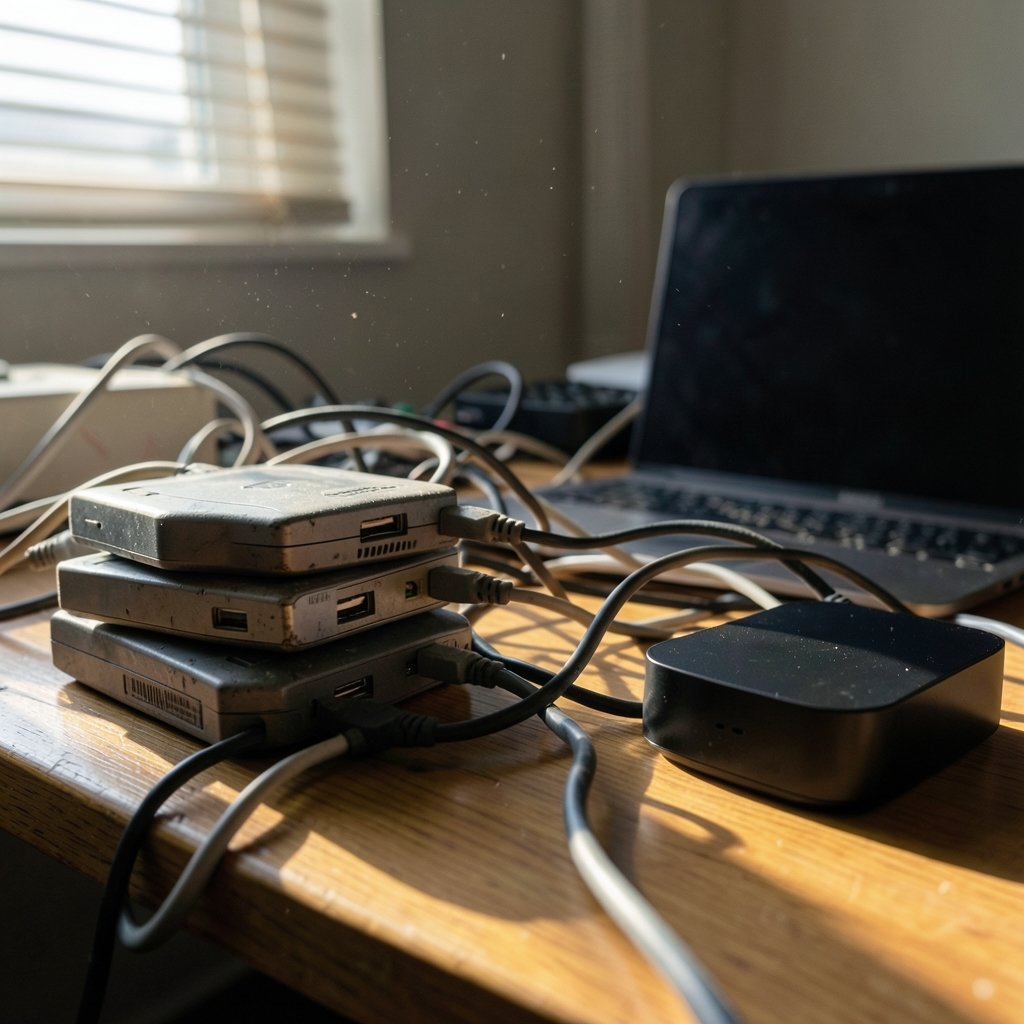
If Finder says 30GB free but the Storage pane shows 90GB available, you’re not being lied to. Purgeable space includes caches, local Time Machine snapshots, and files stored in iCloud that macOS can re-download or rebuild on demand. The system reclaims it automatically when needed.
The practical takeaway: don’t manually delete caches to “unlock” purgeable space. macOS manages this on its own, and clearing system caches can slow down apps or force unnecessary re-downloads. If you genuinely need more room, free up real space through the steps below, and the purgeable pool follows along.
Deal With Snapshots, the Hidden Space Eaters
This is the step most guides skip, and it’s often where tens of gigabytes are hiding. Since APFS became the default file system with macOS High Sierra in 2017, Time Machine creates local snapshots on your startup drive between backups. They’re excellent for recovery and quietly expensive for storage.
To see them, open Terminal and run:
- `tmutil listlocalsnapshots /` to list every snapshot on the drive.
- Review the dates. Snapshots from today are usually worth keeping.
- `tmutil deletelocalsnapshots` followed by a date, or use the command’s options to thin older ones.
Only do this if you have a working external Time Machine backup. Snapshots are a safety net, and deleting them without a backup in place removes your ability to roll back a bad file change. The `tmutil` command is documented in Apple’s own man page, so check `man tmutil` in Terminal for the exact syntax on your macOS version.
Attack the Big Four: Photos, Mail, Messages, and Downloads
In practice, four categories account for most bloated Macs. Here’s how they compare and what actually works:
| Category | Typical culprit | Fastest fix | Watch out for |
|---|---|---|---|
| Photos | Full-resolution originals synced locally | Enable Optimize Mac Storage in Photos settings | Offloaded photos need internet to view |
| Years of downloaded attachments | Mail → Settings → Accounts → uncheck “Download attachments” | Older messages re-download on demand | |
| Messages | Years of images and videos in threads | Delete large attachments per conversation | Deleted media can’t be recovered |
| Downloads | Installers, DMGs, duplicate files | Sort by size and delete installers | Keep license files you’ll need later |
For Photos specifically, the Optimize Mac Storage toggle is the single highest-impact setting on most machines. It keeps thumbnails locally and pulls full-resolution versions from iCloud only when you open them. The trade-off is real: on a plane or with spotty Wi-Fi, those photos won’t load at full quality. If you travel a lot, consider keeping originals for a curated album and optimizing the rest.
A common mistake in Mail: people delete the app’s cache folder manually and wonder why attachments reappear. The account-level setting is the durable fix.
Move the Archive, Keep the Working Set
The cleanest storage strategy isn’t deletion, it’s separation. Keep what you use weekly on the Mac and move everything else to an external drive or the cloud. This is where the cloud storage vs local storage key differences matter: cloud storage frees local space but depends on connectivity, while an external SSD is fast and offline but is one dropped cable away from a bad afternoon. (Free up storage space on your Mac)
For people with years of project files, a simple rule works well: anything untouched in twelve months goes to an archive drive. Label the drive, keep a second copy of anything irreplaceable, and you’ve solved storage without gambling on a single device.
If you’re shopping for physical space to store backup drives and old hardware, comparing storage unit deals and local prices can be surprisingly cost-effective versus buying more shelving.
Clean Up the Developer and Media Clutter
If you write code, edit video, or work with design files, the usual suspects change:
- Xcode: Derived Data, old simulators, and device support files can consume dozens of gigabytes. Xcode’s own storage settings let you delete unused simulators, and Derived Data can be cleared from its folder in Library.
- Docker and virtual machines: Container images and VM disk files grow silently. Prune unused images regularly.
- Video editing caches: Final Cut and Premiere both generate render files that are safe to regenerate.
- App leftovers: Uninstalled apps often leave support files behind in Library folders.
For anyone juggling these tools daily, a lightweight code editor for Mac that doesn’t bundle a full toolchain can keep the footprint smaller than a heavyweight IDE. It’s a small win, but these add up.
Empty the Trash Properly (and Check the Hidden One)
Emptying the Trash is obvious. What isn’t obvious: iCloud Drive’s Trash and the Trash inside external drives both hold files until you empty them separately. Photos has its own “Recently Deleted” album that keeps items for 30 days. Messages retains deleted attachments for a period too.
A quick checklist that catches most stragglers:
- Empty the main Trash.
- Open Finder, go to iCloud Drive, and empty its Trash.
- Check Photos → Recently Deleted.
- Empty the Trash on any connected external drive.
This five-minute pass routinely recovers several gigabytes that people assumed were already gone.
Know Your Shortcuts and Avoid the Snake Oil
Two practical habits make cleanup less error-prone. First, learn the undo shortcut for Windows and Mac so a mistaken deletion is one keystroke from reversal, and the redo shortcut for when you undo too far. Second, be skeptical of “cleaner” apps that promise one-click miracles. Apple’s own guidance doesn’t recommend third-party cleaners, and some have earned poor reputations over the years. The built-in tools plus a few Terminal commands cover nearly everything.
While you’re tidying, it’s worth confirming nothing nasty is hiding in your files. A guide on how to check for malware on a Mac walks through the signs, and if you want ongoing protection, reviews of the best antivirus for Mac help you pick without bloating your drive further. Security software that itself eats 5GB is a poor trade.
A Realistic Weekly Maintenance Routine
Storage doesn’t stay freed on its own. A ten-minute routine keeps it that way:
- Weekly: empty the Trash and check Downloads.
- Monthly: review the Storage pane and clear large files flagged by Reduce Clutter.
- Quarterly: check local snapshots and archive anything untouched for a year.
- Yearly: audit installed apps and remove what you no longer open.
Screenshots are a sneaky contributor here. If you capture your screen often, knowing how to take a screenshot on a Mac also means knowing where those files land, so you can route them to a folder you actually clean.
When to Stop Cleaning and Start Expanding
Sometimes the honest answer is that the drive is simply too small. A 128GB or 256GB Mac filled with photos, code, and video will hit the ceiling no matter how disciplined you are. Before buying new hardware, check whether your model has a replaceable drive (most modern Macs don’t) and whether an external Thunderbolt SSD solves the problem for a fraction of the cost.
The judgment call: if you’re clearing the same 20GB every month, you’re not disorganized, you’re under-provisioned. Buy space or move the archive off-device permanently. Both beat a monthly deletion ritual.
Conclusion
Freeing storage on a Mac isn’t about aggressive deletion. It’s about understanding where the invisible gigabytes live: purgeable space that Finder misreports, APFS snapshots quietly holding old versions, and the four categories (Photos, Mail, Messages, Downloads) that account for most bloat. Start with the Storage pane, enable Optimize Mac Storage for Photos, thin old snapshots only when you have a backup, and separate your archive from your working set. Do that, and the numbers start making sense again, which is worth more than any one-click cleaner.
Frequently Asked Questions
Why does my Mac show less free space than Finder reports?
Because macOS counts purgeable space separately. Caches, local Time Machine snapshots, and iCloud-offloaded files are reclaimable on demand, so the Storage pane and Finder can legitimately disagree. Neither number is wrong; they measure different things.
Is it safe to delete local Time Machine snapshots?
Yes, provided you have a working external Time Machine backup. Snapshots are a local safety net between backups. Deleting them without an external backup removes your ability to roll back recent changes, so verify the backup first.
Do I need a third-party cleaner app to free up space?
No. Apple’s built-in Storage recommendations, Finder sorting, and a few `tmutil` commands cover nearly everything. Apple doesn’t recommend third-party cleaners, and some have had security and reputation problems. Manual review is slower but far more predictable.
What is the “System Data” or “Other” category on my Mac?
It’s a catch-all for files macOS can’t neatly classify: logs, caches, system files, and app support data. Apple has never fully documented what falls into it, and its contents vary by macOS version. Don’t try to delete it wholesale; address the identifiable categories instead.
Will enabling “Optimize Mac Storage” remove my photos?
No. It keeps smaller versions on the Mac and stores full-resolution originals in iCloud, downloading them when you open a photo. The catch is connectivity: without internet, full-quality versions won’t load until you’re back online.
How much free space should I keep on a Mac?
A practical cushion is 10 to 15 percent of total capacity. macOS needs room for virtual memory, updates, and temporary files. Below roughly 10 percent free, performance can degrade noticeably, and updates may refuse to install.
One more habit worth building: before any large cleanup, take a screenshot of the Storage pane. It gives you a baseline to compare against a week later, so you can tell whether a change actually helped or just shuffled gigabytes around. If the bar barely moves, you likely cleared caches that regenerate rather than files that persist.
Finally, remember that storage pressure and performance problems aren’t always the same thing. A Mac with 40GB free can still feel slow if its RAM is maxed out or its drive is failing. If cleanup doesn’t restore responsiveness, the issue may lie elsewhere. Check Activity Monitor for memory pressure before assuming disk space is the culprit, and consider whether a hardware diagnostic is warranted. Freeing space is a means to an end, not the end itself. (Disk Utility)



