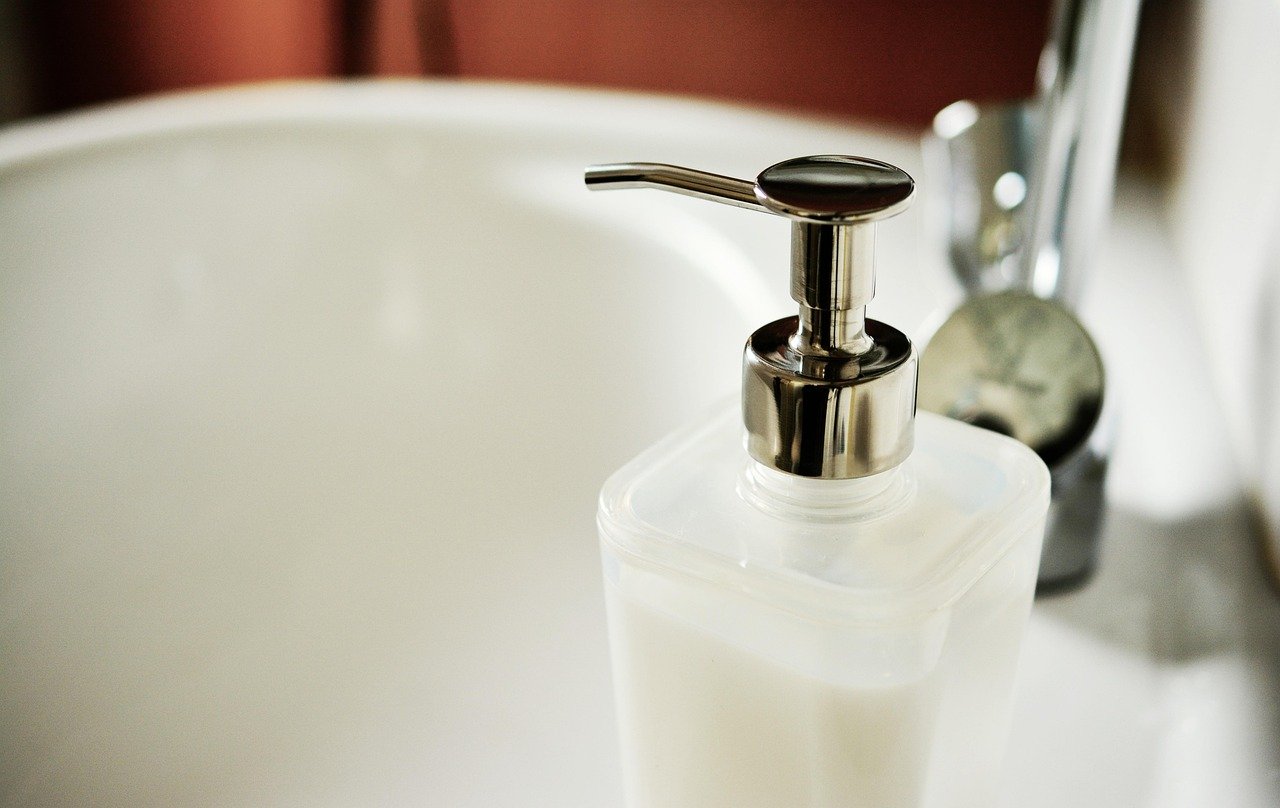
Have you ever pressed a soap dispenser and gotten nothing but a sad little squeak? Or worse, filled one to the brim and watched it leak all over the counter an hour later? Refilling a soap dispenser sounds like the simplest chore in the house, right up until it isn’t. The pump won’t prime, the foam turns watery, or the sensor refuses to cooperate. Most of these headaches come down to a few small mistakes that are easy to avoid once you know what they are. This guide walks through refilling every common type of dispenser, from the basic push-top bottle by the kitchen sink to the touchless unit in a public restroom, and covers the details that actually keep things working: the right soap, the right fill level, and the cleaning steps people skip.
Know Which Dispenser You’re Dealing With First
Before pouring anything, identify the dispenser type. The refill method, the soap that works, and the maintenance routine all change depending on what’s sitting on the counter.
| Dispenser type | How it opens | Soap it needs | Common failure |
|---|---|---|---|
| Manual pump (push-top) | Top screws or lifts off | Standard liquid hand soap | Pump clogs from thick soap |
| Foam pump | Top unscrews | Thin liquid or dedicated foam soap | Weak foam from gel soap |
| Automatic/touchless | Top reservoir or side latch | Thin liquid soap | Dead batteries, dirty sensor |
| Wall-mounted cartridge | Front cover or key lock | Sealed refill cartridge | Empty cartridge, not a refill issue |
| Built-in counter unit | Under-counter reservoir | Liquid soap, often bulk | Air lock in the tube |
A quick look at the underside or back of the unit usually reveals a model number. That number matters more than most people realize, because fill limits and soap compatibility vary from one manufacturer to the next. There is no universal standard here, so the manual that came with the dispenser is the final word whenever the two disagree.
Gather the Right Tools Before You Start
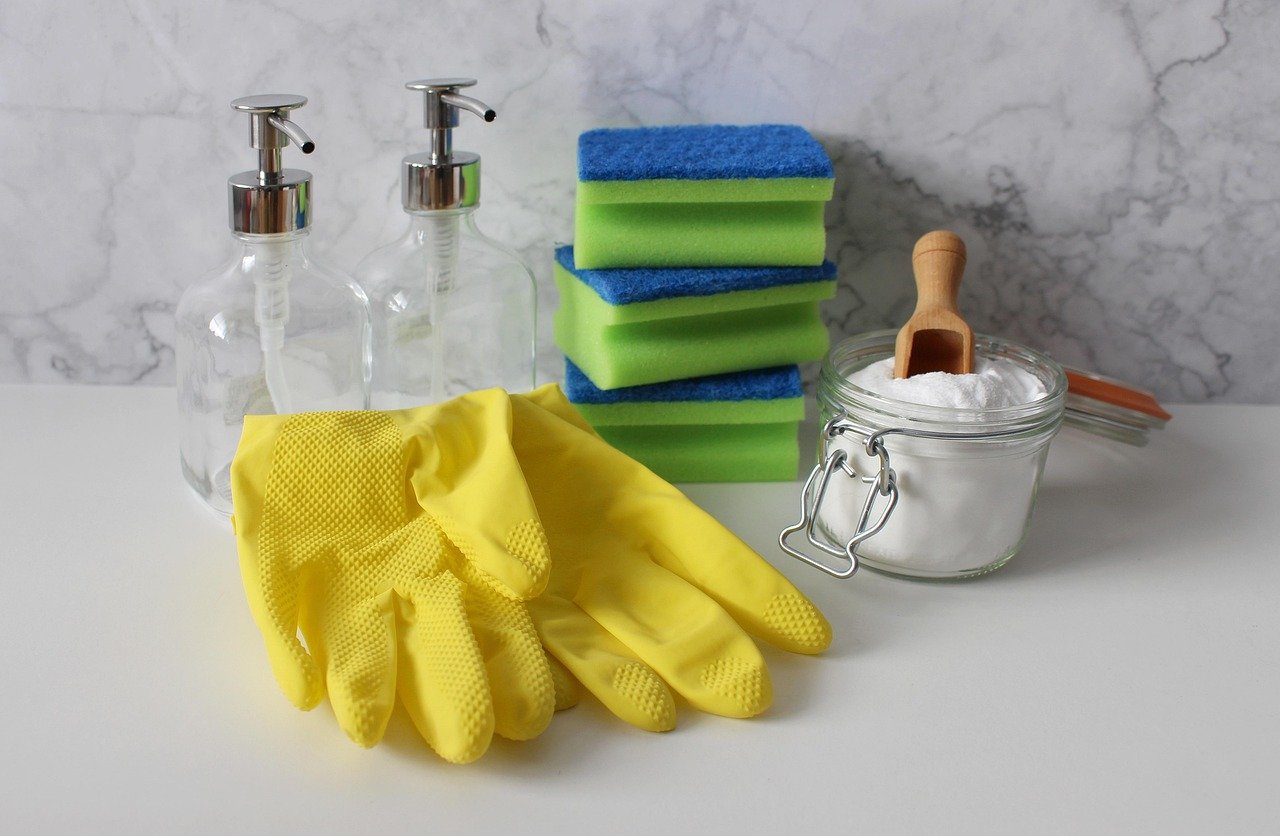
Refilling goes faster and cleaner with a small kit on hand. None of it is expensive, and most of it lives in a kitchen drawer already.
- A clean funnel, ideally one reserved for soap
- A damp cloth or paper towel
- Warm water for rinsing
- A small bowl for catching drips
- Replacement batteries for automatic units
- The soap itself, matched to the dispenser type
The funnel deserves a special mention. Pouring straight from a large soap bottle into a narrow reservoir almost always ends in a spill, and a soap-slicked counter is a slip hazard. A funnel with a wide mouth and a narrow stem handles the job in seconds. If the funnel has been sitting in a drawer, rinse it first. Soap that picks up dust or residue from a dirty funnel is a small but real contamination risk.
Step-by-Step: Refilling a Manual Pump Dispenser
Manual pumps are the most common type and the most forgiving. Here is the sequence that avoids leaks and air locks.
- Remove the pump head. Most screw off counterclockwise. Some lift straight up with a firm pull. If it resists, check for a small locking tab before forcing it.
- Empty and rinse the reservoir. Pour out any old soap, add a splash of warm water, swirl, and dump it. Repeat if the old soap has separated or turned cloudy.
- Dry the inside. A quick wipe with a paper towel removes the water that would otherwise dilute the new soap.
- Fill to the max line, not above it. Most reservoirs have a subtle fill line molded into the plastic. Overfilling is the number one cause of leaks, because the pump mechanism needs air space to work.
- Reattach the pump and prime it. Press the pump several times over the sink until soap flows steadily. The first few presses push air out of the dip tube.
- Wipe the threads and the outside. A dry cloth around the cap prevents sticky residue from building up.
If the pump still won’t draw after ten or so presses, the dip tube may be pushed too far down and resting against the bottom of the reservoir. Pull the pump head up slightly and try again.
Step-by-Step: Refilling a Foam Dispenser
Foam dispensers are where most refill mistakes happen. The foaming pump mixes liquid soap with air, and it needs a thin liquid to do that job. Thick gel soap, the kind that squirts out of a standard bottle, can clog the mesh inside the pump and leave the dispenser producing sad, watery sputter or nothing at all.
- Check the soap type. Use a dedicated foam soap refill or a thin liquid soap. If the label says gel or creamy, it probably belongs in a manual pump instead.
- Rinse the reservoir thoroughly. Old gel residue is the usual culprit behind a foam pump that suddenly stops foaming.
- Fill only partway. Foam dispensers typically need more air space than liquid pumps, so stay well below the top. A common ratio is roughly one part soap to several parts air, which the pump handles automatically as long as the reservoir isn’t overfilled.
- Prime slowly. Press the pump a few times, pause, then press again. Rushing the priming step pushes soap into the air chamber and produces a weak, wet foam.
- Never top off with water. Diluting foam soap with water weakens the preservative system and invites microbial growth. If the soap seems too thick, switch products rather than thinning it.
Step-by-Step: Refilling an Automatic or Touchless Dispenser
Touchless dispensers add electronics to the equation, and that changes the troubleshooting order. When an automatic unit stops dispensing, the soap level is often not the problem at all.
- Check the batteries first. Low batteries are the most common cause of a touchless dispenser that stops responding. Swap them before assuming the reservoir is empty.
- Open the reservoir. Depending on the model, the top lifts off, twists off, or a side latch releases the tank. Some units have a lock switch to prevent tampering.
- Clean the sensor window. A film of soap residue or dust over the infrared sensor makes the unit think no hand is present. A dry cloth usually fixes it.
- Fill to the marked line. Automatic units are less tolerant of overfilling than manual pumps because the internal tubing can trap air or siphon soap into the electronics bay.
- Power cycle the unit. Turn it off and on, or remove and reinsert the batteries, to reset the sensor after a refill.
- Test with a hand, not a paper towel. Some sensors only trigger on the reflective surface of skin, so a towel waving underneath may give a false negative.
Wall-Mounted and Commercial Dispensers
Many wall-mounted units in offices, schools, and restrooms don’t take pourable soap at all. They use sealed refill cartridges that click or slide into place. “Refilling” one of these means swapping the cartridge, not pouring liquid into a tank.
The swap is straightforward: open the front cover, usually with a key or a press tab, lift out the empty cartridge, seat the new one until it clicks, and close the cover. Two practical notes. First, don’t toss the empty cartridge until the new one is seated, because some units won’t latch without the collar in place. Second, wipe the dispenser’s dispensing nozzle while the cover is open. Residue builds up there fast and dries into a crust that blocks the flow.
Built-in counter units with an under-sink reservoir follow the same principles as a manual pump, just with a longer tube. If the pump stops drawing after a refill, the tube has likely developed an air lock. Running the pump steadily for fifteen or twenty presses usually clears it.
The Mistakes That Cause Most Problems
Most dispenser trouble traces back to a handful of habits. Avoiding them saves a lot of frustration.
Overfilling. The reservoir needs headspace. Soap expands slightly with warmth and shifts when the dispenser is moved, and an overfilled tank pushes liquid past the seals.
Mixing soap brands. Pouring a new brand on top of the old one can cause separation, weird textures, and reduced preservative effectiveness. Rinse between brands.
Diluting with water. Adding water to stretch the last of a bottle feels thrifty, but it weakens the preservatives that keep the soap safe to use. Unless the product label explicitly allows dilution, don’t do it.
Skipping the rinse. Residue builds up between refills and eventually clogs the pump. A thirty-second rinse every few refills prevents months of annoyance.
Ignoring the pump itself. Sometimes the reservoir is fine and the pump is the problem. Soaking a clogged pump head in warm water for ten minutes revives most of them. If you’re choosing a pen for labeling refill dates on bulk bottles, the same care applies as when you fill out a money order correctly the first time — precision and a clear hand matter more than speed.
How Often Should You Clean and Refill?
There’s no single schedule that fits every dispenser, but a few general rules keep things running smoothly. Household dispensers in daily use usually need a refill every two to four weeks, depending on traffic. A full rinse and dry should happen every two or three refills, or sooner if the soap looks cloudy or the pump feels sluggish.
High-traffic dispensers in workplaces and public restrooms need more attention. Commercial units are typically checked daily and cleaned weekly. The nozzle deserves a wipe every time the cartridge is changed.
Hygiene matters here for a reason. Handwashing with soap and water for about twenty seconds is the standard public-health recommendation, and a dispenser that’s clogged or empty undermines that habit at exactly the wrong moment. Keeping the unit clean and full is a small chore with a real payoff.
Choosing the Right Soap for Your Dispenser
The soap aisle is crowded, and not every bottle suits every dispenser. A few guidelines cut through the noise.
| Soap format | Best for | Avoid in |
|---|---|---|
| Standard liquid gel | Manual pumps | Foam dispensers |
| Foam soap | Foam pumps | Standard pumps (wastes product) |
| Thin liquid soap | Automatic units | Nothing, generally safe |
| Bar soap | Sinks without dispensers | Any pump dispenser |
| Sanitizer gel | Sanitizer dispensers only | Soap dispensers (different mechanism) |
Sanitizer and soap are not interchangeable. Sanitizer dispensers use a different valve and often a different pump, and pouring sanitizer into a soap dispenser can damage the mechanism. Keep the two products in their own units.
A Few Practical Tips That Save Time
Keep a spare bottle of the right soap under the sink so a refill never waits on a shopping trip. Label bulk soap containers with the date they were opened, since opened soap has a shelf life. If you keep a small notebook for household chores, jot the refill dates there; a good pen makes the job easier, and the same qualities that make the best pens for journaling work well for a chore log. For quick labels on refill bottles, the best gel pens resist smearing when the bottle gets damp. And when you’re restocking supplies and labeling dates on a batch of refills, the same care you’d take to fill out a money order correctly the first time keeps your records legible months later.
One more tip that experienced facility managers swear by: keep a small towel folded near each dispenser. A ten-second wipe after every refill prevents the dried soap crust that eventually blocks nozzles and makes the whole unit look grimy.
Conclusion
Refilling a soap dispenser is a two-minute job once you know the handful of details that matter. Match the soap to the dispenser type, fill only to the line, rinse between refills, and prime the pump patiently. Automatic units get a battery and sensor check before anything else. Wall-mounted cartridges get swapped, not poured into. None of this requires special tools or training, just a little attention to the small things that separate a dispenser that works smoothly for years from one that clogs, leaks, and gets replaced every few months. The next time the pump gives that dry squeak, the fix is already in your hands.
How do you refill a soap dispenser without a funnel?
Pour slowly from a bottle with a narrow spout, or use a small measuring cup with a lip. Tilting the reservoir slightly and pouring against the inside wall reduces splashing. If the opening is very narrow, a clean squeeze bottle with a pointed tip works as a makeshift funnel and gives better control than a wide bottle mouth.
Why won’t my soap dispenser pump after refilling?
Air trapped in the dip tube is the usual cause. Press the pump steadily a dozen or more times over the sink to draw soap up. If nothing happens, check that the dip tube isn’t pressed flat against the bottom of the reservoir, and confirm the pump head is screwed on fully. A clogged pump can also be soaked in warm water to clear it.
Can I put any liquid soap in a foam dispenser?
No. Foam dispensers need thin liquid or dedicated foam soap. Thick gel soap clogs the foaming mesh and produces weak or no foam. If a foam dispenser suddenly stops foaming properly, rinse the reservoir and pump thoroughly to remove gel residue before refilling with the correct soap.
How full should you fill a soap dispenser?
Fill only to the marked line, and leave headspace above the soap. Most reservoirs are designed to work with some air inside. Overfilling causes leaks around the cap and can stop the pump from priming properly. When no line is visible, fill to about three-quarters of the reservoir’s height.
Why is my automatic soap dispenser not working after a refill?
Check the batteries first, since low power is the most common cause. Then clean the sensor window with a dry cloth, because soap film blocks the infrared signal. Power cycle the unit by switching it off and on. If it still won’t dispense, confirm the reservoir is seated correctly and not overfilled.
How often should a soap dispenser be cleaned?
Rinse the reservoir every two or three refills, or sooner if the soap looks cloudy or the pump feels stiff. Wipe the nozzle each time you refill. High-traffic dispensers in workplaces should be checked daily and given a full clean weekly to prevent residue buildup and clogging.