Quick Answer: What are the best gaming CPU coolers for beginners?
The best gaming CPU cooler for a beginner is usually a mid-size tower air cooler, because it is cheap, quiet, has no pump to fail, and installs with a simple bracket. Liquid all-in-one coolers are a fine alternative when a case has limited space above the motherboard, when the build needs a cleaner look, or when a high-power CPU runs hot under load. Both types work well, and the right pick depends on the CPU’s rated power, the socket, the case’s cooler height limit, RAM clearance, noise tolerance, and budget. Checking those six points before buying prevents most beginner mistakes.
Beginners often assume the most expensive cooler wins. In practice, a well-matched budget air cooler keeps a mid-range gaming chip cool and quiet for years. The trick is matching the cooler to the chip and the case, not chasing peak numbers on a spec sheet.
So what actually matters when a first-time builder stands in front of a wall of heatsinks and radiator kits? A handful of specs, a tape measure, and a little honesty about how the PC will be used. This guide walks through the decision the way an experienced builder would explain it at a kitchen table, with the mistakes spelled out before they happen.
Start With the CPU, Not the Cooler
The cooler exists to serve the processor, so the processor comes first. Every CPU has a rated thermal design power (TDP), a rough number for how much heat it produces. A cooler rated at or above that number has headroom. A cooler rated well below it will run loud and hot.
There is a catch beginners trip over: TDP figures are not perfectly comparable between brands, and a CPU’s real power draw under gaming load can differ from its label. The safe move is to buy a cooler with a little more capacity than the CPU’s rating, not exactly the same. Headroom costs a few dollars and buys quiet fans.
Stock coolers deserve a fair hearing too. Many mid-range CPUs ship with a bundled cooler that handles gaming at stock settings without drama. A separate cooler matters most for high-TDP chips, for small cases with poor airflow, and for anyone who plans to overclock or run long rendering sessions.
If the plan is a full first-time build, it helps to see the cooler as one part of a bigger puzzle. A step-by-step walkthrough of the whole process, like this guide to building a gaming PC for beginners step by step, keeps cooler choice in context instead of treating it as an isolated purchase.
Air Coolers: The Beginner Default
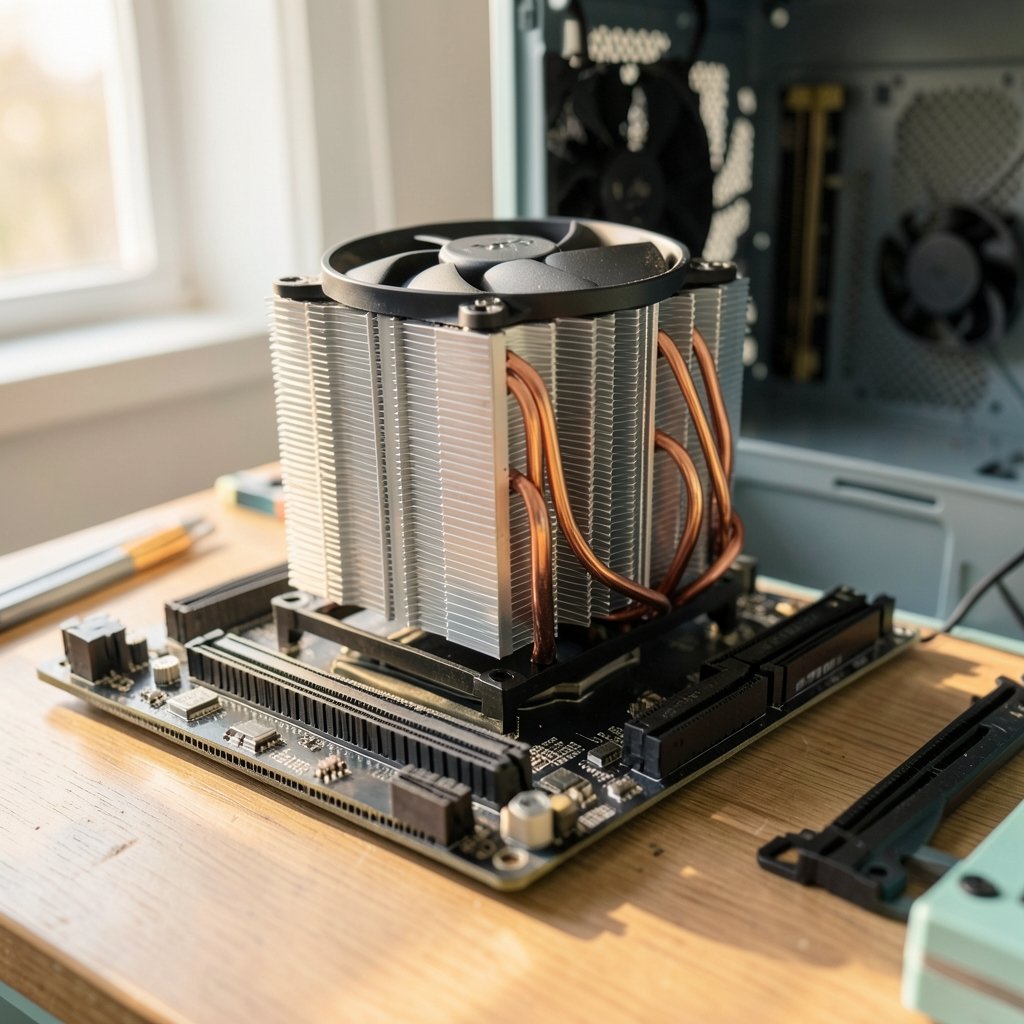
Air coolers are a metal heatsink plus one or more fans. Heat moves from the CPU into the base, up through heat pipes, and out through fins while the fan pushes air through. No pump, no fluid, no tubes.
Why they suit beginners so well comes down to four things. They cost less for the same cooling performance. There is nothing to leak or wear out beyond a fan, which is cheap to replace. Installation is a bracket, some paste, and a screwdriver. And a good tower cooler runs quietly because a large heatsink does much of the work before the fan has to spin fast.
The main limits are physical. Tower coolers are tall, often 150 to 160 mm, and every case lists a maximum CPU cooler height. Buy a cooler taller than that number and the side panel will not close. Wide coolers can also hang over the RAM slots, so tall memory with heat spreaders may not fit underneath. Both problems are solved with a spec sheet and a ruler before ordering, not after.
Low-profile air coolers exist for slim cases. They trade cooling capacity for height, which is fine for a modest CPU and a bad idea for a hot one.
Liquid AIO Coolers: When They Make Sense
An all-in-one (AIO) liquid cooler moves heat through a pump, along tubes, and into a radiator where fans blow it away. Common radiator sizes are 120 mm, 240 mm, 280 mm, and 360 mm. Bigger radiators generally handle more heat, but they need matching mounting points in the case.
AIOs earn their place in three situations. First, when a case is too short for a tall air cooler but has room for a radiator at the top or front. Second, when the builder wants the RAM slots and the area around the socket clear, which helps with tall memory and cable routing. Third, when a very hot CPU needs more cooling than a mid-size air tower can give.
The trade-offs are real. There is a pump that can eventually fail or get noisy, and it is the one part a beginner cannot easily swap. Installation involves more steps: radiator mounting, fan orientation, pump header, and a careful check that tubes clear the graphics card. Prices sit higher for the same cooling performance.
One practical tip that saves headaches: mount the radiator so the pump is not the highest point in the loop. Air collects at high points, and a pump sucking air runs loud and dies young. Most beginner-friendly cases make this easy if the builder reads the manual rather than guessing.
Comparing Air and Liquid at a Glance
| Factor | Tower air cooler | AIO liquid cooler |
|---|---|---|
| Typical cost | Lower | Higher |
| Installation difficulty | Simple bracket and paste | Radiator, fans, pump header, tube routing |
| Failure points | Fan only | Pump plus fans |
| Noise character | Fan hum, often low | Pump whine possible plus fan noise |
| Space around RAM and socket | Can overhang memory | Usually clear |
| Case fit | Limited by height in mm | Limited by radiator mounting points |
| Best for | Mid-range CPUs, first builds | Hot CPUs, tight or showcase builds |
Neither column wins outright. The table is a fit check, not a ranking.
The Specs That Actually Decide the Purchase
Four numbers do most of the work, and all four live on the product page.
Socket compatibility. The cooler’s mounting kit must list the CPU socket, such as AMD AM5 or Intel LGA1700. Most current coolers include brackets for both major brands, but older stock or budget models sometimes do not. Check the list, not the photos.
TDP rating. Match it to the CPU with a margin. A cooler rated comfortably above the chip’s rating runs quieter at the same temperatures.
Height and clearance. Case maximum cooler height, RAM height, and graphics card length all interact. Measure once and the build goes smoothly.
Noise and airflow. Fans are rated in dB(A) for noise and CFM for airflow. Compare those figures at similar fan speeds rather than peak specs, because a fan that moves a lot of air at full blast may sound like a hair dryer.
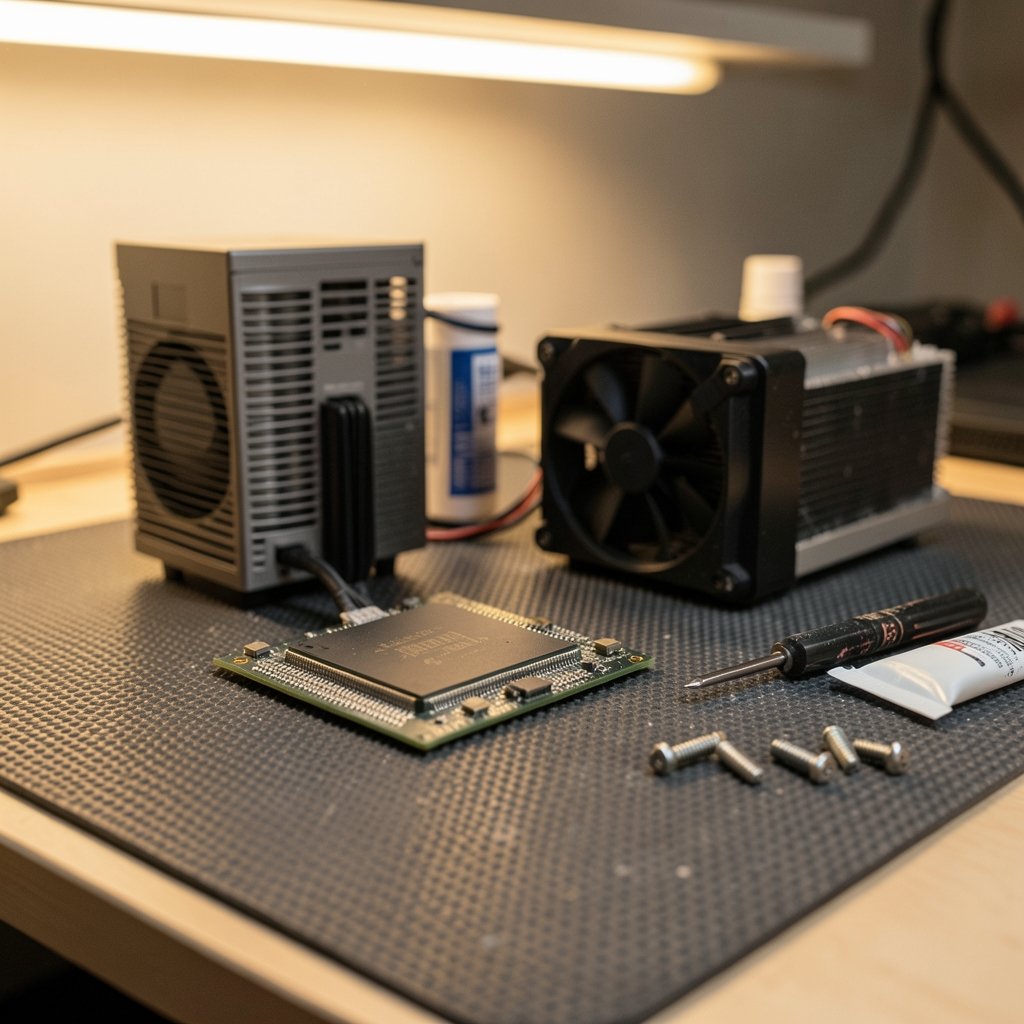
One more part deserves attention because it is where first builds go wrong: the mounting itself. Correct paste application and even screw pressure change results as much as cooler class does. A premium cooler mounted loosely performs like a budget one. Guides on common CPU cooler problems and practical fixes cover the symptoms, from high idle temps to a fan that never spins up.
Mistakes Beginners Make With Coolers
The most common error is buying a cooler taller than the case allows. It is an easy mistake because the case spec is buried in a spec sheet and the cooler’s height is in the title. The second most common is forgetting RAM clearance on a wide tower cooler.
Another frequent slip is reusing old thermal paste or skipping it entirely after a reinstall. Paste fills microscopic gaps between metal surfaces. Without it, temperatures climb fast. Most coolers ship with pre-applied paste or a small tube, which is enough for one or two mounts.
People also overestimate how much cooling a gaming PC needs. A mid-range CPU in a case with decent airflow does not need a 360 mm radiator. Spending that money on a better graphics card or a faster SSD changes the gaming experience far more.
Finally, builders sometimes ignore the fan curve. A cooler that sounds loud may simply be running an aggressive default profile. Adjusting the curve in the motherboard software often turns a noisy build into a quiet one in minutes. When a cooler does misbehave, knowing what actually fails on a CPU cooler and how to fix it fast saves a panic and a needless return.
Matching the Cooler to the Rest of the Build
Cooling is one slice of a budget, and the slice should stay small on a first build. A sensible split puts most money into the graphics card, then the CPU, then memory and storage, with the cooler taking a modest share unless the CPU runs hot.
The case matters as much as the cooler. A case with mesh front intake and two included fans gives any cooler a fighting chance. A sealed glass box with one exhaust fan will make even a good cooler look bad. Before buying either, it pays to read a practical take on whether a gaming monitor is worth buying for beginners in everyday use, because display and cooling budgets compete for the same money, and the display is what the player actually looks at.
Upgrades deserve a thought too. Swapping a cooler later means removing the old one, cleaning paste, and remounting, which is manageable but fiddly. Doing it safely, without disturbing drives or losing work, is covered in this guide on how to update a CPU cooler safely without losing data. Choosing a cooler with a little headroom at the start avoids that job entirely.
What to Buy in Practice
For a first gaming build with a mid-range CPU, a single-tower air cooler with a 120 mm fan and a rating above the chip’s TDP is the sensible pick. It installs in twenty minutes, runs quietly, and costs little. A dual-tower air cooler steps up for hotter chips, as long as the case is tall enough.
For a small case, a showcase build, or a high-power CPU, a 240 mm or 280 mm AIO is the practical choice. Check radiator mounting points, tube length, and pump orientation before ordering. A 120 mm AIO rarely beats a good air tower and is best avoided unless space forces the issue.
Whatever the pick, verify three things on the product page: the socket is listed, the height or radiator size fits the case, and the TDP rating clears the CPU. That checklist catches nearly every beginner mistake before the box arrives.
Conclusion
The best gaming CPU cooler for a beginner is the one that fits the CPU, the case, and the budget without drama. For most first builds, that means a mid-size tower air cooler with a bit of TDP headroom. It is cheap, quiet, simple to mount, and has almost nothing that can fail. Liquid AIOs earn their place when space, clearance, or a hot CPU makes them the better fit, and they reward careful installation.
The decision comes down to four numbers and one measurement: socket, TDP rating, noise, airflow, and the case’s cooler height. Get those right and the cooler disappears into the background, which is exactly what a good one should do. Spend the saved money on the parts that shape the gaming experience, keep the case airflow sensible, and the build will stay cool and quiet for years.
FAQ
Do I need a liquid cooler for gaming?
No. Most mid-range gaming CPUs run comfortably on a good air cooler, and many ship with a stock cooler that handles stock settings. Liquid cooling helps when the CPU runs hot, the case is short on height, or the builder wants clear space around the RAM and socket. It is a fit choice, not a requirement.
How much should a beginner spend on a CPU cooler?
Keep the cooler a modest share of the build budget unless the CPU runs hot. A budget air cooler covers mid-range chips, and a mid-priced AIO covers hotter ones. Spending more than the CPU needs takes money from the graphics card, which shapes gaming performance far more.
Can I use the stock cooler that comes with my CPU?
Often yes, at stock settings and in a case with decent airflow. Stock coolers get loud under long loads and leave little headroom for overclocking. If temperatures stay reasonable and the noise does not bother the user, there is no urgent reason to replace one.
How do I know if a cooler fits my case?
Check the case’s maximum CPU cooler height for air towers, and its radiator mounting points for AIOs. Then check RAM height for wide coolers and graphics card length for front-mounted radiators. All three figures appear on the case and cooler spec pages, and a tape measure settles any doubt.
Is thermal paste already applied on new coolers?
Most new coolers ship with pre-applied paste or a small tube in the box, which is enough for one or two mounts. Reusing old paste after removing a cooler is a mistake, because the seal breaks. Clean the surfaces and apply fresh paste whenever the cooler comes off.
Why is my new cooler louder than expected?
The default fan curve is the usual culprit. Motherboard software often runs fans faster than needed. Adjusting the curve so fans stay slow at low temperatures quiets most builds. If noise persists, check for a fan rubbing a cable, a loose mounting screw, or a pump mounted at the highest point of an AIO loop.