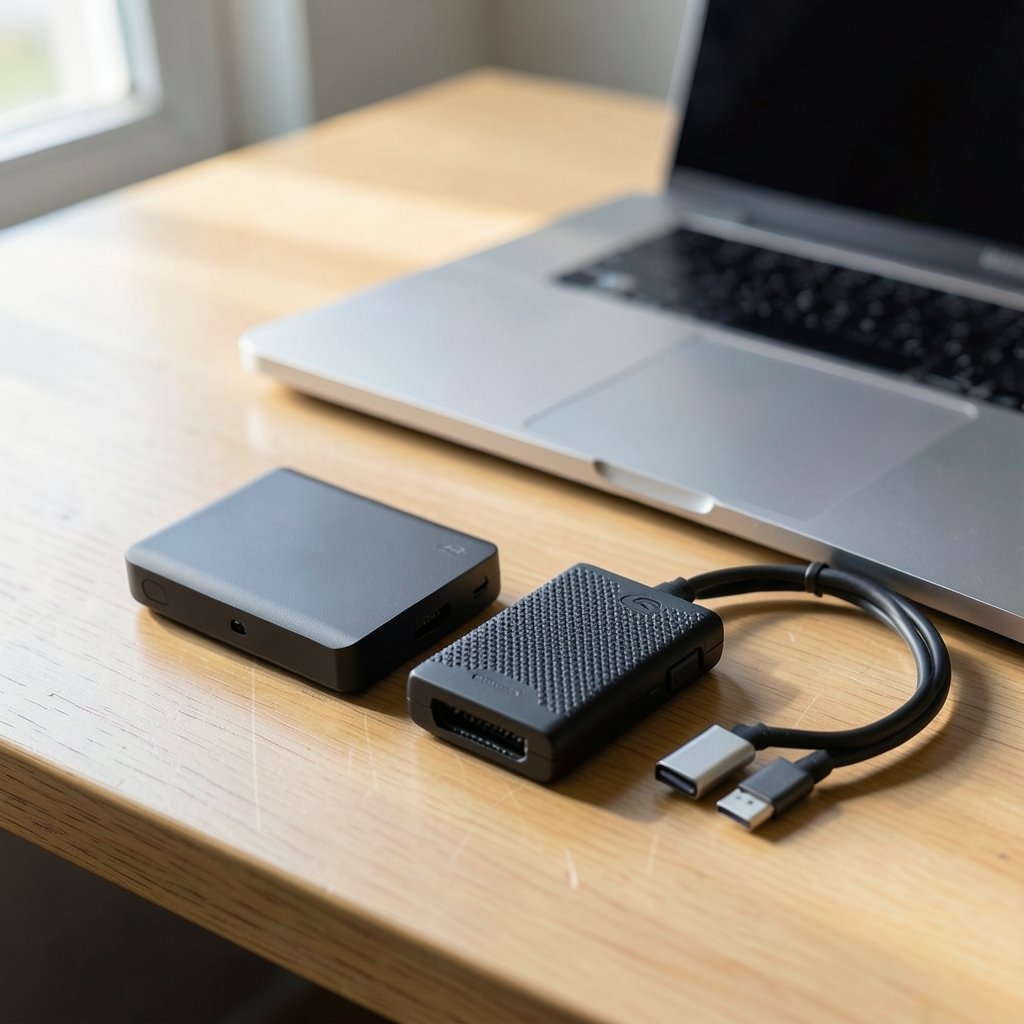
Here’s a number that surprises most people: a drive formatted as NTFS can store a 50 GB video file on a Windows PC, yet that same file simply cannot be copied onto it from a Mac. The drive isn’t broken. The file system is doing exactly what it was designed to do. Every year, millions of users plug a new external drive into a Mac, drag a few files across, then discover the drive is read-only, invisible, or refuses anything over 4 GB. The fix is almost always the same: pick the right file system before you start moving data. This guide walks through exactly how to format an external drive for Mac and Windows, which format to choose, and the mistakes that cost people their files.
Why the File System Matters More Than the Drive
An external drive is just a container. The file system is the rulebook written on top of it, and it decides which operating systems can read the drive, which can write to it, and how large a single file can be. Three rulebooks dominate the consumer market, and each one has a different personality.
| Format | Windows | macOS | Max single file | Best for |
|---|---|---|---|---|
| exFAT | Read/write | Read/write | No practical limit | Drives shared between both systems |
| FAT32 | Read/write | Read/write | 4 GB | Small drives, older devices, cameras |
| NTFS | Read/write | Read-only | No practical limit | Windows-only drives |
| APFS | Not readable | Read/write | No practical limit | Mac-only drives, SSDs |
| Mac OS Extended (HFS+) | Not readable | Read/write | No practical limit | Older Macs, Time Machine |
For most people asking how to format an external drive for Mac and Windows, the answer is exFAT. It is the only mainstream format that both operating systems read and write natively, and it has no 4 GB ceiling. Microsoft introduced exFAT in the mid-2000s as a successor to FAT32 specifically to handle large files and large volumes, and it has been the default cross-platform recommendation ever since. The exFAT file system specification published by Microsoft documents the format in detail if you want the technical background. (ExFAT)
That said, exFAT is not automatically the right answer for every drive. A drive that will only ever touch a Windows machine should be NTFS. A drive used exclusively for Mac backups should be APFS. The format should follow the workflow, not the other way around.
Back Up First, Because Formatting Has No Undo

This is the part people skip, and it is the part that hurts. Formatting a volume erases the file table. There is no recycle bin, no undo shortcut, and no recovery dialog. If the drive already holds photos, project files, or an old laptop backup, copy everything somewhere else before you touch a format button.
Two practical approaches work well. The first is to copy the contents onto your computer’s internal drive, format the external drive, then copy everything back. The second, safer option for large volumes is to clone the drive to a second external disk. If you are moving to a faster SSD anyway, a guide on how to clone a hard drive to an SSD covers the process step by step, and it doubles as a backup strategy. For straightforward bulk copies, a reliable external hard drive for backup removes most of the risk from this stage.
One more habit worth building: check the drive’s contents before formatting, not after. A drive that looks empty in Finder may hold a hidden partition, a Time Machine snapshot, or a Windows recovery folder. Disk Utility and Disk Management both show the full partition layout, so look before you erase.
How to Format an External Drive on a Mac
macOS handles this through Disk Utility, which lives in Applications > Utilities. The process is short, but two dropdown menus trip people up constantly.
- Plug in the drive and open Disk Utility.
- Click View > Show All Devices so the physical drive itself appears, along with its volumes.
- Select the top-level drive entry in the sidebar, not the indented volume beneath it.
- Click Erase.
- Enter a name for the drive.
- Choose the Format: exFAT for cross-platform use, APFS for Mac-only, Mac OS Extended for older Macs.
- Choose the Scheme: GUID Partition Map for modern Windows and Mac compatibility, MBR only for very old hardware.
- Click Erase and wait for the confirmation.
Apple’s Disk Utility documentation explains each format option in plain language, and it is worth a glance if you are unsure which one you need. The single most common Mac mistake is selecting the volume instead of the physical device. When you do that, the Scheme menu disappears and the erase only affects one partition, which leaves the drive in a confusing half-formatted state.
The second common mistake is choosing APFS out of habit because it is the modern Apple default. APFS is excellent for SSDs and internal storage, but a Windows machine will not see an APFS drive at all. If the drive will ever travel between systems, exFAT is the safer pick.
How to Format an External Drive on Windows
Windows offers two routes: Disk Management for a visual interface, and the command line for people who prefer precision.
Using Disk Management
- Right-click the Start button and choose Disk Management.
- Find the external drive in the lower pane. Double-check the capacity so you do not wipe the wrong disk.
- Right-click the drive’s partition and choose Delete Volume if a partition already exists.
- Right-click the unallocated space and choose New Simple Volume.
- Follow the wizard, choose exFAT as the file system, and assign a drive letter.
- Click Finish and wait for the format to complete.
Using the Command Line
Open Command Prompt as administrator, type `diskpart`, then `list disk` to identify the correct disk number. Select it with `select disk X`, run `clean`, then `create partition primary`, and finish with `format fs=exfat quick`. The `quick` flag skips the full surface scan, which is fine for a drive you trust. Drop it if you suspect bad sectors.
The classic Windows mistake is formatting a drive as FAT32 because it appears in the dropdown. FAT32 refuses any file over 4 GB, which means a single modern video export or disk image will fail to copy with a vague error message. Windows’ built-in formatter also caps FAT32 partitions at 32 GB, a tool limitation rather than a file system one. Microsoft’s guidance on formatting disks covers the built-in options, though the menus shift slightly between Windows versions.
What About NTFS on a Mac?
NTFS is the native Windows file system, and macOS reads it without complaint. Writing to it is another matter. Apple has never shipped native NTFS write support, so a Mac mounts NTFS volumes as read-only by default. Third-party drivers exist and work reasonably well, but they add cost and complexity, and they occasionally cause kernel panics after major macOS updates.
The practical takeaway: if a drive needs to be written to from both systems, do not format it as NTFS. Use exFAT instead. Reserve NTFS for drives that stay in the Windows ecosystem, such as a system image backup or a Steam library.
Choosing the Right Format in Under a Minute
Most decisions collapse into a short set of rules. A drive shared between Mac and Windows should be exFAT. A drive used only on Windows should be NTFS. A drive used only on a Mac, especially an SSD, should be APFS. A drive headed for a camera, car stereo, or older TV should probably be FAT32, because those devices often cannot read anything newer.
There is a second layer to this: cluster size. exFAT lets you choose an allocation unit size, and the default works fine for general use. Very large drives benefit from larger clusters, while small drives with many tiny files perform better with smaller ones. Unless you have a specific reason to change it, leave the default alone.
Hardware matters too. A spinning drive and a solid-state drive behave differently after formatting, and an aging USB enclosure can bottleneck even a fast disk. If you are buying new hardware for this job, a current-generation external SSD will make large transfers far less painful than a mechanical drive, particularly when you are shuffling hundreds of gigabytes during the backup-and-restore dance.
Common Mistakes That Cost People Data
A few errors show up again and again in support forums, and each one is avoidable.
Formatting the wrong disk. Disk numbers and drive letters shift. Always confirm by capacity and label before clicking anything destructive.
Skipping the backup. Formatting is instant and irreversible. There is no undo shortcut for a wiped partition, which is why learning the undo shortcut key for Windows and Mac is useful for documents but useless here.
Using FAT32 for video work. A 4 GB ceiling kills most modern camera footage and disk images. exFAT exists precisely to solve this.
Assuming a drive is empty. Hidden partitions, EFI system partitions, and recovery volumes all take up space and can confuse a format operation. Show all devices before erasing.
Unplugging mid-format. Pulling the cable during a format can leave the partition table corrupted. Wait for the confirmation dialog.
Ignoring the scheme. On a Mac, choosing MBR instead of GUID Partition Map can make a drive behave oddly on modern Windows machines. GUID is the safer default.
If a drive starts throwing read errors or disappearing from Finder, the problem may be the cable, the port, or the enclosure rather than the format. Before reformatting, try a different cable and a different port. If the drive still misbehaves, run a health check. On Windows, a stubborn drive that keeps corrupting files may also be worth scanning with one of the free virus removal tools for Windows, since malware occasionally targets removable media.
Speeding Up the Workflow
Once the drive is formatted correctly, small habits make cross-platform life easier. Keep folder names short and avoid characters that Windows dislikes, such as colons and question marks. Eject the drive properly every time rather than yanking the cable. And keep a short note of which drive uses which format, because after a few months it becomes genuinely hard to remember.
Keyboard habits help too. Navigating Finder and Explorer with shortcuts instead of the mouse saves real time when you are moving thousands of files, and a solid set of Windows keyboard shortcuts everyone should know covers the essentials. On the Mac side, knowing the difference between undo and redo matters when you are renaming batches of folders, so keep the redo shortcut key for Windows and Mac handy as well.
Conclusion
Formatting an external drive for Mac and Windows comes down to one decision made before anything else: which file system the drive will carry. exFAT is the default answer for shared drives because both operating systems read and write it natively and it handles files of any realistic size. NTFS belongs on Windows-only drives, APFS on Mac-only SSDs, and FAT32 only where older hardware demands it. Back up first, select the physical device rather than a volume, choose the GUID scheme on a Mac, and confirm the disk by capacity before clicking erase. Do those things in that order and the drive will work on both systems for years without a second thought.
Frequently Asked Questions
What is the best format for an external drive used on both Mac and Windows?
exFAT is the best all-round choice. Both macOS and Windows read and write it natively, it supports files far larger than 4 GB, and it has no practical partition size limit for consumer drives. The only real trade-off is that some older devices, such as certain cameras and car stereos, may not recognize it.
Can a Mac write to an NTFS drive?
Not natively. macOS mounts NTFS volumes as read-only, so files can be copied off the drive but not onto it. Third-party drivers add write support, but they cost money and can break after macOS updates. If a drive needs to be written from both systems, format it as exFAT instead.
Will formatting an external drive erase everything on it?
Yes. Formatting rebuilds the file system and removes the file table, which makes existing data effectively unreachable. There is no built-in undo. Copy the contents to another drive or to your computer first, then format, then copy everything back.
Why can’t I copy a large file to my external drive?
The drive is almost certainly formatted as FAT32, which caps individual files at 4 GB. Reformat the drive as exFAT to remove that limit. Note that reformatting erases the drive, so move the existing files elsewhere first.
Should I choose GUID Partition Map or MBR on a Mac?
GUID Partition Map is the right choice for any modern drive. It works with current Windows and Mac systems and supports very large volumes. MBR is only needed for genuinely old hardware, and choosing it by accident can cause compatibility quirks on newer machines.
How long does it take to format an external drive?
A quick format on a typical drive finishes in seconds. A full format, which scans for bad sectors, can take anywhere from several minutes to a few hours depending on capacity and drive speed. Quick format is fine for drives you trust; use a full format for older or suspect hardware.