

Is the far end of your LED strip glowing noticeably weaker than the start? You are not imagining it, and your strip is not broken. That fading gradient is voltage drop, and it is one of the most common and most misunderstood problems in LED strip installations. The good news is that it is entirely predictable and almost always fixable without buying a new strip.
This guide explains what causes voltage drop, how to diagnose it in minutes, which fixes actually work in practice, and the mistakes that leave people frustrated after a weekend of rewiring.
What Voltage Drop Actually Is
Every LED strip carries current through thin copper traces printed on a flexible circuit board. Copper is a good conductor, but it is not a perfect one. It has resistance, and resistance turns voltage into heat along the length of the strip. The LEDs nearest the power supply get the full voltage. The LEDs at the far end get whatever is left after the traces have consumed their share. (DC Circuit and Voltage Drop)
The relationship is governed by Ohm’s law, which is one of the most fundamental principles in electronics and is documented in detail on Wikipedia’s Ohm’s law page. The practical version for LED strips is simple: longer runs, higher current, and thinner copper all make voltage drop worse.
Two consequences follow. First, brightness falls off toward the end of the run. Second, and more seriously, the color can shift. Warm white strips tend to drift warmer as voltage sags, and RGB strips can show visible hue differences between the near and far ends. On a single short strip you may never notice. On a 10-meter run of high-density strip, it becomes obvious. (How to fix antimalware service executable high cpu usage)
The 12V vs 24V Difference Nobody Explains Properly
Here is the single most useful fact in this entire article. For the same wattage, a 24V strip draws half the current of a 12V strip. Half the current means roughly a quarter of the resistive loss for a given trace thickness, because power loss scales with the square of current.
| Factor | 12V strip | 24V strip |
|---|---|---|
| Current for same wattage | Higher | Half of 12V |
| Typical max clean run | 5 m or less | 10 m or more |
| Voltage drop over 10 m | Often severe | Usually modest |
| Power injection needed | Frequently | Less often |
| Cut marks per segment | Shorter | Longer |
This is why professional installers reach for 24V strip on any run longer than about five meters. It is not a marketing gimmick. It is basic physics working in your favor.
How to Diagnose Voltage Drop in Minutes
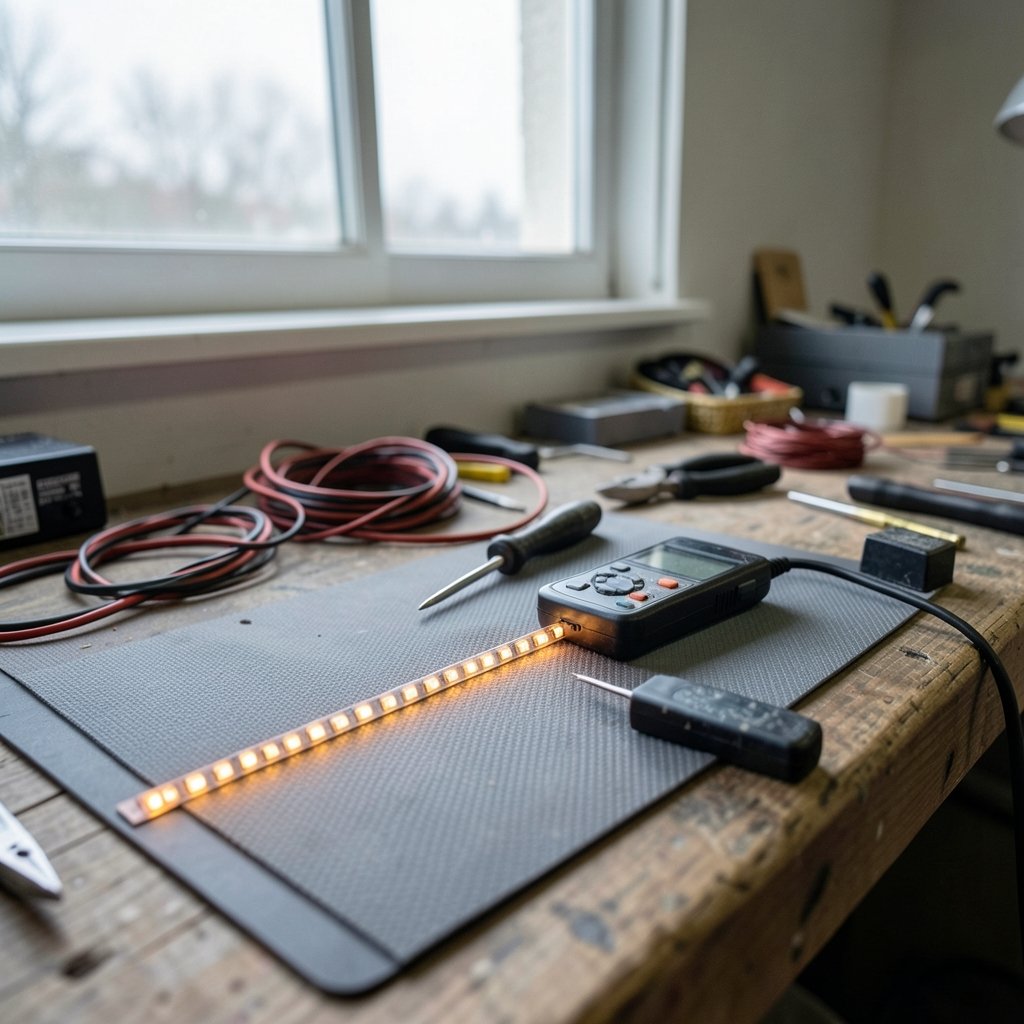
Before you buy anything, confirm the diagnosis. A multimeter removes all guesswork.
- Power the strip and set it to a steady white or full brightness.
- Measure DC voltage directly across the input terminals of the strip, at the power supply end.
- Walk to the far end and measure voltage across the last pair of copper pads.
- Compare the two readings.
A drop of a few tenths of a volt is normal and harmless. A drop of one volt or more on a 12V system means you are losing roughly eight percent or more of your brightness at the tail end, and the color will likely be visibly off. On 24V systems, the same absolute drop matters half as much because it is a smaller fraction of the total.
A second, no-tools test works surprisingly well: look at the strip from a low angle in a dim room. If you can see a clear brightness gradient, you have a problem worth fixing. If the strip looks uniform, leave it alone.
The Fixes That Actually Work
1. Inject Power at Multiple Points
Power injection is the gold standard fix. Instead of feeding the strip from one end, you run additional power leads to the middle or far end. The current no longer has to travel the full length through thin traces, so the drop is cut dramatically.
In practice, a 10-meter 12V run split into two five-meter halves, each fed from its own pair of wires, behaves almost like two independent short strips. This is the fix most installers should try first because it preserves the strip you already own.
Common mistakes with power injection:
- Using wire that is too thin for the injection run. The injection wire carries real current, so undersized wire reintroduces the exact problem you are trying to solve.
- Injecting at the very end only. Mid-run injection is usually more effective than end injection because it halves the worst-case distance.
- Forgetting to connect both positive and negative. A single-wire injection does almost nothing.
2. Shorten the Runs
If your strip has cut marks, use them. Splitting a long run into shorter, separately fed segments is the simplest fix of all. Many manufacturers print a recommended maximum run length on the packaging, and it is usually conservative but worth respecting. If your run exceeds it, split it.
3. Switch to 24V Strip
If you are still planning the project rather than fixing a finished one, choose 24V. The cost difference is small, and the reduction in current solves most drop problems before they start. This is especially relevant for high-density strips, which pack more LEDs per meter and therefore draw more current per meter than standard strips.
4. Use Thicker Copper and Higher-Quality Strip
Not all strip is created equal. Two strips rated at the same wattage can have very different copper thickness on their traces. Cheaper strip often skimps here, which is why budget strips tend to show drop sooner. When comparing products, look for stated copper weight or trace width rather than trusting the wattage number alone.
5. Raise the Supply Voltage Slightly (With Caution)
Some installers compensate by nudging the power supply output up a fraction of a volt, within the strip’s rated tolerance. This can flatten the gradient, but it pushes the near end above nominal, which shortens LED life. Treat this as a last resort, not a first move, and never exceed the strip’s rated maximum.
6. Use a Constant-Current Driver Where Appropriate
Some strips, particularly certain professional and architectural products, are designed for constant-current drivers rather than constant-voltage supplies. These behave differently and are largely immune to the classic drop pattern. Check the product documentation before assuming your strip is constant-voltage, because mixing the two will damage the strip.
A Quick Comparison of Fixes
| Fix | Effort | Cost | Best For |
|---|---|---|---|
| Power injection | Medium | Low | Existing long runs |
| Splitting into shorter runs | Low | Low | Strips with cut marks |
| Switching to 24V | Low (at purchase) | Small premium | New projects |
| Buying higher-grade strip | Low | Medium | New projects, tight spaces |
| Raising supply voltage | Low | None | Last resort only |
Mistakes That Make It Worse
A few habits reliably turn a small drop into a big one.
Using bell wire or thin hookup wire for the feed. The wire between the power supply and the strip carries the full current of the entire run. If it is undersized, it adds its own drop on top of the strip’s. Use heavier gauge for the feed than you think you need.
Daisy-chaining strips end to end. Connecting strip A’s end to strip B’s start stacks the resistance of both. Feed each segment separately from a common bus instead.
Ignoring connectors. Cheap push connectors and clip-on joints add resistance. Solder and heat-shrink any joint that carries meaningful current.
Blaming the power supply too early. A sagging supply can mimic voltage drop, but a true drop shows a smooth gradient along the strip, while a weak supply tends to dim the whole run evenly. The multimeter test above tells you which you have. If your problem is a device or page that simply will not cooperate, the troubleshooting approach in this guide on how to fix a website that will not load follows a similar logic: isolate the fault before replacing parts.
Overlooking the controller. Some controllers and dimmers introduce their own resistance. Test with the strip connected directly to the supply to rule this out.
Real-World Advice From the Bench
The pattern that shows up again and again is people buying a 10-meter 12V strip, mounting it in one continuous run, and then wondering why the last two meters look dull. The fix is almost always one of two things: cut it in half and feed both halves, or inject power at the midpoint.
A second pattern is buying the cheapest strip available and expecting premium performance. Copper costs money. When a strip is dramatically cheaper than its competitors at the same claimed wattage, the savings usually come out of the copper. That is not a moral judgment, just a purchasing reality worth knowing before you mount anything permanently.
Finally, test before you commit. Lay the strip out on the floor, power it up, and look at it in a dim room before you peel the adhesive backing. Five minutes of testing saves an afternoon of rework. The same principle applies to software troubleshooting, where a quick isolation test beats guessing; if you have ever fought a stubborn device, the method in this guide on fixing a Decky loader that is not working on a Steam Deck will feel familiar.
Conclusion
Voltage drop is not a defect. It is physics, and it is completely predictable. The strip that fades toward the end is simply telling you that too much current is traveling too far through too little copper.
The fix depends on where you are in the project. If the strip is already mounted, power injection at the midpoint or splitting the run into shorter, separately fed segments will solve the vast majority of cases for very little money. If you are still planning, choose 24V strip, keep runs within the manufacturer’s recommended length, and do not skimp on the copper or the feed wire.
Diagnose with a multimeter before you buy anything. Measure the voltage at both ends, compare, and let the numbers tell you whether you have a real problem or just a strip that is working exactly as designed. Once you know the cause, the cure is usually straightforward, inexpensive, and permanent.
Frequently Asked Questions
How much voltage drop is acceptable on an LED strip?
A few tenths of a volt is normal and visually undetectable. Once you lose around one volt on a 12V system, most people can see a brightness gradient and a slight color shift. On 24V systems the same absolute drop is a smaller fraction of the total, so it is less noticeable.
Can I just use a bigger power supply to fix voltage drop?
No. A larger power supply provides more current capacity, but it does not change the resistance of the strip’s copper traces. The drop happens along the strip, not at the supply. You need power injection, shorter runs, or higher-voltage strip.
Is 24V LED strip always better than 12V?
For long runs, generally yes, because it halves the current and greatly reduces drop. For very short runs, 12V is perfectly fine and often cheaper. The right choice depends on run length and wattage per meter, not on one voltage being universally superior.
How often should I inject power?
There is no universal rule. A common practical approach is to inject at the start and again at the midpoint or end of any run longer than the manufacturer’s recommended maximum. Measure the voltage at the far end after each change and stop when the gradient disappears.
Why does the color shift at the end of my strip?
LEDs change their output characteristics as supply voltage sags. Warm white strips tend to drift warmer, and RGB strips can show hue differences between segments. This is a symptom of voltage drop, not a manufacturing defect, and it usually resolves once the drop is fixed.
Does voltage drop damage the LEDs?
The far end running at lower voltage generally does not damage anything; it just looks dimmer. The real risk is at the near end if you compensate by raising the supply voltage above the strip’s rating, which can shorten LED life. Keep the supply within the strip’s specified range.



