
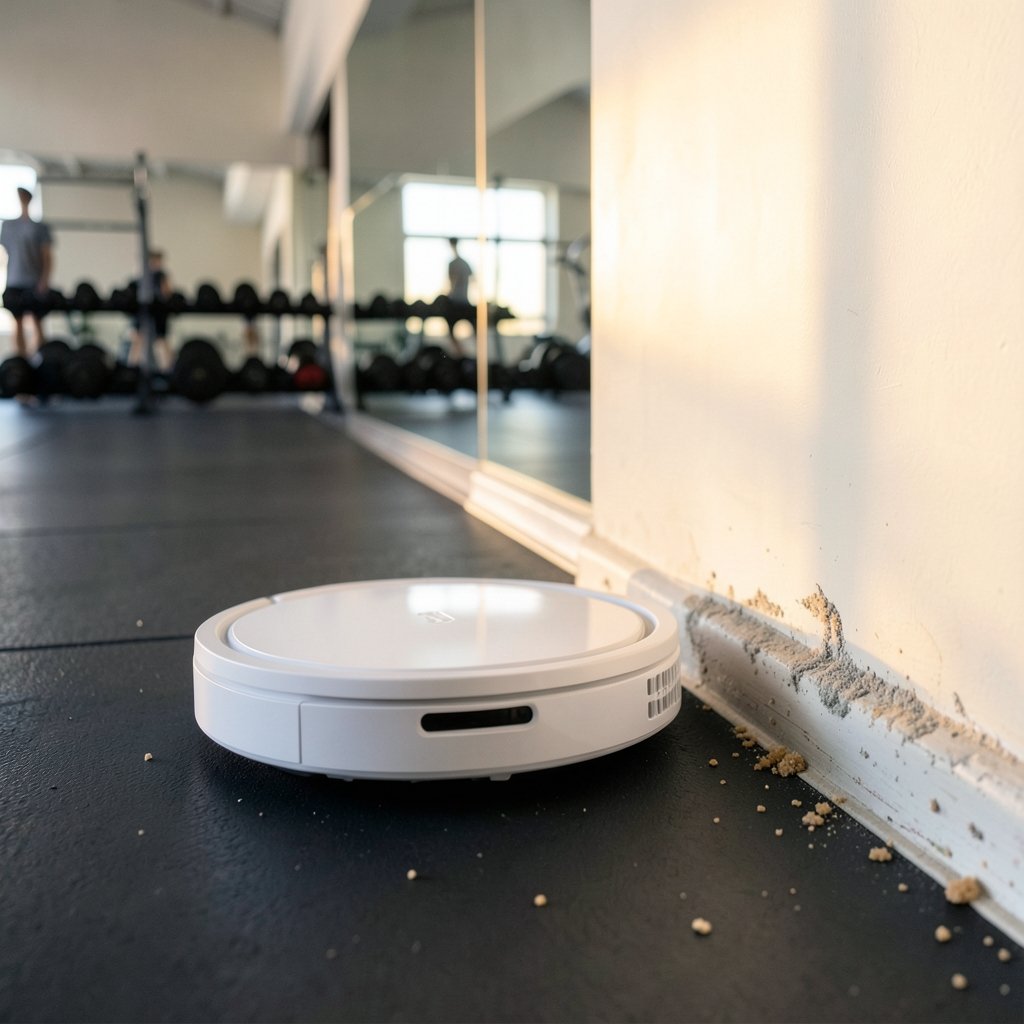
Ever watched a robot vacuum glide right past a pile of crumbs along the baseboard and wondered if it was doing it on purpose? You are not imagining things. Edge cleaning is one of the toughest jobs a robot vacuum faces, and it is where the gap between marketing claims and real-world results gets widest. A robot can map a room perfectly, dodge a charging cable, and still leave a stripe of dust hugging every wall. This article breaks down why that happens, what actually improves edge performance, and how to judge a machine before you buy it. (Robotic vacuum cleaner)
Why edges are the hardest part of the job
Most robot vacuums are round. That shape is great for turning and terrible for geometry. A circular chassis physically cannot reach into a 90-degree corner, so manufacturers lean on a spinning side brush to flick debris out of the gap and into the main brush path. How well that works depends on brush design, rotation speed, and how close the robot is willing to get to the wall.
There is also a navigation problem layered on top. Some robots run a deliberate wall-following routine, tracing the perimeter of a room before filling in the middle. Others rely on a coverage pattern and hope the side brush catches what the main brush misses. Two robots with identical hardware can produce very different edge results purely because of software. That is why edge performance can shift after a firmware update, sometimes for the better and sometimes not.
The third factor is debris type. Fine dust and sand behave nothing like cereal or pet hair. Sand settles into the seam between floor and baseboard, where airflow is weakest. Pet hair wraps around side brush bristles and stops them sweeping effectively. If you are dealing with heavy shedding, it helps to compare machines built for that job, such as the best robot vacuums for pet hair, because tangle resistance matters more at edges than in open floor.
How side brushes change everything
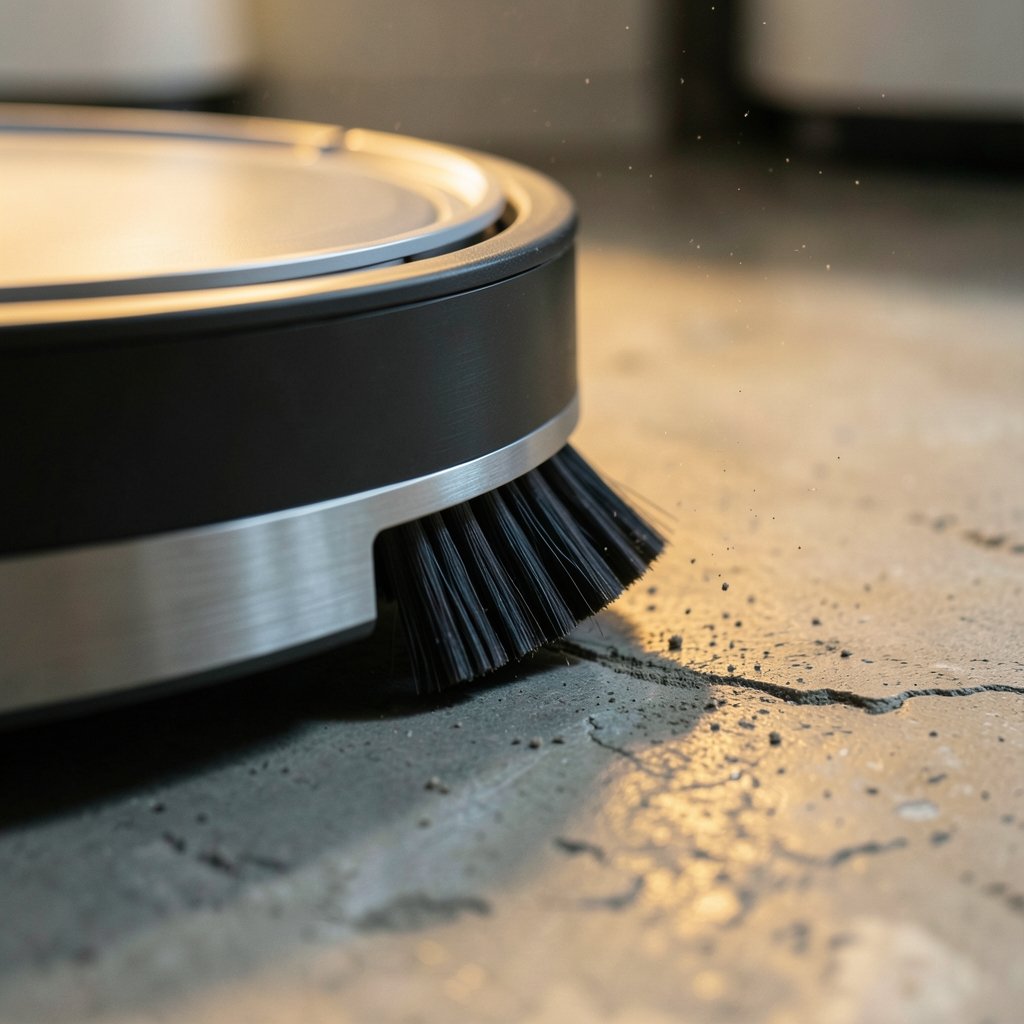
The side brush is the single most important edge-cleaning component, and it is also the most misunderstood. There are two main designs, and they behave differently along walls.
| Brush type | Edge strengths | Edge weaknesses |
|---|---|---|
| Bristle (three or more arms) | Reaches into corners, flicks debris outward well | Bristles bend over time, tangles with hair |
| Rubber or combo | Durable, resists tangling, good on carpet edges | Less flexible, can push debris rather than sweep it |
| Extendable or swing-out | Physically reaches further past the chassis | More moving parts, varies a lot by model |
A stiff bristle brush with multiple arms tends to sweep a wider arc, which helps along long walls. Rubber blades last longer and handle hair better but sometimes shove crumbs along the baseboard instead of lifting them. Extendable brushes, which swing out beyond the robot’s body when a wall is detected, are the most direct fix for the round-chassis problem, though the execution varies considerably between brands.
Practical tip: check your side brush every couple of weeks. Bristles that splay outward or bend backward stop doing their job, and a replacement brush is one of the cheapest upgrades you can make. Many people blame the robot for poor edge cleaning when the real culprit is a worn brush that has been quietly underperforming for months.
D-shaped robots and the corner question
A handful of manufacturers have abandoned the circle entirely, using D-shaped or square-front chassis so the main brush sits closer to the wall. On paper this is the obvious solution. In practice, the gains are real but narrower than the marketing suggests.
A flat front helps most along straight walls, where the brush roll can run parallel to the baseboard. It helps less in actual corners, because the robot still needs clearance to turn and its bumper has to sense the wall before contact. You often end up trading a curved gap for a small square one. Neither shape eliminates the problem; they just move it around.
What matters more than shape is how aggressively the robot approaches walls. Some models slow down near obstacles and keep a cautious distance. Others press closer, which cleans better but risks scuffing paint and furniture. If your baseboards are painted rather than bare wood, watch for wear over the first few weeks.
What lab tests actually measure
Edge-cleaning scores are notoriously hard to compare across reviewers, because the test setups differ. Three variables swing results dramatically:
- Debris type. Sand, rice, and cereal produce different scores on the same machine.
- Test track layout. A straight wall, an inside corner, and a cabinet toe-kick are three different challenges.
- Pass count. One pass versus three passes changes the ranking order.
Consumer testing organizations and independent labs publish edge and corner scores, but they rarely use identical protocols, so a “98% edge score” from one outlet and a “7 out of 10” from another may describe the same robot. According to the Wikipedia entry on robotic vacuum cleaners, the category has grown through rapid iteration on navigation and brush design rather than any single breakthrough, which is a useful reminder that small hardware details drive most of the difference.
The honest takeaway: treat any single edge score as directional, not definitive. Look for reviewers who describe their debris type and pass count, and read the corner results separately from the wall results.
Matching edge performance to your floor type
Edge cleaning behaves differently on hard floors and carpet, and the right machine depends on what you have.
Hard floors are where side brushes shine. Debris sits loose on the surface and a good brush can sweep it into the suction path. This is the easiest scenario for any robot, and most mid-range models handle it acceptably. If hard floors dominate your home, a vacuum that also mops can handle the fine dust that settles along baseboards, which is why a best vacuum mop combo is often a smarter pick than a pure vacuum for kitchens and hallways.
Carpet is harder. The main brush roll has to agitate the pile, and side brushes contribute less because debris is embedded rather than loose. Edge performance on carpet depends heavily on suction and brush roll design, so it pays to check the best vacuum for carpet if rugs cover most of your floor. Wall-to-wall carpet meets baseboard with a tucked edge that traps grit, and only strong airflow pulls it out.
Mixed homes need a compromise. No robot is best at everything, and the model that wins on hard-floor edges may trail on carpet. Decide which surface causes you the most visible annoyance and weight that accordingly.
Common mistakes that hurt edge results
People often conclude their robot is bad at edges when the setup is the problem. These are the mistakes that show up again and again.
- Skipping the perimeter routine. If your robot has a wall-follow or edge mode, use it. Many people run only the default auto cycle and never trigger the setting designed for edges.
- Blocking the side brush. Cables, rug fringe, and loose cords tangle the brush within minutes. Clear the floor before a run, or the brush stops sweeping entirely.
- Ignoring firmware updates. Navigation improvements arrive through software. A robot that hugged walls poorly in January may behave differently by summer.
- Placing the dock badly. A dock jammed into a corner forces the robot to start and finish in an awkward spot, and some models handle the first meter of a run poorly.
- Expecting perfection in corners. No round robot reaches a true 90-degree corner completely. A quick pass with a handheld or a crevice tool every few weeks is a realistic supplement, not a failure of the robot.
One more: don’t judge edge performance from a single run. Robots vary their paths between cycles, and a second or third pass often produces noticeably cleaner baseboards. Run the same area three times before deciding the machine cannot handle edges.
What actually works in practice
After enough runs, a few patterns hold up across brands and price points.
First, wall-following behavior beats raw suction for edge results. A weaker robot that traces the perimeter carefully will out-clean a robot with stronger suction that wanders. When you compare models, look for reviews that mention how consistently the robot hugs walls, rather than its airflow rating alone.
Second, brush condition matters more than brush type. A fresh bristle brush on a mid-range robot beats a worn one on a premium machine. Keep spares on hand and swap them when the arms stop springing back.
Third, regular maintenance is the whole game. Hair wrapped around the brush roll, a clogged filter, and a dust bin that is two-thirds full all reduce edge pickup before they reduce open-floor pickup, because edges demand the most airflow. Empty the bin after every run if you have pets.
Fourth, lighting and floor contrast affect some navigation systems. Robots that use cameras can struggle along dark baseboards or in dim rooms, and their wall-following gets sloppier. If your hallways are dim, a model with solid sensor redundancy is worth the extra cost. (Indoor Air Quality)
If you are also weighing other cleaning tools, the same principle applies across categories: the machine that fits your specific mess wins. That is true whether you are choosing a best pool vacuum for a backyard or a robot for a hallway.
The bottom line on edge cleaning
Edge cleaning is where robot vacuums reveal their engineering. The chassis shape, the side brush design, the navigation software, and the maintenance routine all converge along a two-inch strip of floor that owners notice more than any other. No machine is perfect at it, and the marketing around “corner cleaning” oversells what physics allows.
The realistic expectation is this: a well-maintained robot with a wall-following routine and a healthy side brush will keep baseboards mostly clear on hard floors and reasonably clear on carpet, provided you clear tangles and replace worn brushes. A robot that leaves a visible line of dust along every wall is usually suffering from a worn brush, a clogged filter, or a disabled edge mode, not a fundamental design flaw.
Buy for the floor you have, maintain the brush, and run the perimeter mode. That combination closes most of the gap, and the remaining sliver is what crevice tools are for.
Frequently asked questions
Do robot vacuums actually clean along walls?
Yes, but with limits. Most use a rotating side brush to sweep debris away from the wall and into the suction path. Performance depends on brush design, how close the robot approaches, and whether a wall-following routine is enabled. Straight walls clean well; true 90-degree corners always retain a small gap.
Are D-shaped robot vacuums better at edges than round ones?
They are usually better along straight walls because the brush roll sits closer to the baseboard. The advantage shrinks in actual corners, where the robot still needs room to turn and its bumper needs clearance. Shape helps, but brush condition and navigation matter more.
How often should I replace the side brush?
Inspect it every two weeks and replace it when bristles splay outward, bend backward, or stop springing back. In homes with pets or long hair, that can mean every two to three months. A worn side brush is the most common hidden cause of poor edge cleaning.
Why does my robot leave a strip of dust next to the baseboard?
The usual suspects are a worn or tangled side brush, a clogged filter, a full dust bin, or an edge mode that is switched off. Check those four before assuming the robot cannot handle edges. Running the same area two or three times also helps, since paths vary between cycles.
Does edge cleaning work on carpet?
It works, but less dramatically. Side brushes contribute less on carpet because debris is embedded in the pile rather than loose on the surface. Edge results on carpet depend mostly on suction strength and brush roll agitation, so check carpet-specific reviews rather than hard-floor scores.
Can firmware updates change edge cleaning performance?
Yes. Navigation and wall-following behavior are software-driven, so a firmware update can improve or slightly change how a robot approaches walls. If edge cleaning seems worse after an update, re-run the perimeter mode a few times before drawing conclusions, and check whether brush or filter maintenance is overdue.



