
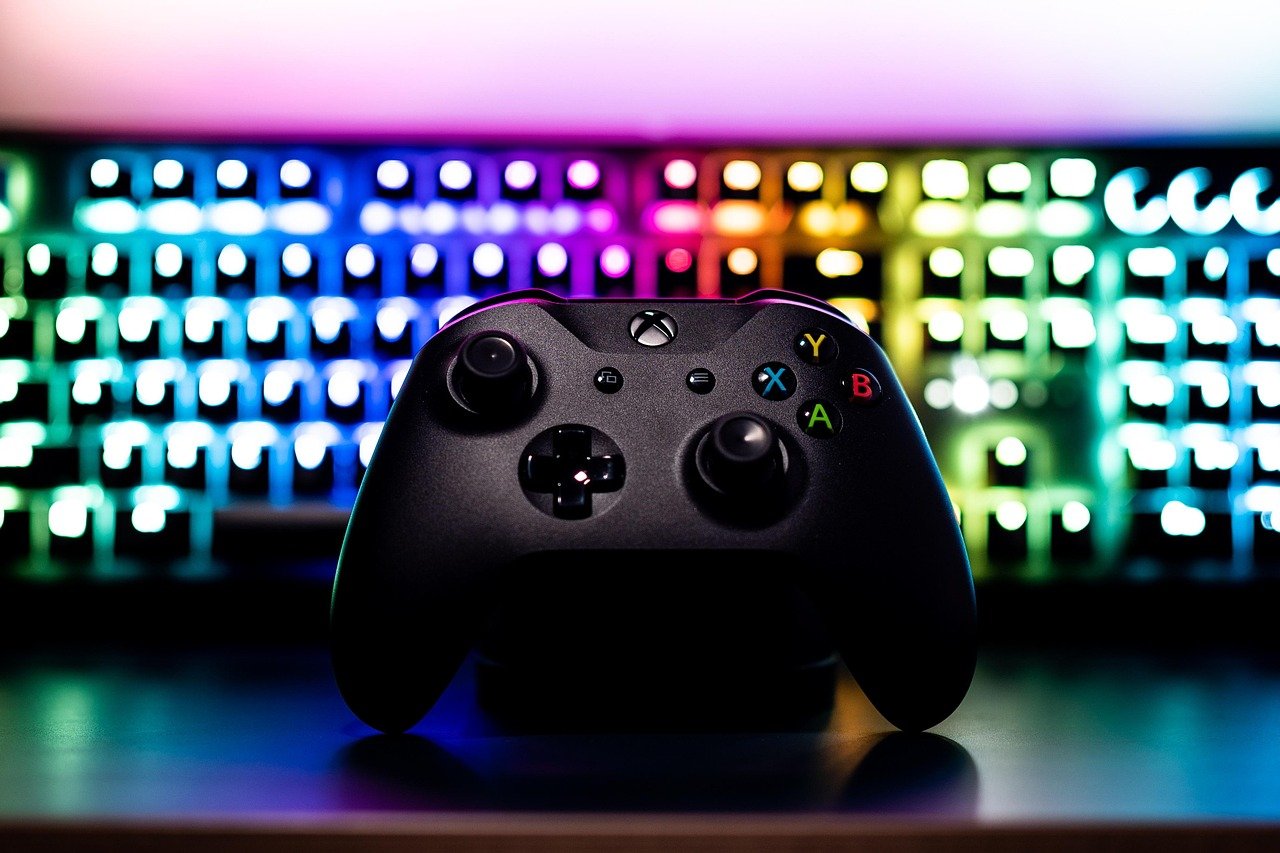
Roughly nine out of ten controller failures trace back to just a handful of root causes: worn analog sticks, dirty contacts, tired springs, and firmware glitches. The good news? Most of them are fixable at home with a screwdriver, some contact cleaner, and a bit of patience. The bad news is that people often make it worse before they make it better. This guide walks through the most common gaming controller problems and fixes, with practical steps, the mistakes to avoid, and honest advice on when to stop tinkering and replace the thing.
Why Controllers Fail in the First Place
A controller is a mechanical device that takes a beating. Thumbsticks get mashed, triggers get pulled thousands of times, and the whole thing lives in a warm, sweaty, dust-attracting environment. Inside, most sticks still rely on potentiometers, tiny variable resistors that wear down with friction. Over months of play, the resistive track degrades and the controller starts reporting movement that isn’t happening. That’s stick drift, and it’s the single most reported controller fault across every major platform.
Other failures follow the same logic. Silicone membranes under face buttons lose their spring. Trigger springs stretch. Dust and skin oils build up on contact pads and block clean electrical connections. None of this is mysterious, and almost none of it is permanent if you catch it early.
Stick Drift: The Problem That Defines a Generation
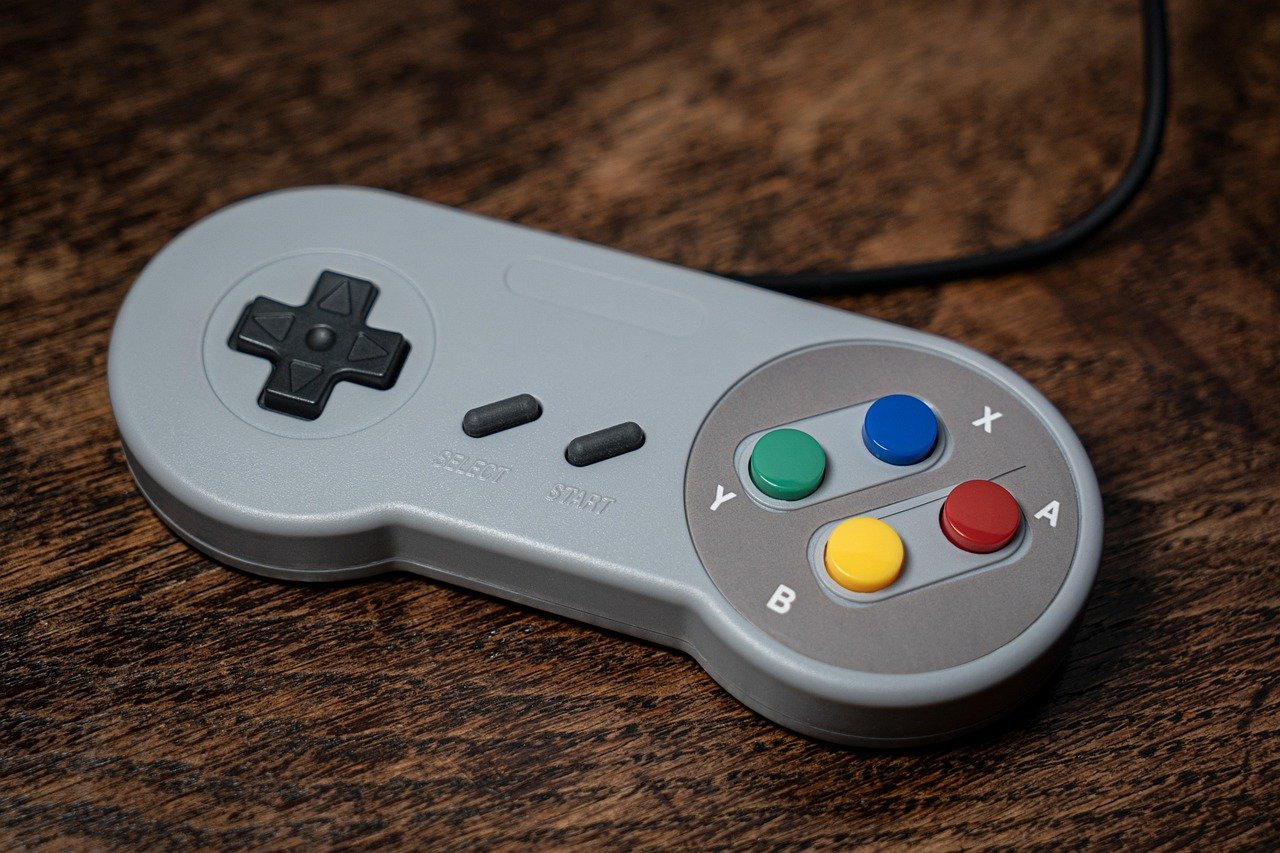
Stick drift shows up as a cursor creeping across the screen, a character walking in circles, or a camera that won’t sit still. It’s been the subject of regulatory attention in Europe and class-action litigation in the United States, largely around Joy-Con controllers, though the issue affects every brand to some degree.
What actually works for drift
- Recalibrate first. Nintendo, Sony, and Xbox all offer built-in stick calibration tools in their system settings. A surprising number of “drift” cases are just a misaligned center point after a firmware update.
- Clean the stick base. Compressed air, short bursts, around the base of the stick while rotating it. Don’t hold the can upside down or you’ll spray propellant.
- Try electrical contact cleaner. A tiny amount of contact cleaner (not WD-40, which leaves residue) applied at the stick base can flush out debris. Let it dry fully, at least an hour, before powering on.
- Set a deadzone. Many PC games and console settings let you ignore small stick inputs. It’s a band-aid, not a cure, but it can buy months.
- Replace the module. Hall-effect replacement sticks use magnets instead of resistive tracks and are marketed as drift-resistant. This is a soldering job on most controllers, so it’s a project, not a quick fix.
The mistake people make
The classic error is drowning the stick in lubricant or generic spray. That attracts dust, gums up the mechanism, and turns a fixable drift into a dead stick. Less is genuinely more here.
If drift is pushing you toward a replacement, it’s worth comparing options carefully rather than grabbing the first thing on the shelf. A quality Xbox controller with hall-effect sticks will outlast a cheap one by years, and the same logic applies across platforms. (Game controller)
Triggers and Bumpers That Stick or Double-Fire
A trigger that registers twice, or a bumper that needs a hard press, usually means debris on the contact or a worn spring. Racing and shooter players hit these parts hardest, so it’s no surprise they fail first.
Fixing a sticky trigger
- Remove the battery and let the controller sit for a minute.
- Spray a small amount of contact cleaner into the trigger gap while working the trigger through its full travel.
- Let it dry completely, then test in a game with a trigger input display or in the console’s button test menu.
- If it still sticks, open the shell and inspect the spring. A stretched spring can sometimes be re-seated; a broken one needs replacing.
Fixing double-registration
Double inputs are almost always a dirty contact pad or a failing switch. Cleaning the pad with isopropyl alcohol and a cotton swab fixes most cases. If the switch itself has failed, replacement requires soldering and is best left to someone with experience.
Buttons That Feel Mushy or Miss Inputs
When face buttons start feeling soft, or a press simply doesn’t register, the culprit is usually the silicone membrane underneath. These are rubber domes that push a conductive pad onto the circuit board. They wear out, especially on the most-used button (usually A or X).
The fix is straightforward: open the controller, lift out the membrane, clean both the membrane pad and the board contact with isopropyl alcohol, and reassemble. If the dome has torn or collapsed, replacement membranes are cheap and widely available. This is one of the easiest repairs a beginner can do, and it’s a good first project if you’ve never opened a controller before.
One practical tip: take photos at every disassembly step. Controllers use several different screw lengths, and putting a long screw into a short hole can crack the shell. It happens constantly.
Connectivity Drops and Pairing Failures
Wireless controllers that disconnect mid-match, or refuse to pair at all, are usually dealing with one of three things: firmware, interference, or a dying battery.
The troubleshooting order that saves time
| Step | What to do | Why it works |
|---|---|---|
| 1 | Update controller firmware via the console or PC app | Fixes known pairing and input bugs |
| 2 | Re-pair from scratch (remove the device, then add it again) | Clears corrupted pairing data |
| 3 | Move the console or receiver away from routers and USB 3.0 hubs | Reduces 2.4 GHz and Bluetooth interference |
| 4 | Test with a wired connection | Isolates whether the problem is wireless or the controller itself |
| 5 | Check battery health | Weak cells cause dropouts under load |
For PC players, wired is often simply more reliable. A decent ethernet cable for gaming won’t fix a controller directly, but it does cut network latency and jitter that people often blame on their peripherals. Similarly, if you’re building a setup around competitive play, the best internet for gaming matters more than most players realize.
The mistake people make
Repeatedly mashing the pairing button without removing the old device entry. The controller tries to connect to a stale pairing and fails silently. Always delete the device first.
Battery and Charging Problems
Wireless controllers lose capacity over years, which is normal for lithium-ion cells. Symptoms include short play sessions, refusing to charge past a certain point, or the controller dying at 30 percent.
Before assuming the battery is dead, rule out the cable and charger. Cheap USB cables with thin power conductors charge slowly or not at all, and some chargers don’t deliver enough current. Test with a known-good cable and a wall adapter rather than a PC port.
If the battery is genuinely failing, replacement cells are available for most controllers and are often user-serviceable. Be aware that opening the shell usually voids the warranty, so check the age of the device first. A controller still under warranty should go back to the manufacturer, not onto your workbench.
Analog Stick Physical Damage and Loose Sticks
A stick that wobbles, won’t return to center, or feels loose is a mechanical problem, not an electrical one. The plastic gimbal inside has worn, or the stick cap has cracked.
Replacement stick caps are a five-minute fix and cost almost nothing. Worn gimbals require replacing the whole analog module, which means desoldering. If you’re not comfortable with that, a repair shop will typically do it for a modest fee, and it’s still far cheaper than a new controller.
Prevention beats repair here. Stick caps that add grip reduce the force needed to move the stick, which slows wear. Keeping the controller out of a dusty drawer and wiping it down weekly makes a measurable difference over a couple of years.
When to Repair and When to Replace
Not every controller is worth saving. Use this rough guide:
- Under warranty: contact the manufacturer. Don’t open it.
- Minor faults (mushy buttons, dirty triggers, stick caps): repair at home.
- Drift with a clean stick and failed recalibration: try cleaning, then consider a hall-effect replacement if you’re comfortable soldering.
- Cracked shell, multiple failed components, or a swollen battery: replace it. A swollen battery is a safety issue, not a repair project.
The economics are simple. A membrane or stick cap costs a few dollars. A full analog module replacement costs a bit more. A new first-party controller costs considerably more than either, so repair usually wins unless the board itself is damaged. (Accessibility)
Tools Worth Keeping Around
A small kit covers nearly every job in this guide:
- A precision screwdriver set with Phillips and Torx bits
- Isopropyl alcohol (90 percent or higher) and cotton swabs
- Electrical contact cleaner
- Compressed air
- Plastic pry tools (never use a metal knife on controller shells)
- A small parts tray so screws don’t vanish
That kit costs less than one replacement controller and will service every device you own for years.
Conclusion
Most gaming controller problems are wear-and-tear issues with well-understood fixes. Stick drift, sticky triggers, mushy buttons, and wireless dropouts all have a clear diagnostic path, and the majority resolve with cleaning, recalibration, or a cheap replacement part. The trick is to work in order: rule out software and firmware first, then clean, then disassemble. Skipping straight to the screwdriver is how simple fixes turn into broken ribbon cables.
And when a controller is genuinely finished, replace it with something built to last. Whether you’re pairing it with a new gaming PC under 1000 or upgrading your audio with one of the best wireless gaming headsets 2026 has to offer, a reliable controller is the part you actually touch every session. Treat it well, clean it occasionally, and it will reward you with years of drift-free play.
Frequently Asked Questions
What causes stick drift on a gaming controller?
Stick drift is usually caused by wear inside the analog stick’s potentiometers, the resistive components that translate stick position into an electrical signal. As the resistive track wears down or collects dust and oils, the controller reports movement even when the stick is centered. Physical damage to the gimbal and firmware misalignment can produce similar symptoms.
Can stick drift be fixed permanently?
It depends on the cause. Drift caused by dirt or a misaligned center point can often be fixed permanently with cleaning and recalibration. Drift caused by worn potentiometers will return eventually unless the analog module is replaced. Hall-effect stick modules, which use magnets instead of resistive tracks, are designed to resist wear and are the most durable option available.
Is it safe to use contact cleaner on a controller?
Yes, electrical contact cleaner is safe for controller electronics when used sparingly and allowed to dry completely before powering on. Avoid general-purpose lubricants, WD-40, and anything that leaves an oily residue, since these attract dust and can damage the plastic. Never spray cleaner directly into an assembled controller while it’s connected to power.
How do I fix a controller button that won’t register?
Start by cleaning the silicone membrane and the contact pad underneath with isopropyl alcohol. Most missed inputs come from a buildup of oils or dust blocking the electrical contact. If cleaning doesn’t help, the silicone dome may be torn or collapsed, in which case a replacement membrane is inexpensive and easy to install.
Why does my wireless controller keep disconnecting?
The most common causes are outdated firmware, corrupted pairing data, wireless interference from routers or USB 3.0 devices, and a failing battery. Update the firmware first, then remove and re-pair the device. If the problem persists, test with a wired connection to determine whether the fault is in the wireless link or the controller itself.
Should I repair my controller or buy a new one?
Repair is usually the better choice for minor faults like mushy buttons, sticky triggers, or worn stick caps, since parts cost a few dollars. Consider replacing the controller if it’s still under warranty (let the manufacturer handle it), if the shell is cracked, if multiple components have failed, or if the battery has swollen, which is a safety concern rather than a repair project.



